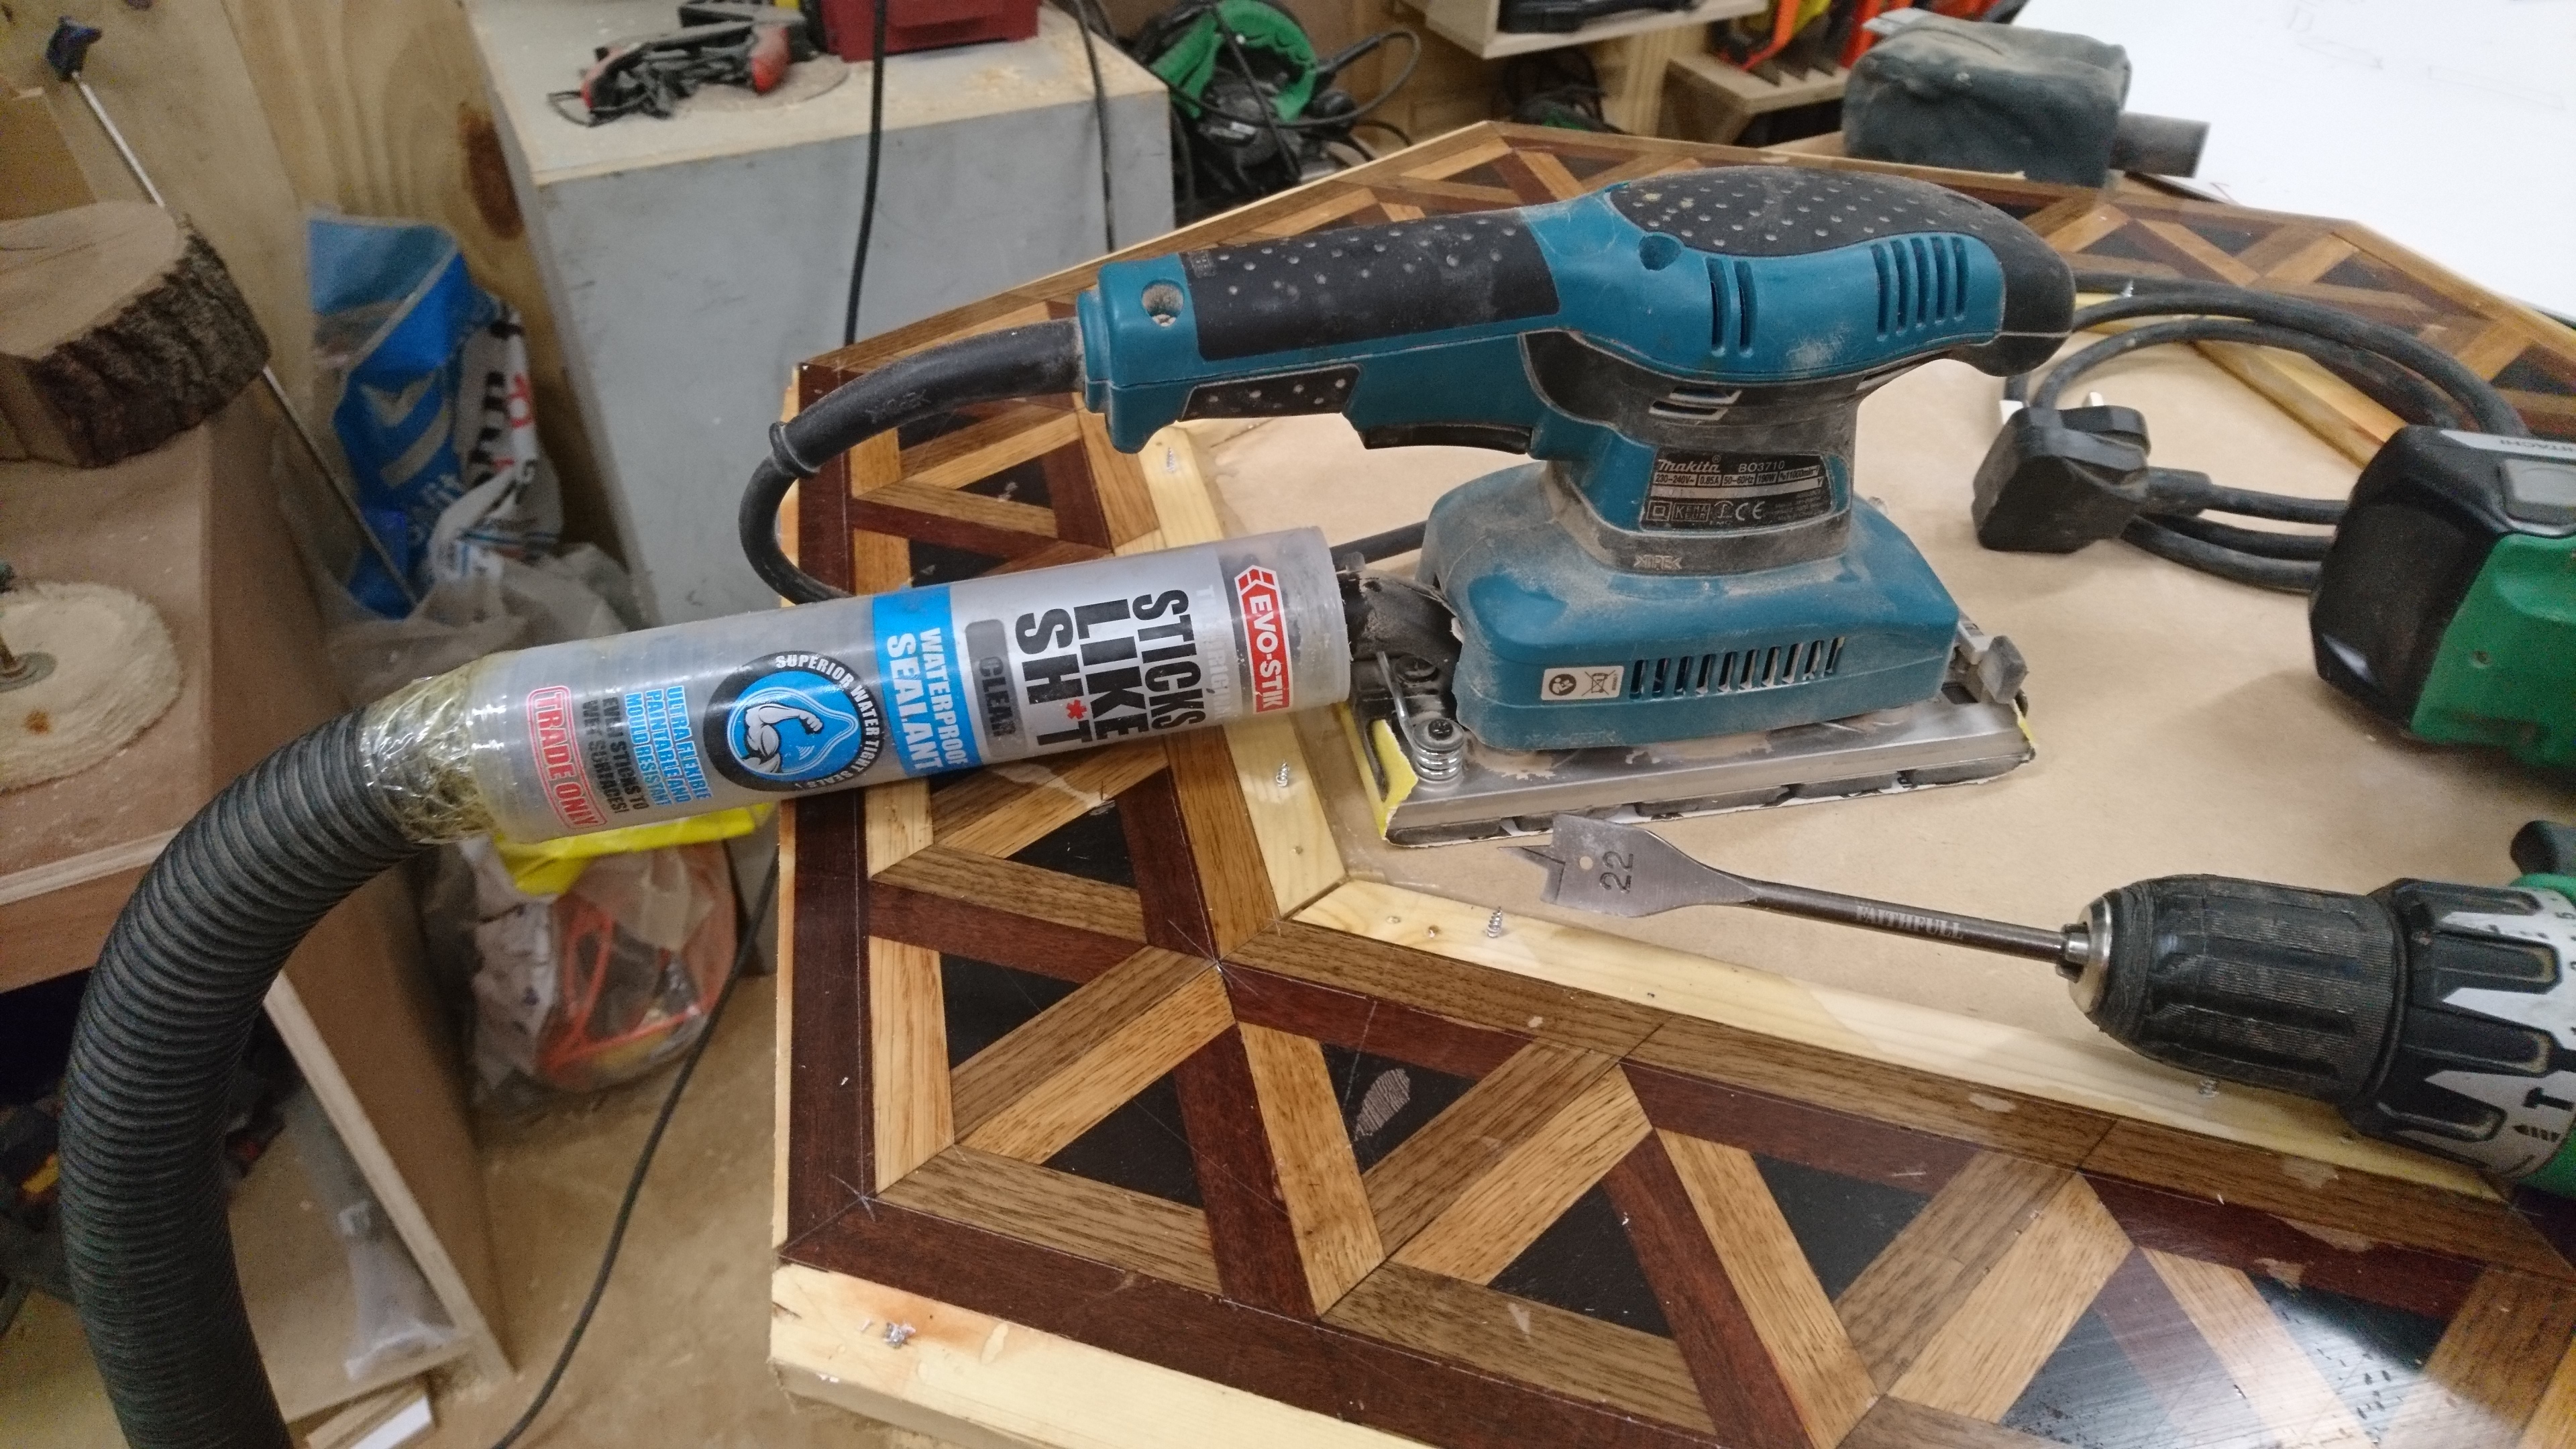
A little reading suggests that it’s unlikely to be oil - ipe is pretty dry. Probably just sawdust stuck to the oak. I will sand soon either way!
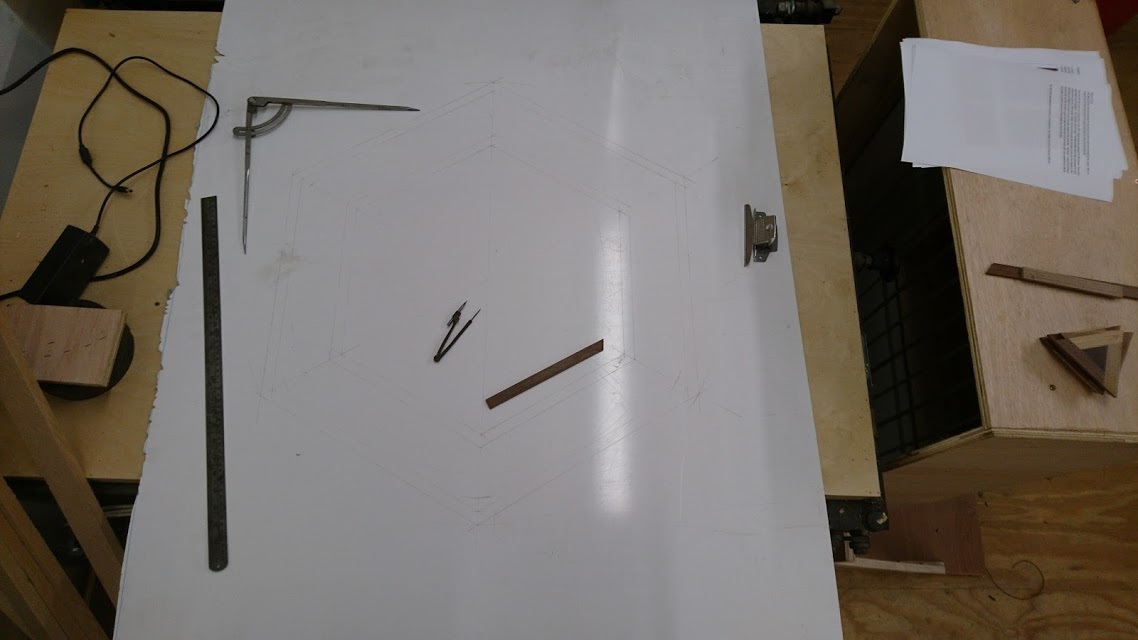
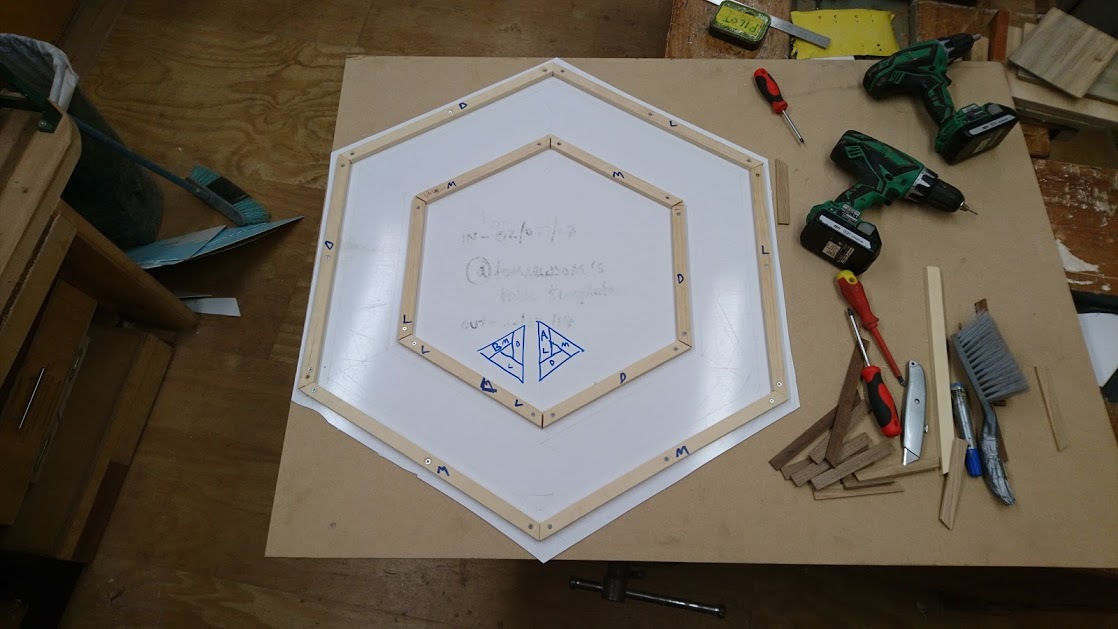
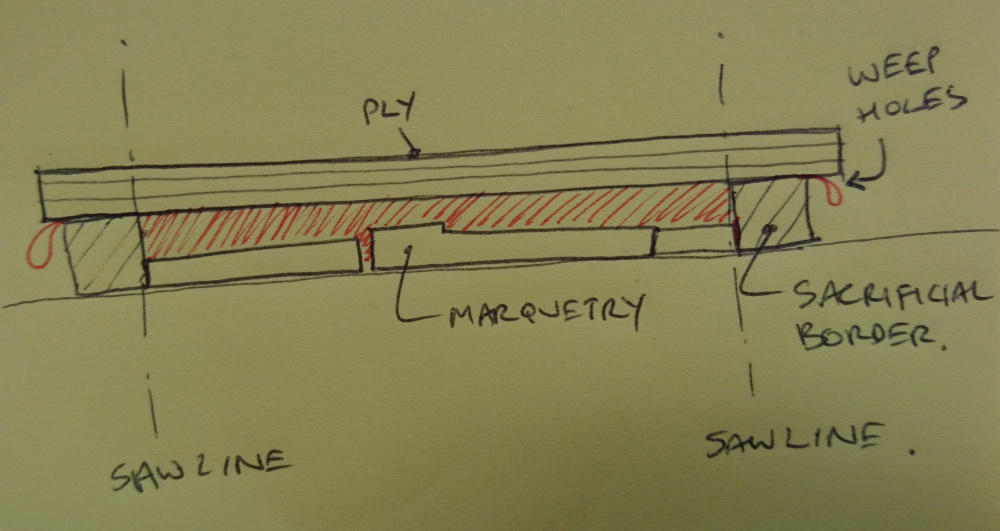
I’ve decided to lay this up face-down as suggested by @RichM. I’ll use a big sheet of paper and mark out exact hexagons for the inner and outer borders and then sand each triangle to exactly fit, spraymounting them all down. Then I’ll pour on polyester resin and place the plywood on top (resting on slightly higher sacrificial “border walls” to ensure a constant final thickness.
Would spraymount be enough to keep the wood in place? Will it want to float? I’d be sanding the finished surface anyway, so that should get rid of any resin leakthroughs and paper residue.
(I know I’m going on a bit on this thread, but my time in the space is so limited, I want to make sure I’m doing the right thing before I do it!)
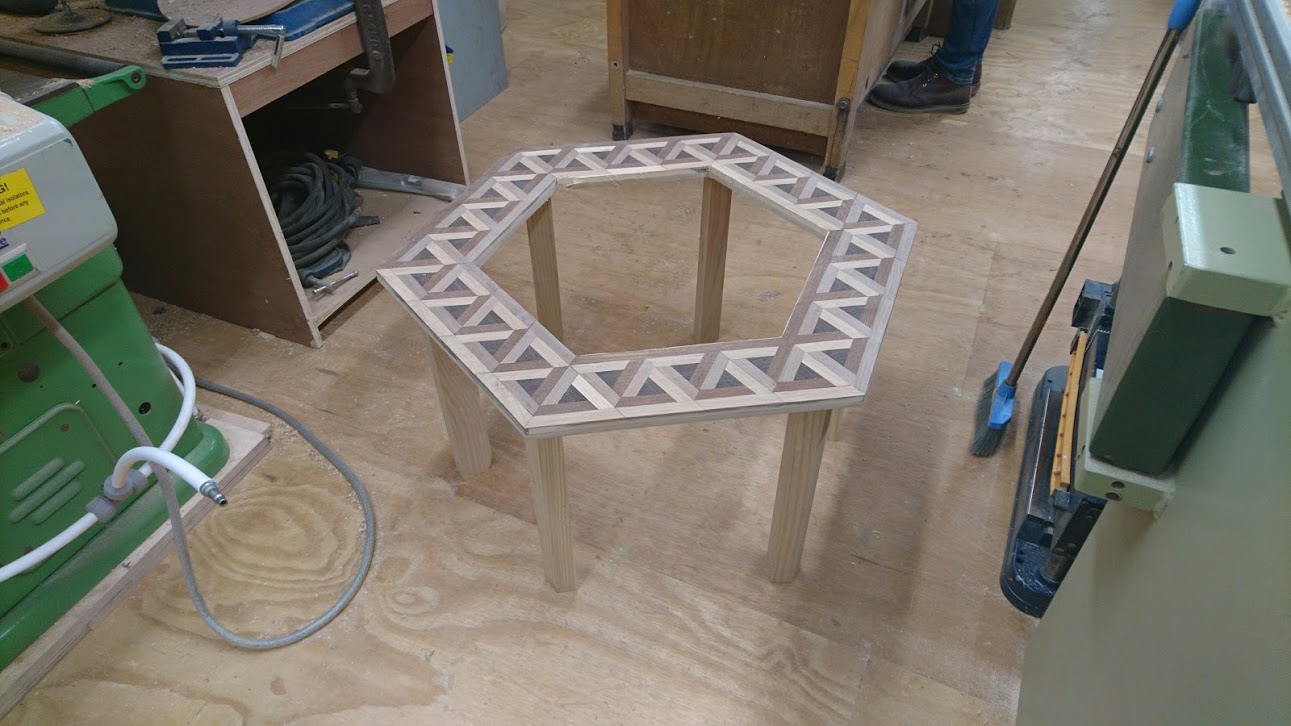
By the way, looks awesome. Love the wood you’ve used and it’s a very clever process and design. Will you be making a hexagonal tabletop and adhering the patterned wood to it?
If so, have you thought about routing out recesses to drop the patterns into? Would be a lot of very accurate positioning and jig making, but done right, would look awesome. Just add a drop of glue into the recess and drop the patterns in. Could then plane off any slight raised bits to get it all flush.
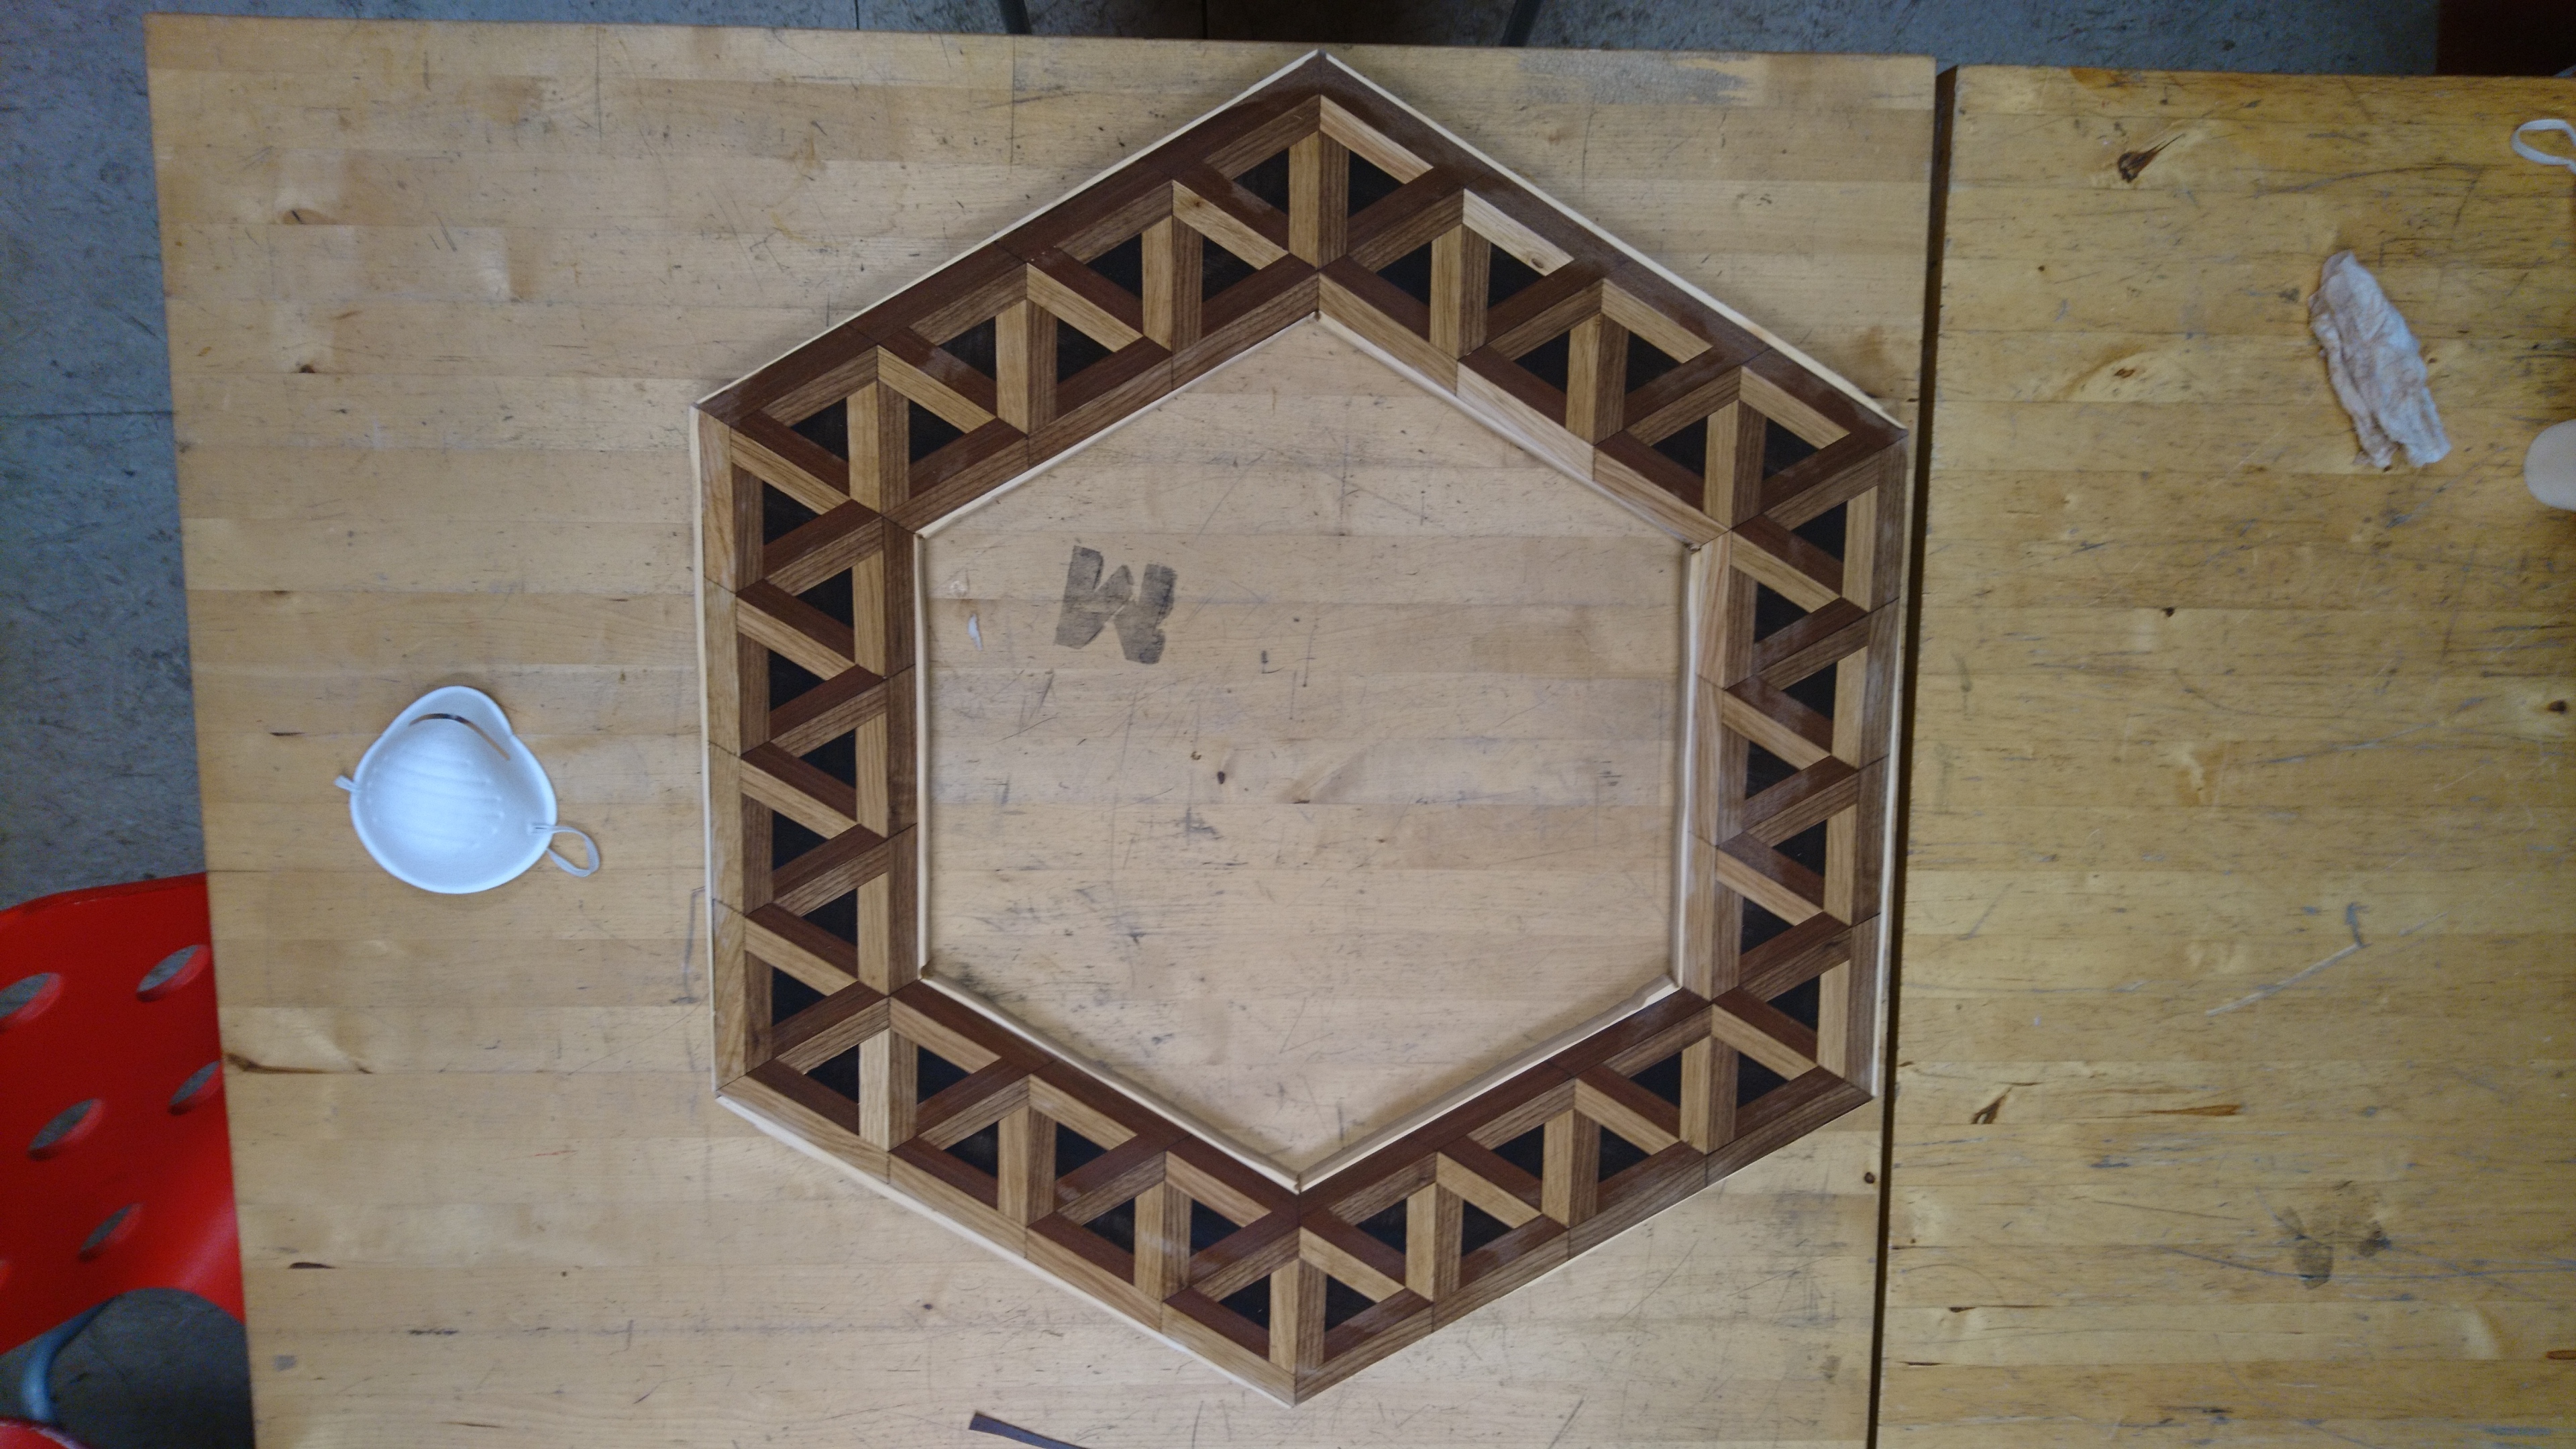
The pieces have several varying thicknesses, so the face-down method seems best. The idea is to get the pattern level, then glued down (glued up rather!) to the ply and then trim it to match.
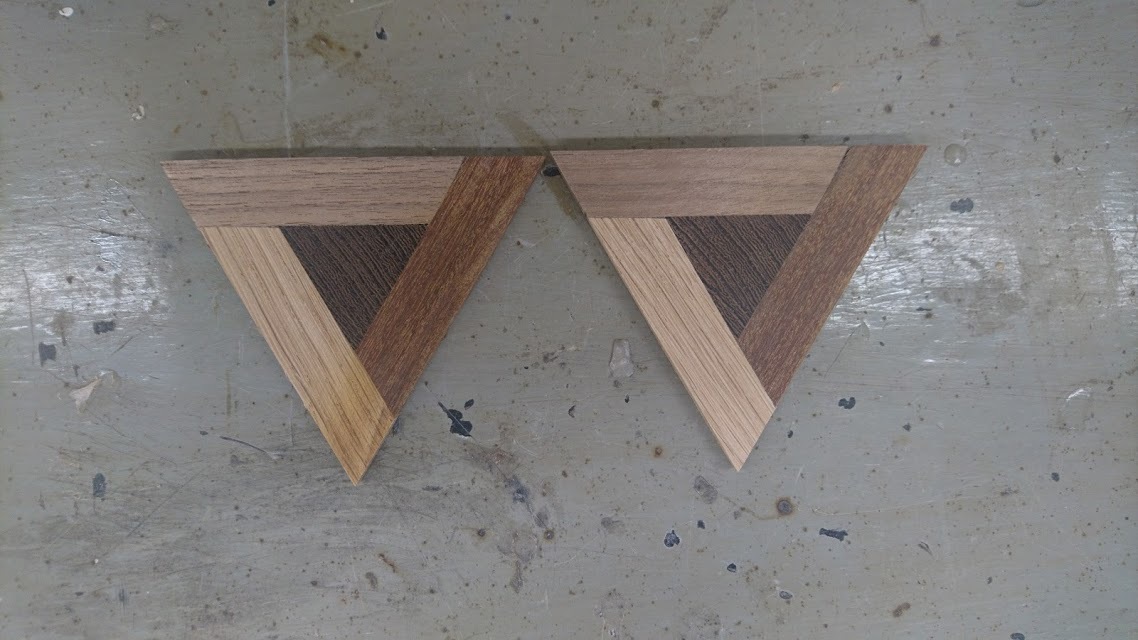
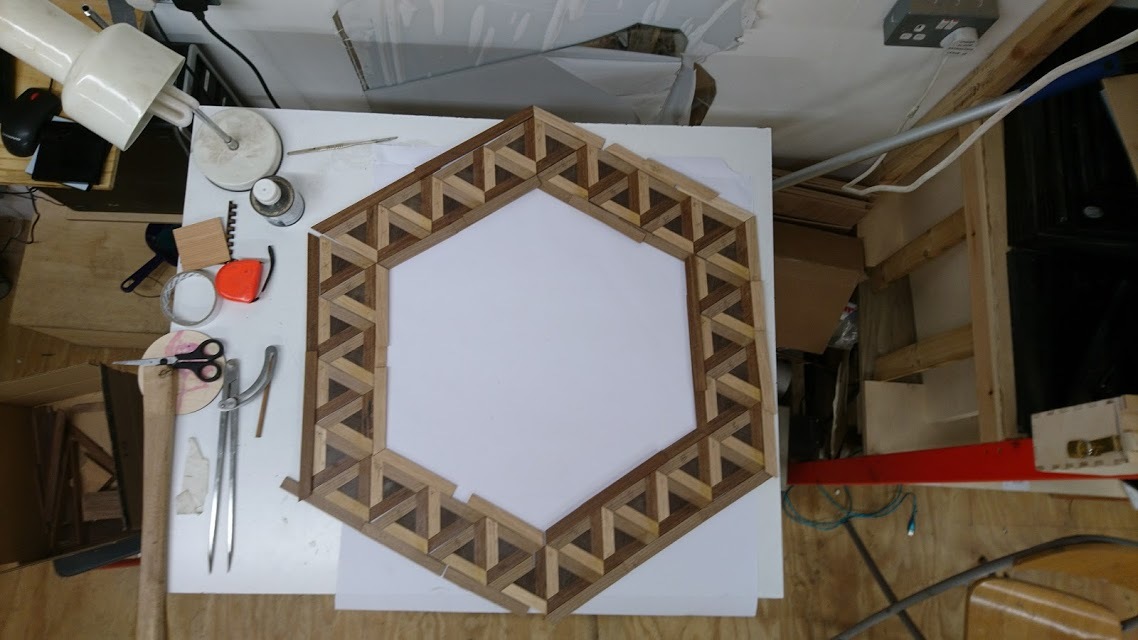
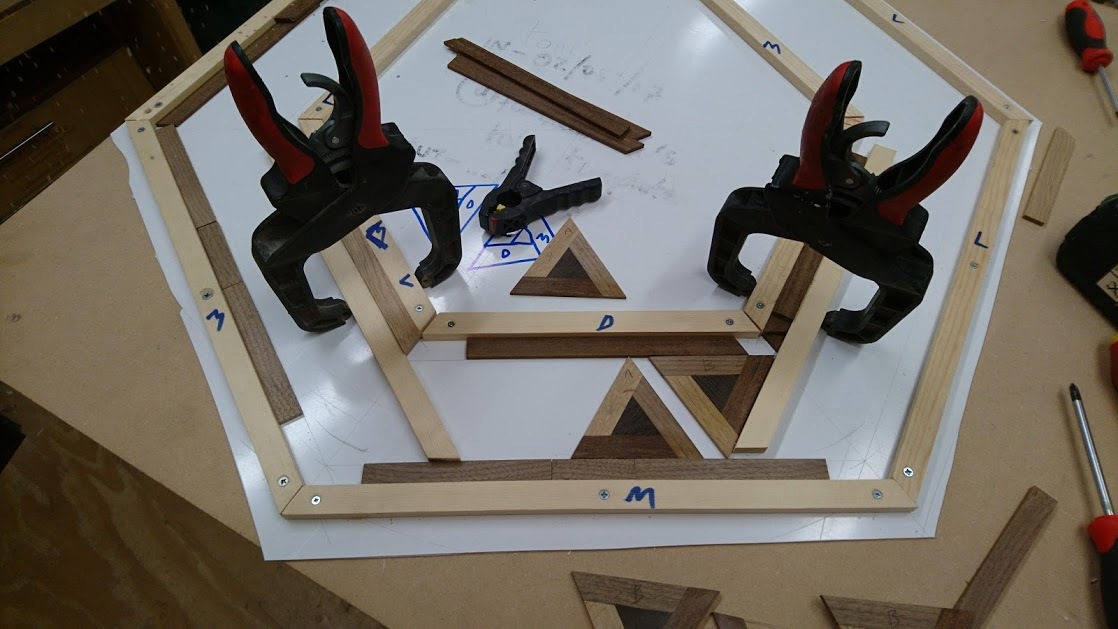
I could then set about cutting the border pieces (the mitre guillotine was invaluable for this) and sanding down the triangles to a snug fit. It was only at this pointt that I realised my triangles weren’t perfectly symmetrical, with one large and two small angled corners. I prefernetially sanded the “large” angled corner of each A and B type triangle, using extensions of the jig to make a border for each side.
I had to find another source from one of the offcuts knocking around the workshop, slice and cut some strips, and finish the job. The next step is the nerve-wracking bit - epoxying them all togther.
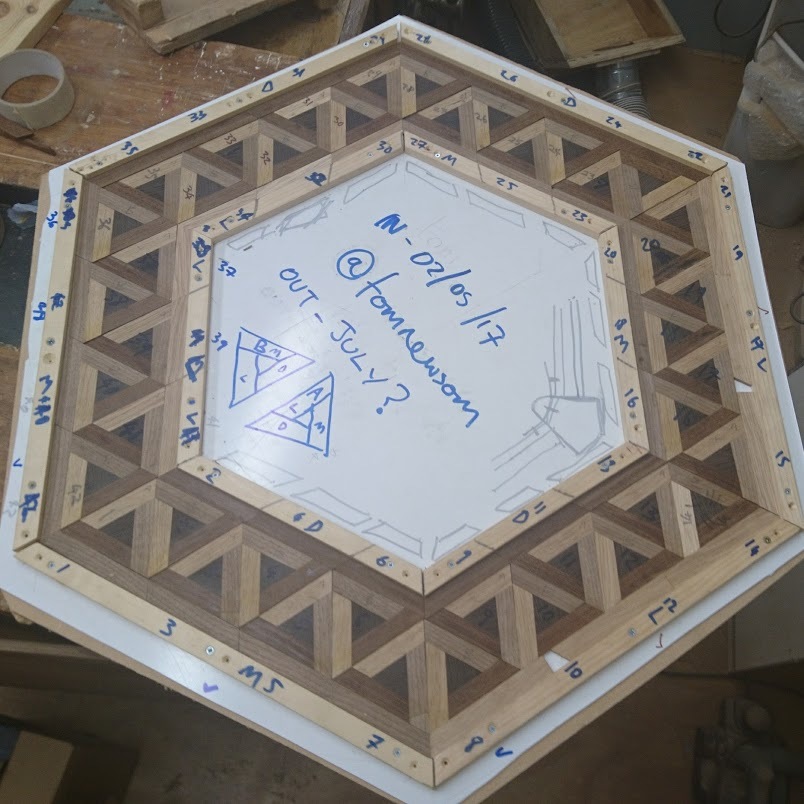
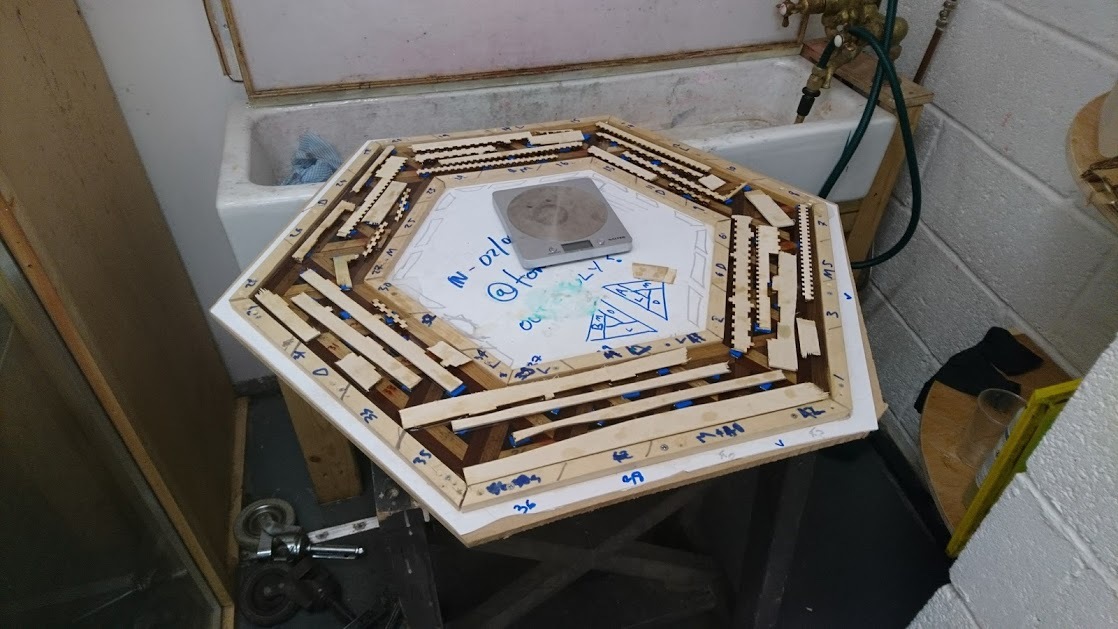
I used some sticky-backed foam at each corner and triangle centre to ensure these parts would be squashed down tight when clamped. I’m afraid the Space Invader in the front window was sacrificed for this.
Laser offcuts went on top which gives just the right extra thickness to compress the foam and press the triangles flat. And then it was epoxy time. I did this in the booth, to get the fumes quickly extracted. This stuff doesn’t smell, but the labels are covered in dire warnings about respiritory irritation. I didn’t feel any, so the ventialtion must have been doing its job!
Wow! Can’t wait to see that all finished. I’ve been hoarding bottle tops for a poured resin desktop for a while now - having seen how nicely this is turning out I may need to look at a marquetry edging for it as well…
I nearly made this a resin table by accident! Turns out that stuff flows really well, so when I clamped it, it flowed through all the tiny holes and almost completely filled the face-up side. The finish was really nice, except for all the bits where I’d scored the PVC surface, and the bits it didn’t flow to.
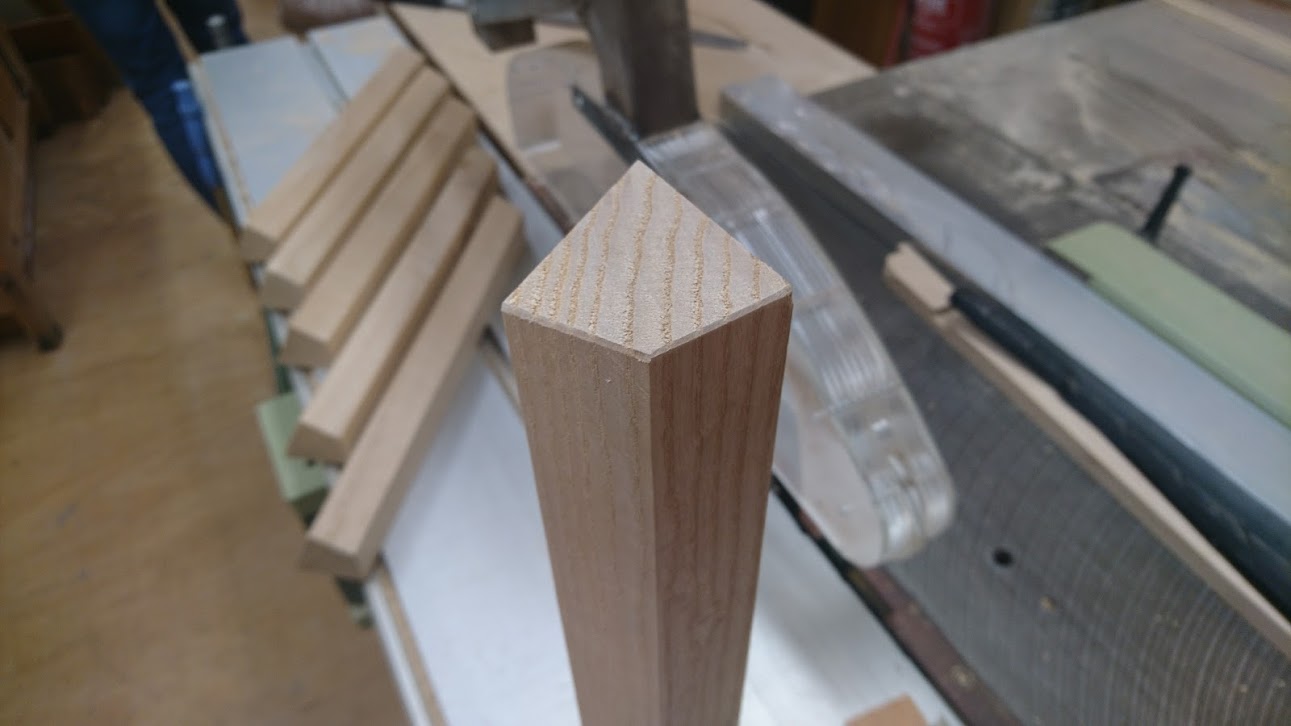
Thanks to Barnaby for supervision/instruction on the planer and table saw. Those were some tricky cuts to jig for. Turns out ripping 50mm of ash can stall the table saw motor if you go any faster than snails pace.
 Before and after: