However, most metal CNC stuff I’ve seen before uses some sort of coolant and when I asked about it around, it doesn’t seem like it’s a common application and someone even said they were told to “ask a CNC tech about it” (but not during my induction).
I have a small piece to mill off from 5x5cm to 4x4cm, and reduce height by 1cm. My thinking is that if I do very long overpasses so the tool cools down and short height passes each time, I should be fine to use on it?
Pick the tool you want (pass depth, tool dia etc.)
Input feeds and speeds from APT Tool page into Vcarve if not already there. Feeds will be faster than our machine can handle.
Note the chipload APT’s numbers give, reduce feed and spindle speed to keep this number the same untill you reach something our machine can do. Now run at 70-80% of this chipload.
Pass depth, should be no more than 50% of tool diameter.
e.g. 4mm tool no more than 2mm per pass.
Run first job at 80% feed override, speed up or slow down based on sound. If its complaining lots, slow it, if its making dust, speed it up etc.
Run any finishing passes at 100 - 110% spindle speed, minimum 20% tool diameter engagement (otherwise will overheat).
Notes;
6080T6 Alu machines the best, the softer you go, the more difficult
Buy lots of tools, you will break some, your working on a knife edge of feeds and speeds.
Vacuum very carefully at the end of the job, alu splinters hurt.
Use a big wasteboard, even better if you face it off to make it super level.
Use very strong clamping, make your own fixtures even! (from ply, dont get carried away its alu)
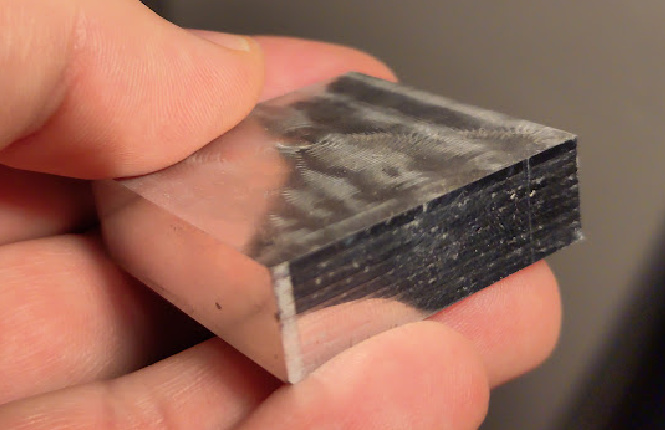
Yesterday I had a good run at making two of these:
Simple enough, but it used Fusion’s adaptive tool paths with an optimal load of 0.6 and a 6ml end mill. I milled 5 faces, cut it off with the angle grinder, then had kept doing facing steps to get the back flat and the thickness about right. It’s hard to capture but it feels very smooth. I was trying to capture some reflections to reflect (pun mostly not intended) how smooth it feels.
Very happy with how it turn out, and no broken tools or ugly marks so far!