I’m using our spare bedroom as an office / exercise room / workshop and it’s brilliant! However, tool storage is not ideal. For the last couple of months I’ve been using a plywood sheet on top of the bed as a surface to keep my tools on. It’s nice to have them all layed out to use, but it’s not exactly ideal and I don’t have a plan for when somebody wants to use the bed for its intended purpose. Hence my new project is a Dutch tool chest.
I started with PAR poplar and had to laminate them to get the thickness I wanted. I’m going a little deeper than normal to allow for an extra row of planes up top. Here you can see the poplar cut to approx length and grouped into their eventual components (behind you can also see the need for a tool chest!).
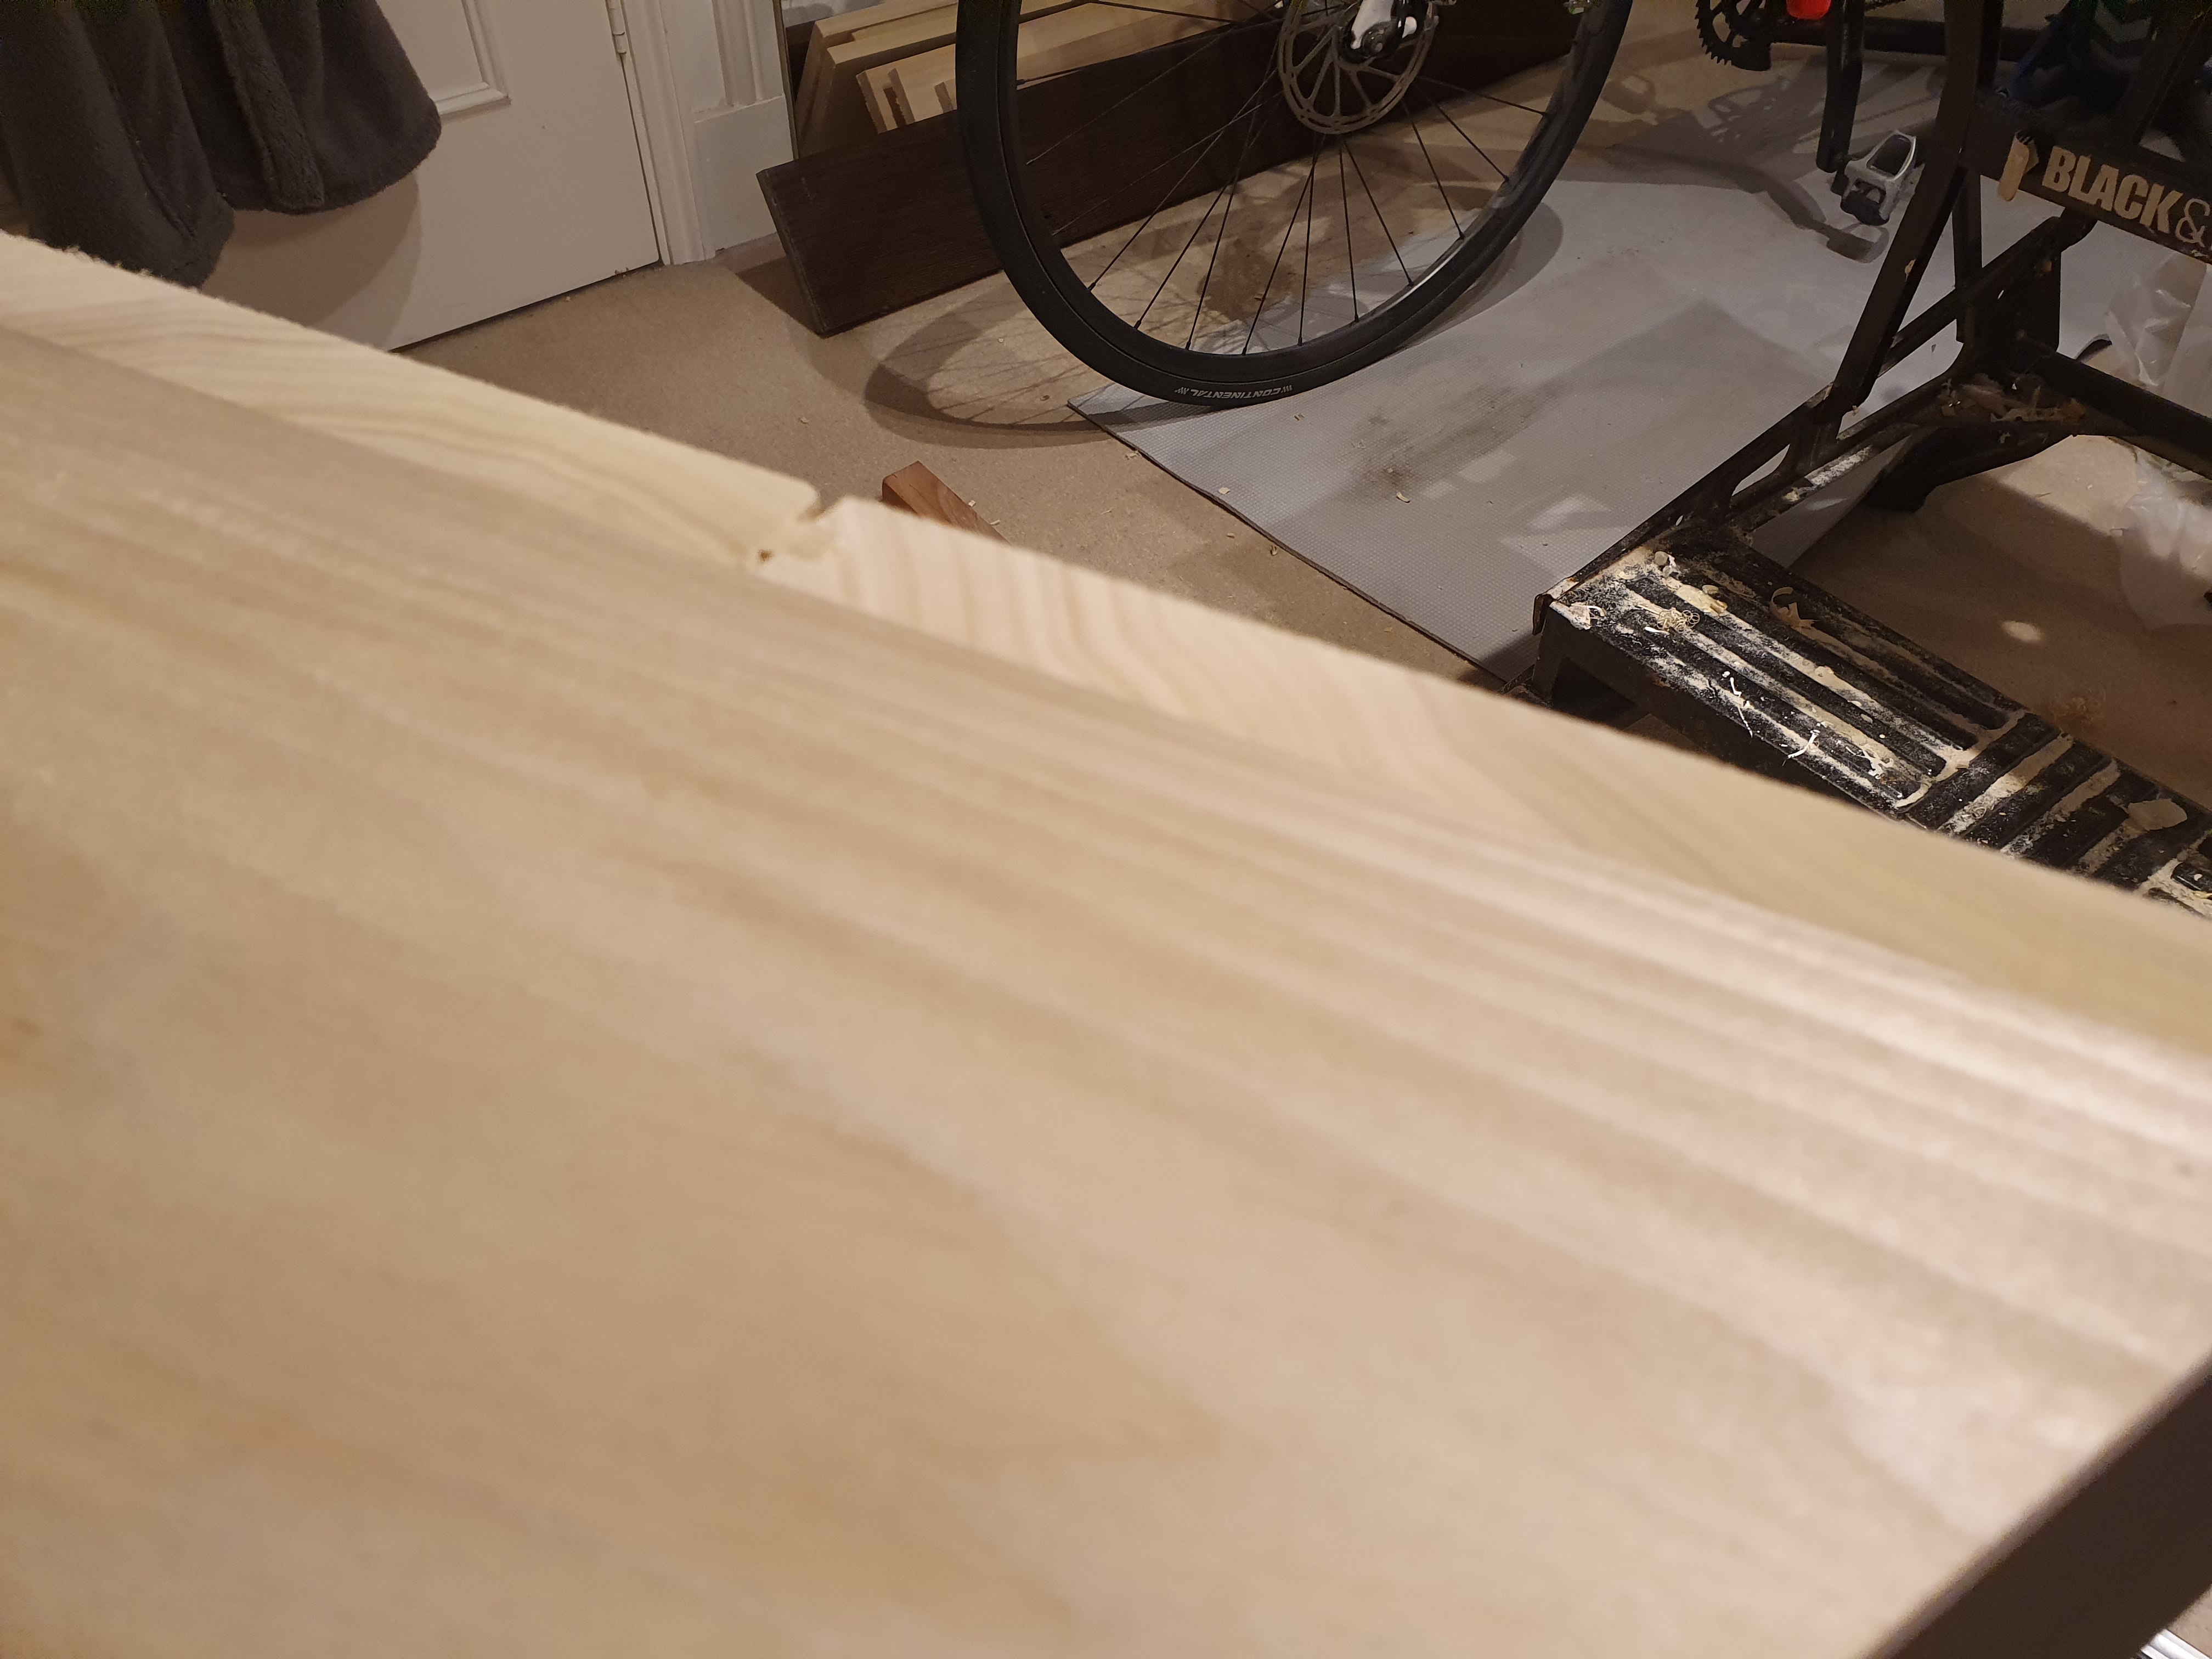
First up was joining my boards for first few sections and then flattening and thicknessing the resultant panels. I’m using the mini workbench I made with the extension out which gave enough room between dogs for the length I was working with. I’d love a bigger bench but this beats the workmate for workholding hands down.
Then onto dovetails for the bottom corners. Here to make it easy with the wide panels I rigged up a Moxon-like setup with some spare wood and some clamps. It worked really well and I’m thinking I may have to make a less hacky version as an add on to my mini bench.
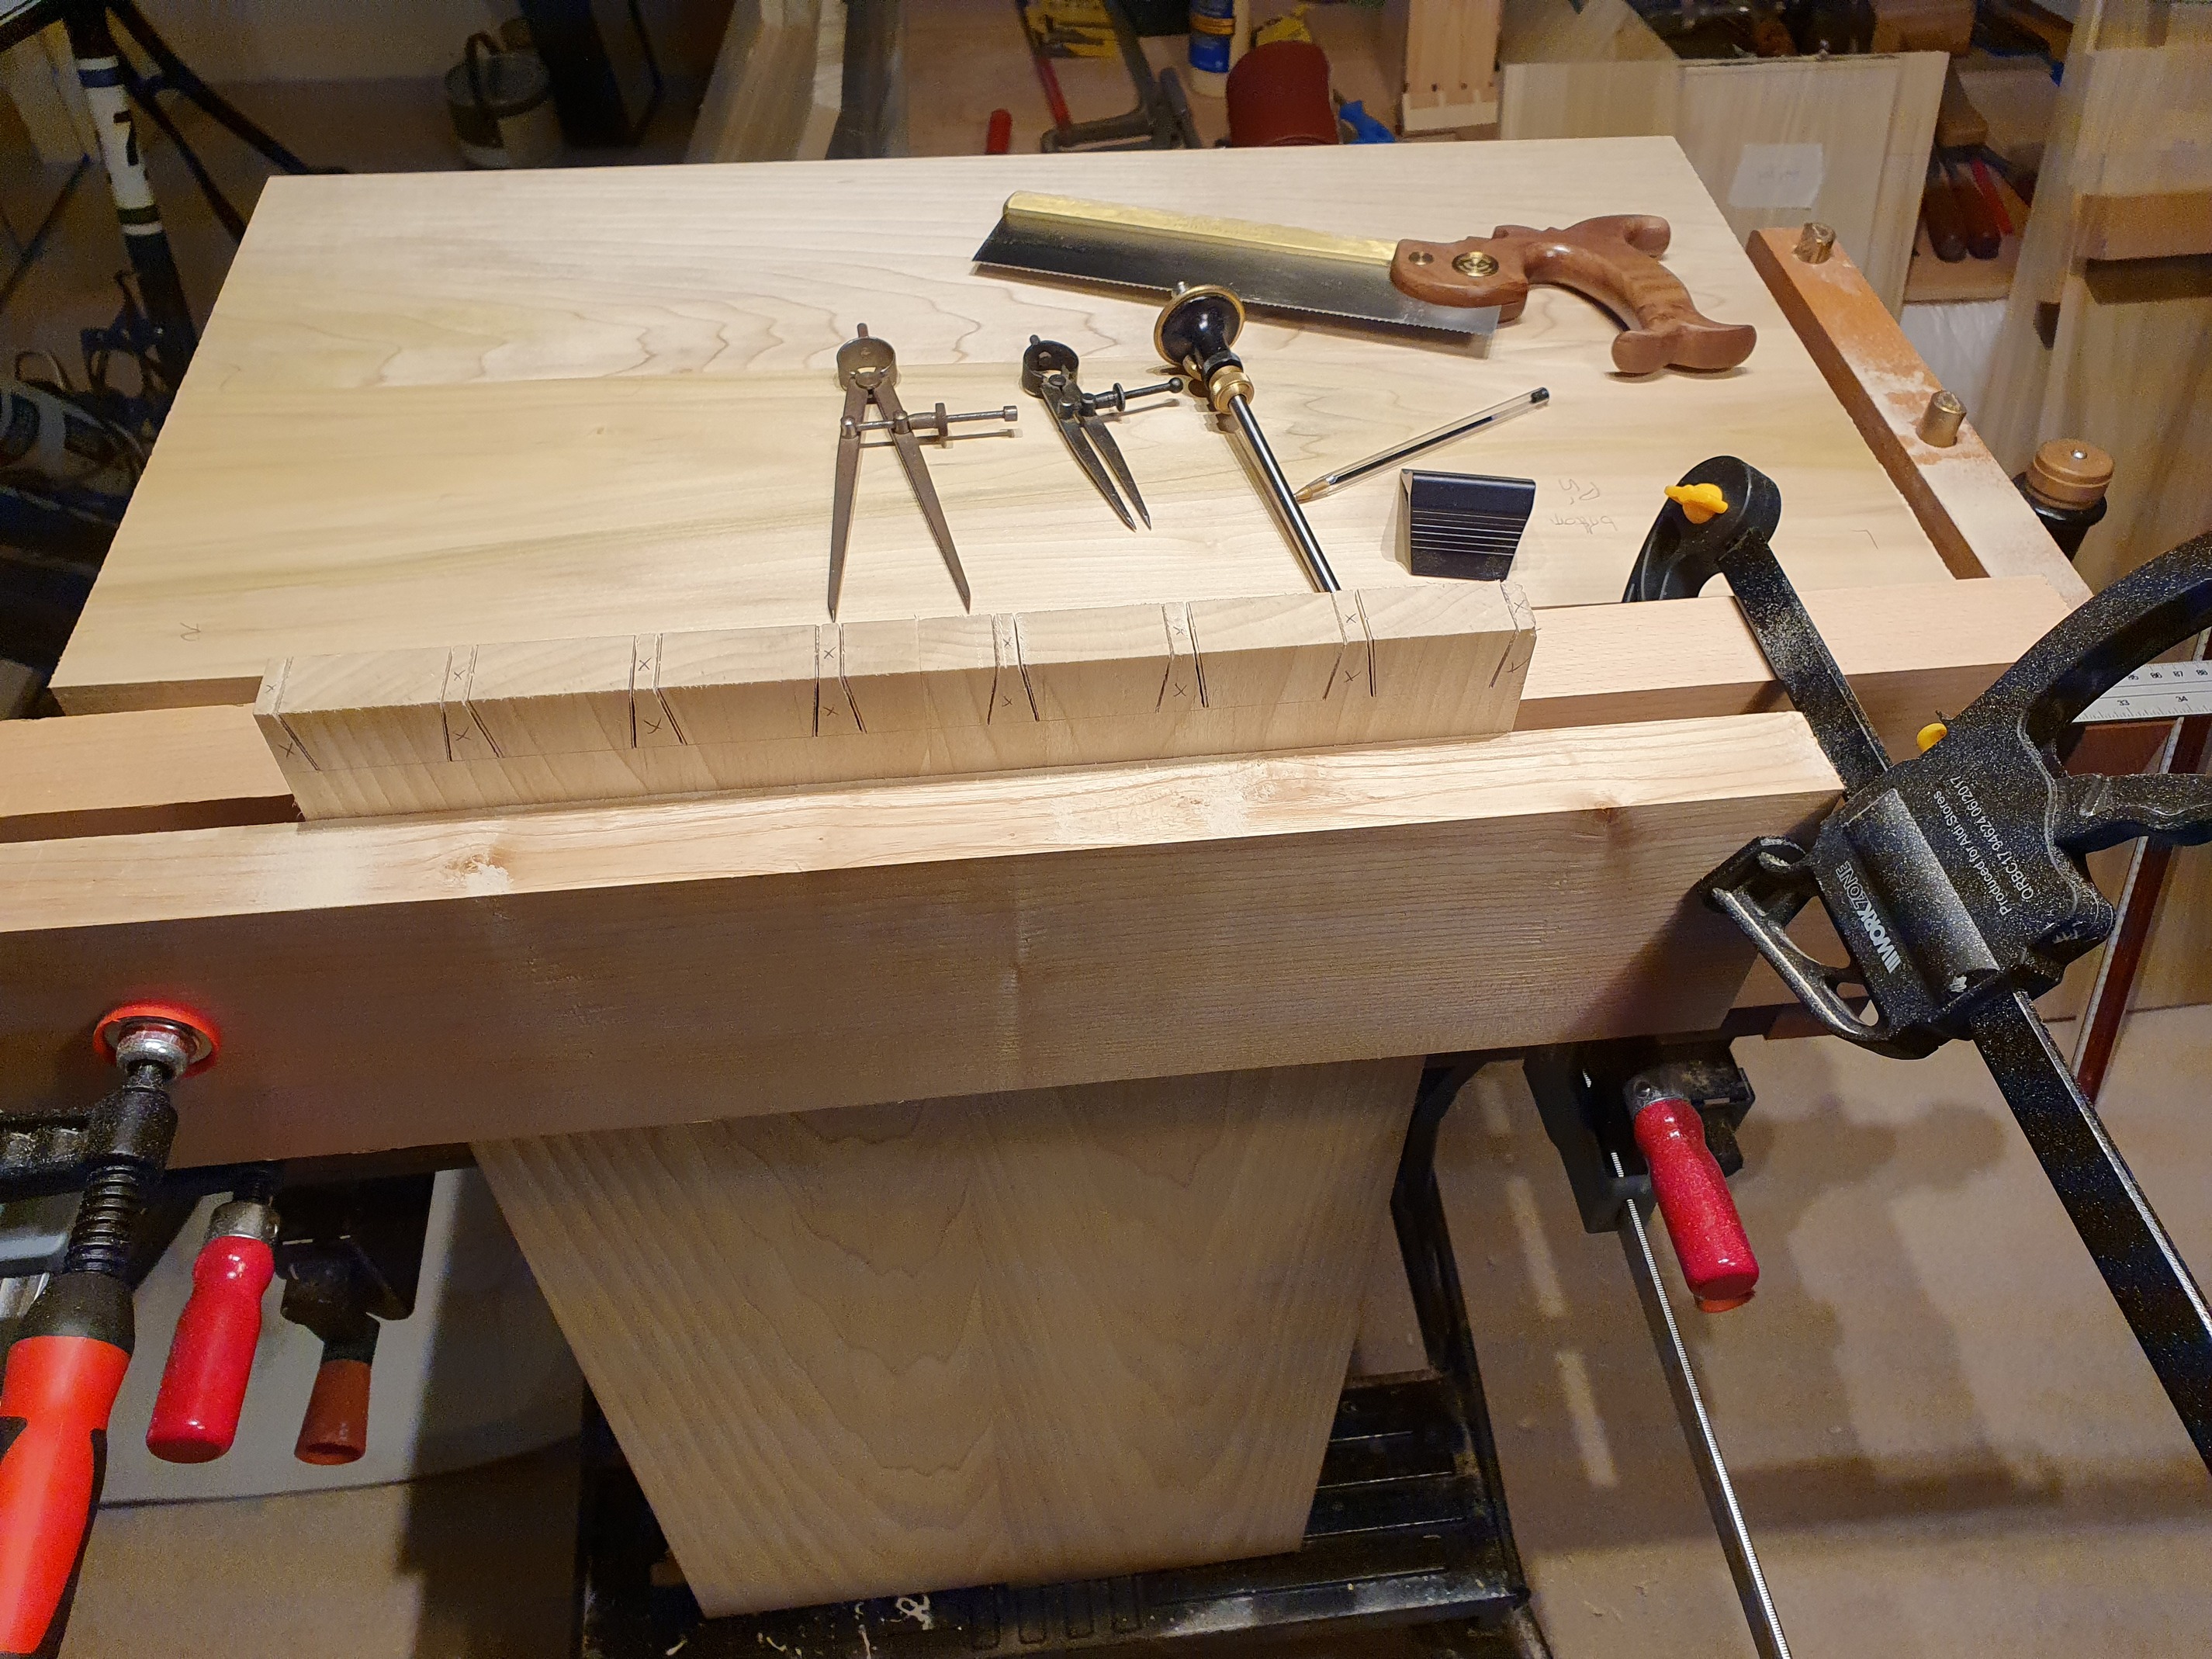
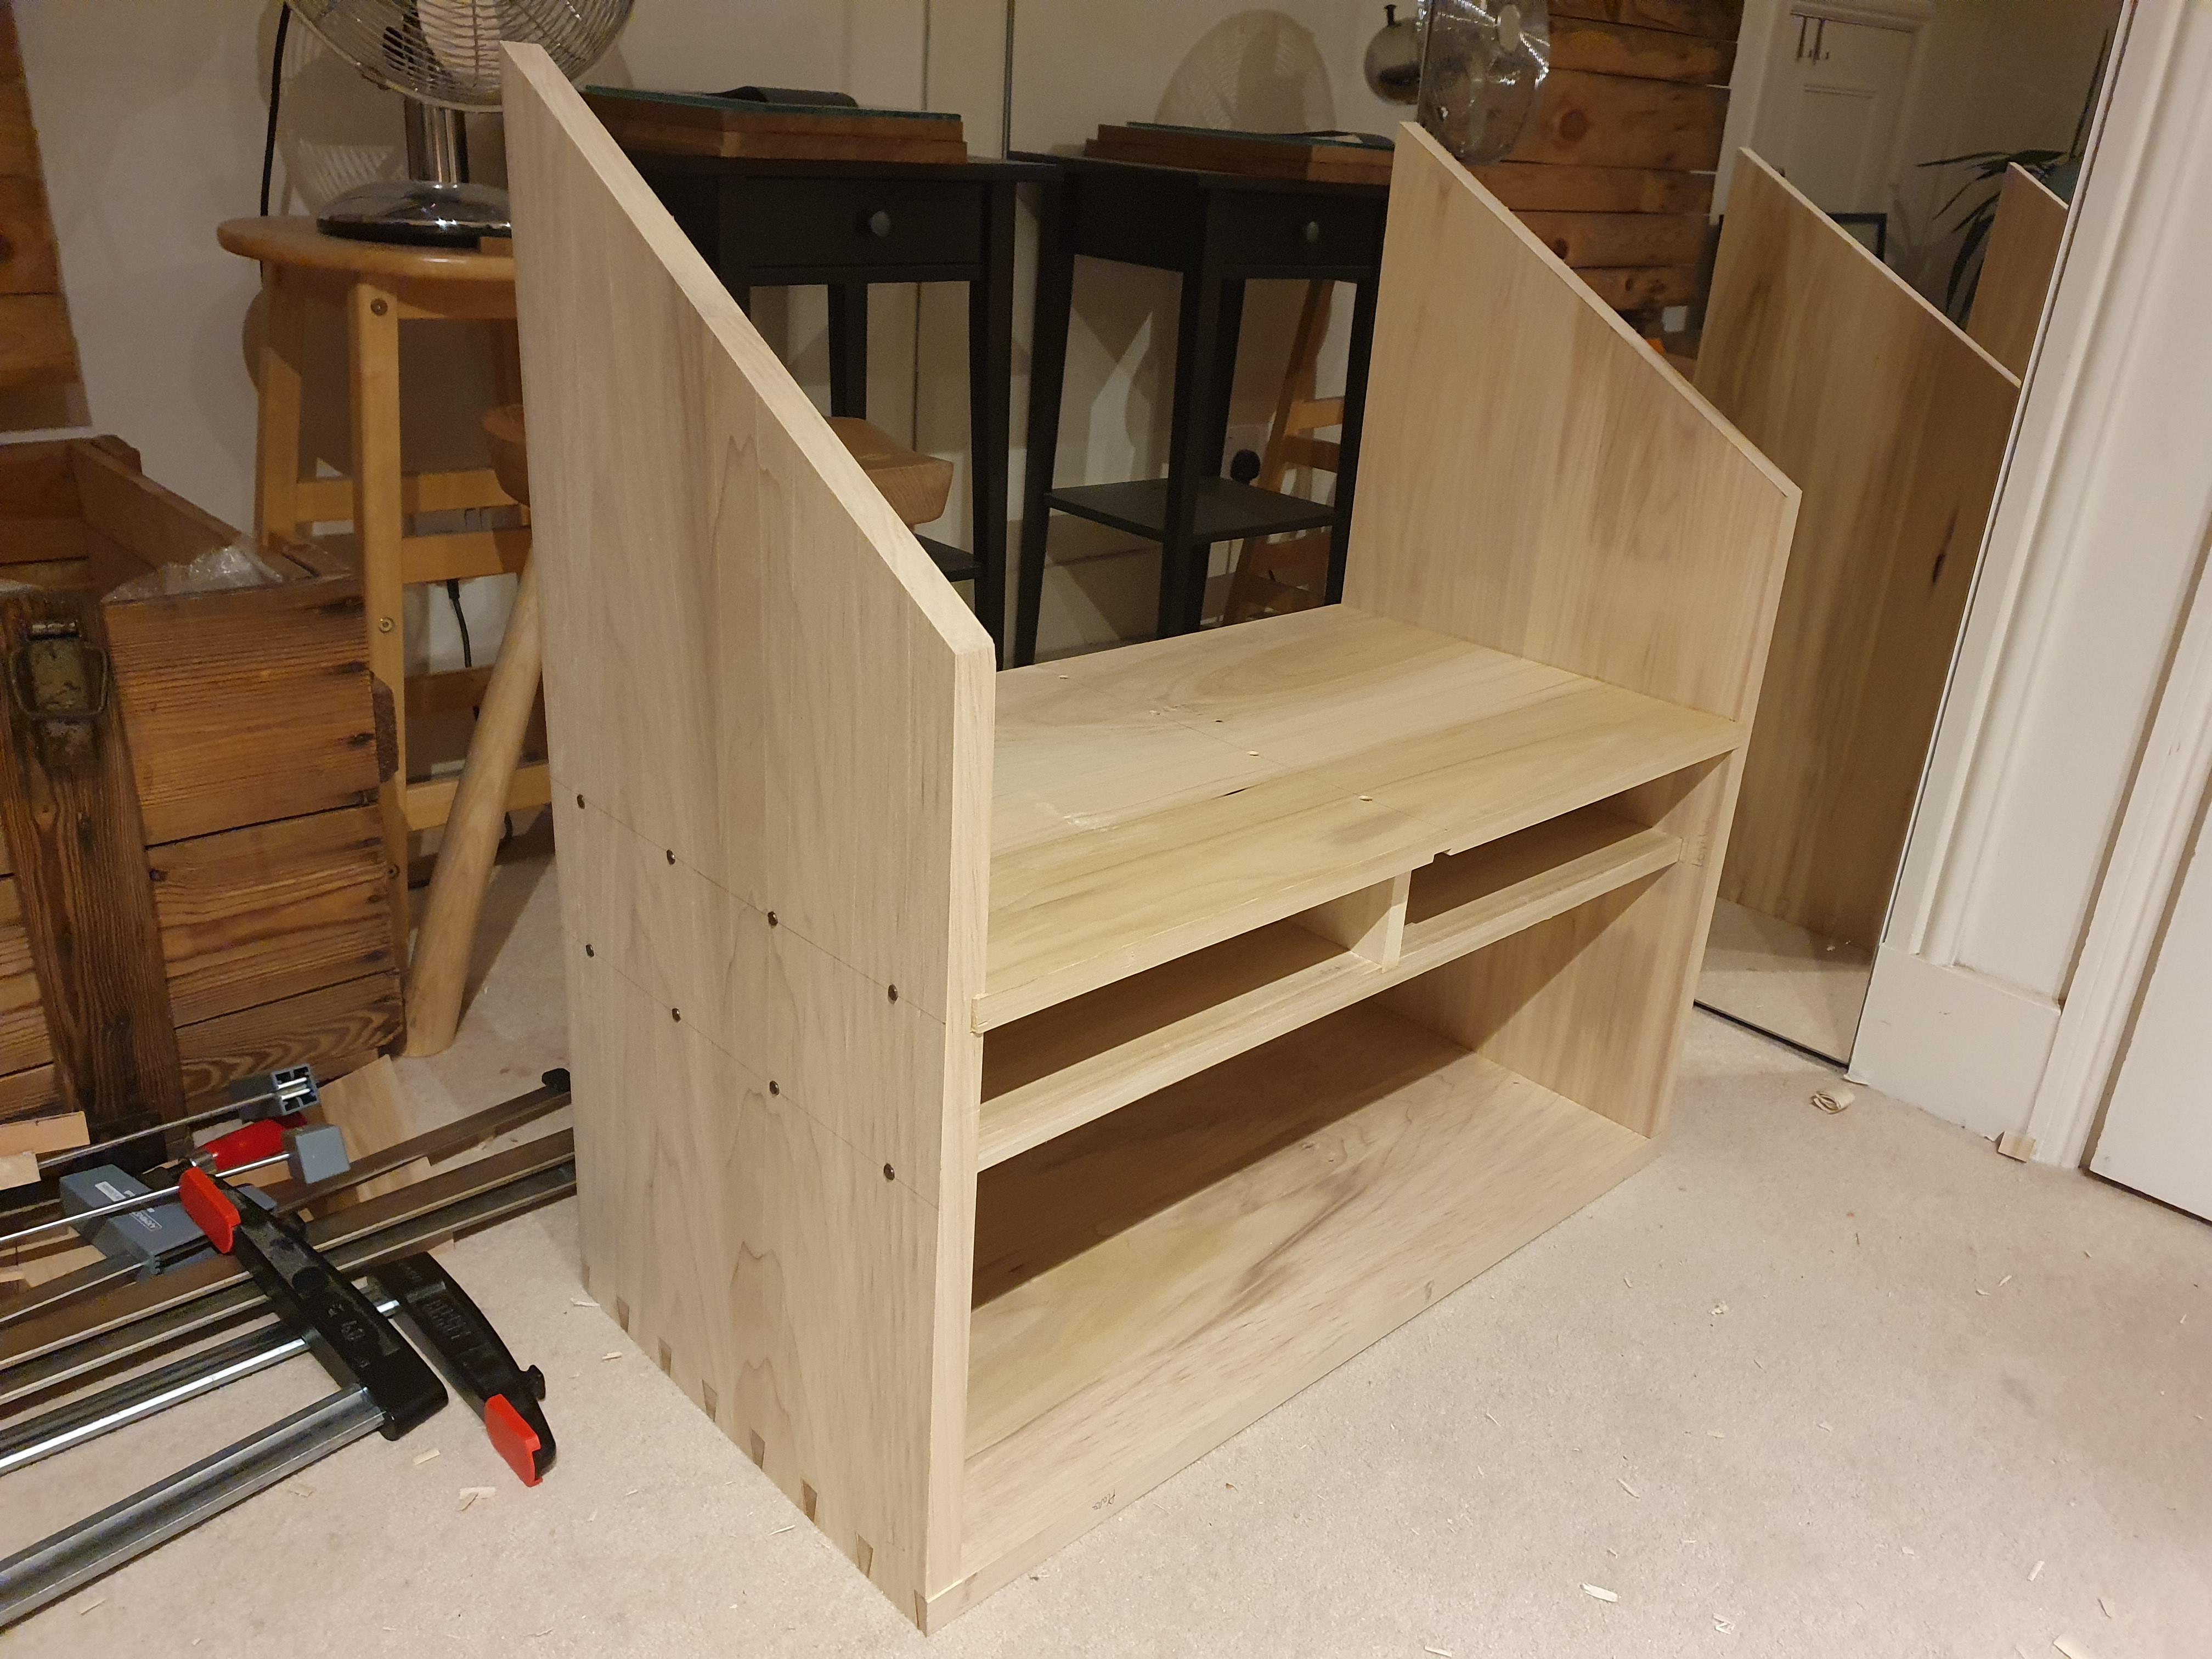
Next I cut dados for two shelves, the upper shelf will hold my main tools (planes etc) and the bottom shelf is divided and will have two drawers. The dados for the bottom shelf stop short of the front so that the locking mechanism for the front (in a future update) can clear the drawers and the shelf.
Next up I’ll be planing all the pieces to line up at the front and the back, and then onto the front and the back of the case. The most daunting tasks will come later with making the lid which has breadboard ends (never done before), making some nice drawers with half blind dovetails (never done before) and then fitting out the insides.
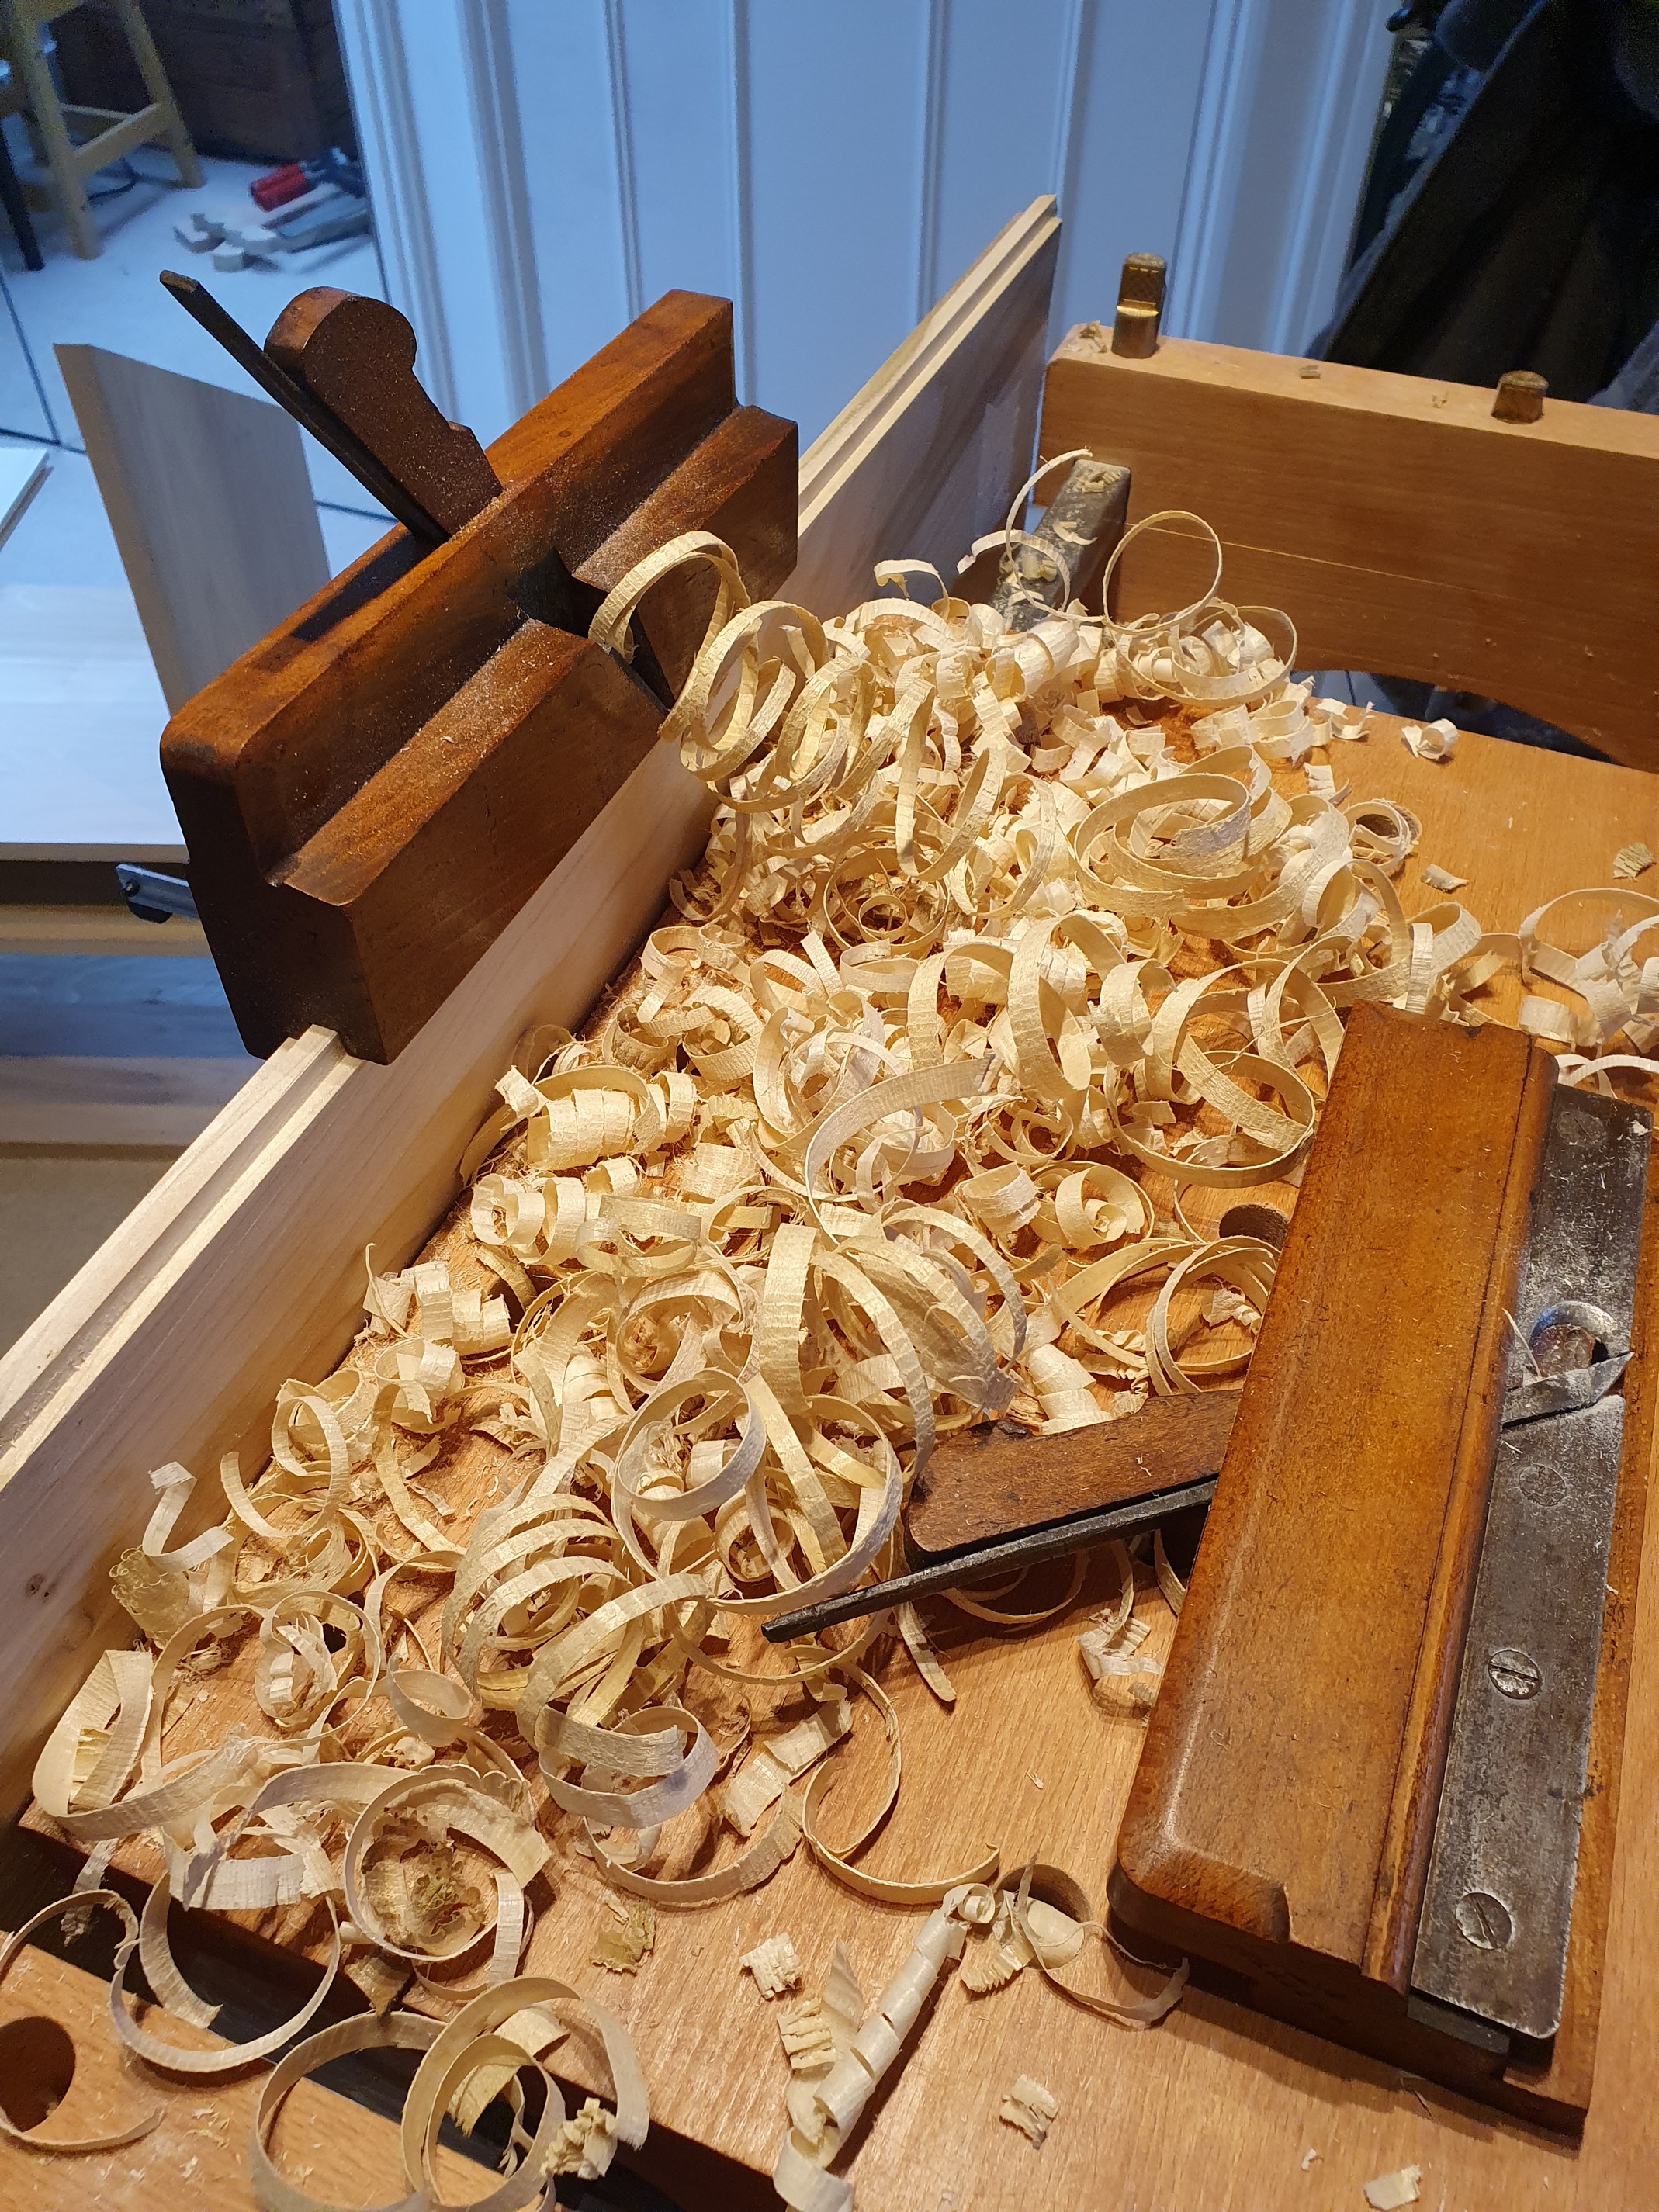
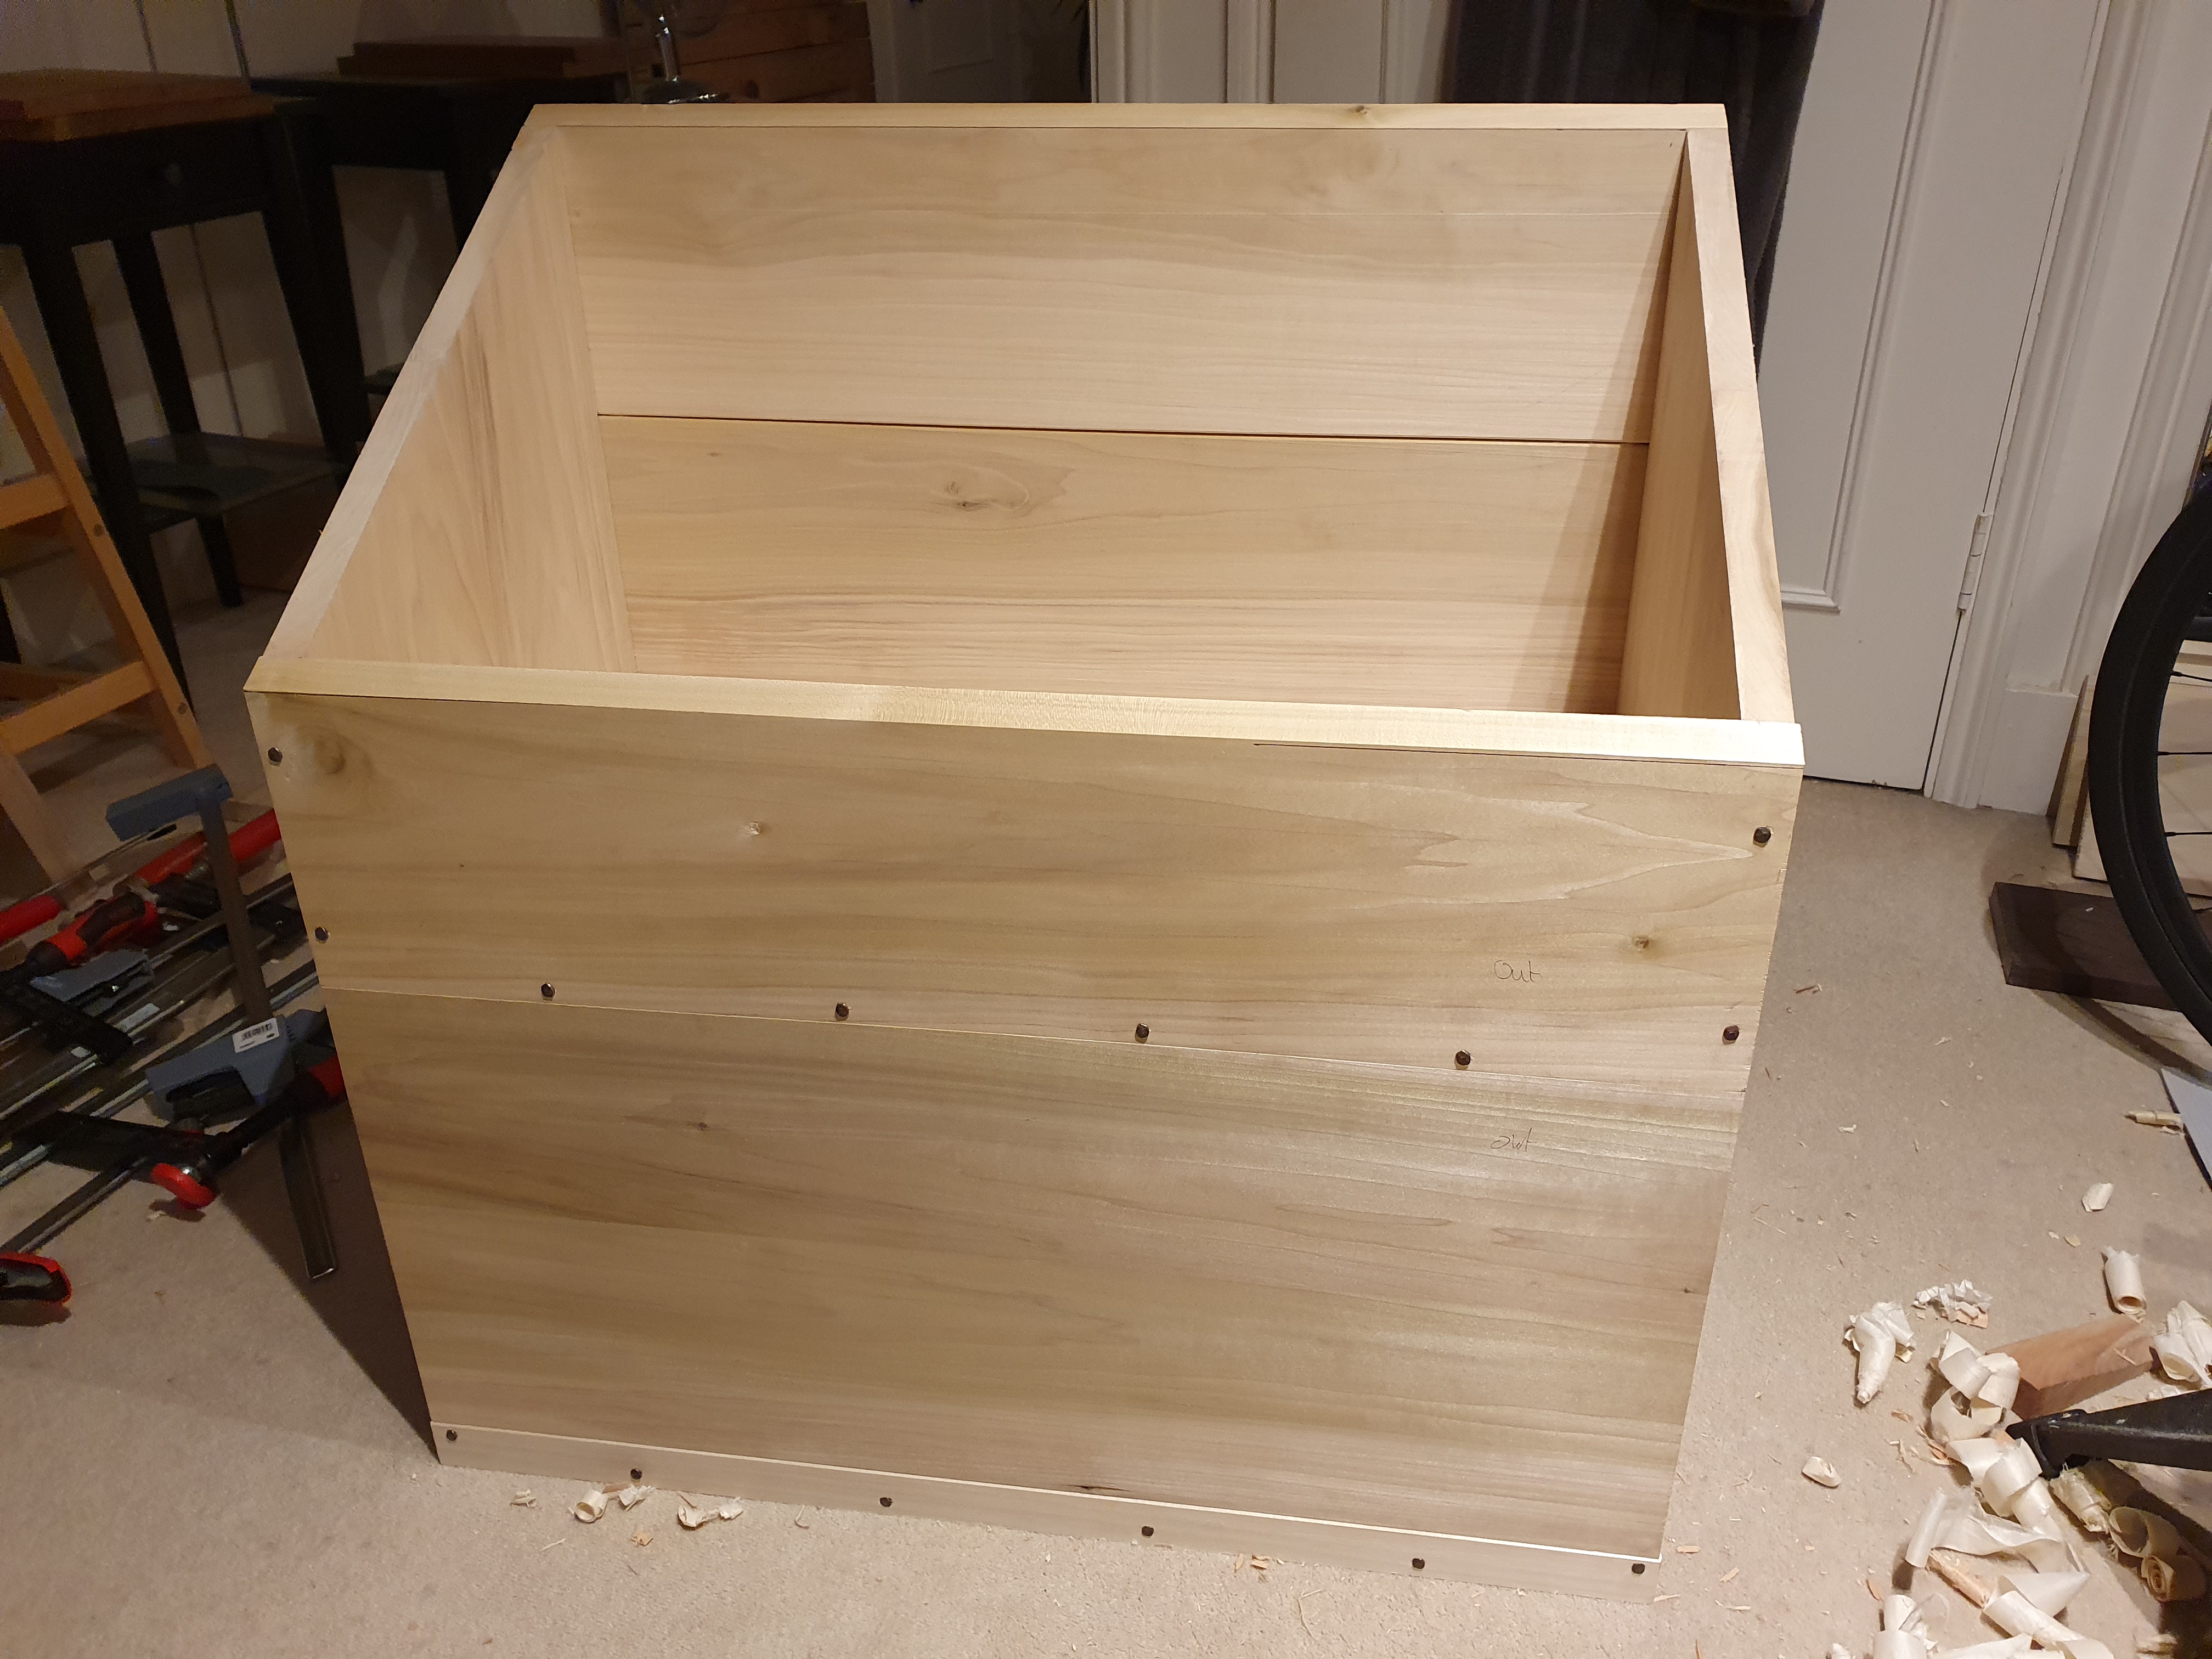
The back is now on and flushed up. I used some wooden tongue and groove planes and four boards to make the panel, then its nailed on the back on with space for seasonal movement. I also slightly champfered the boards where they meet to make the gap look more purposeful. Very happy with how this part has turned out
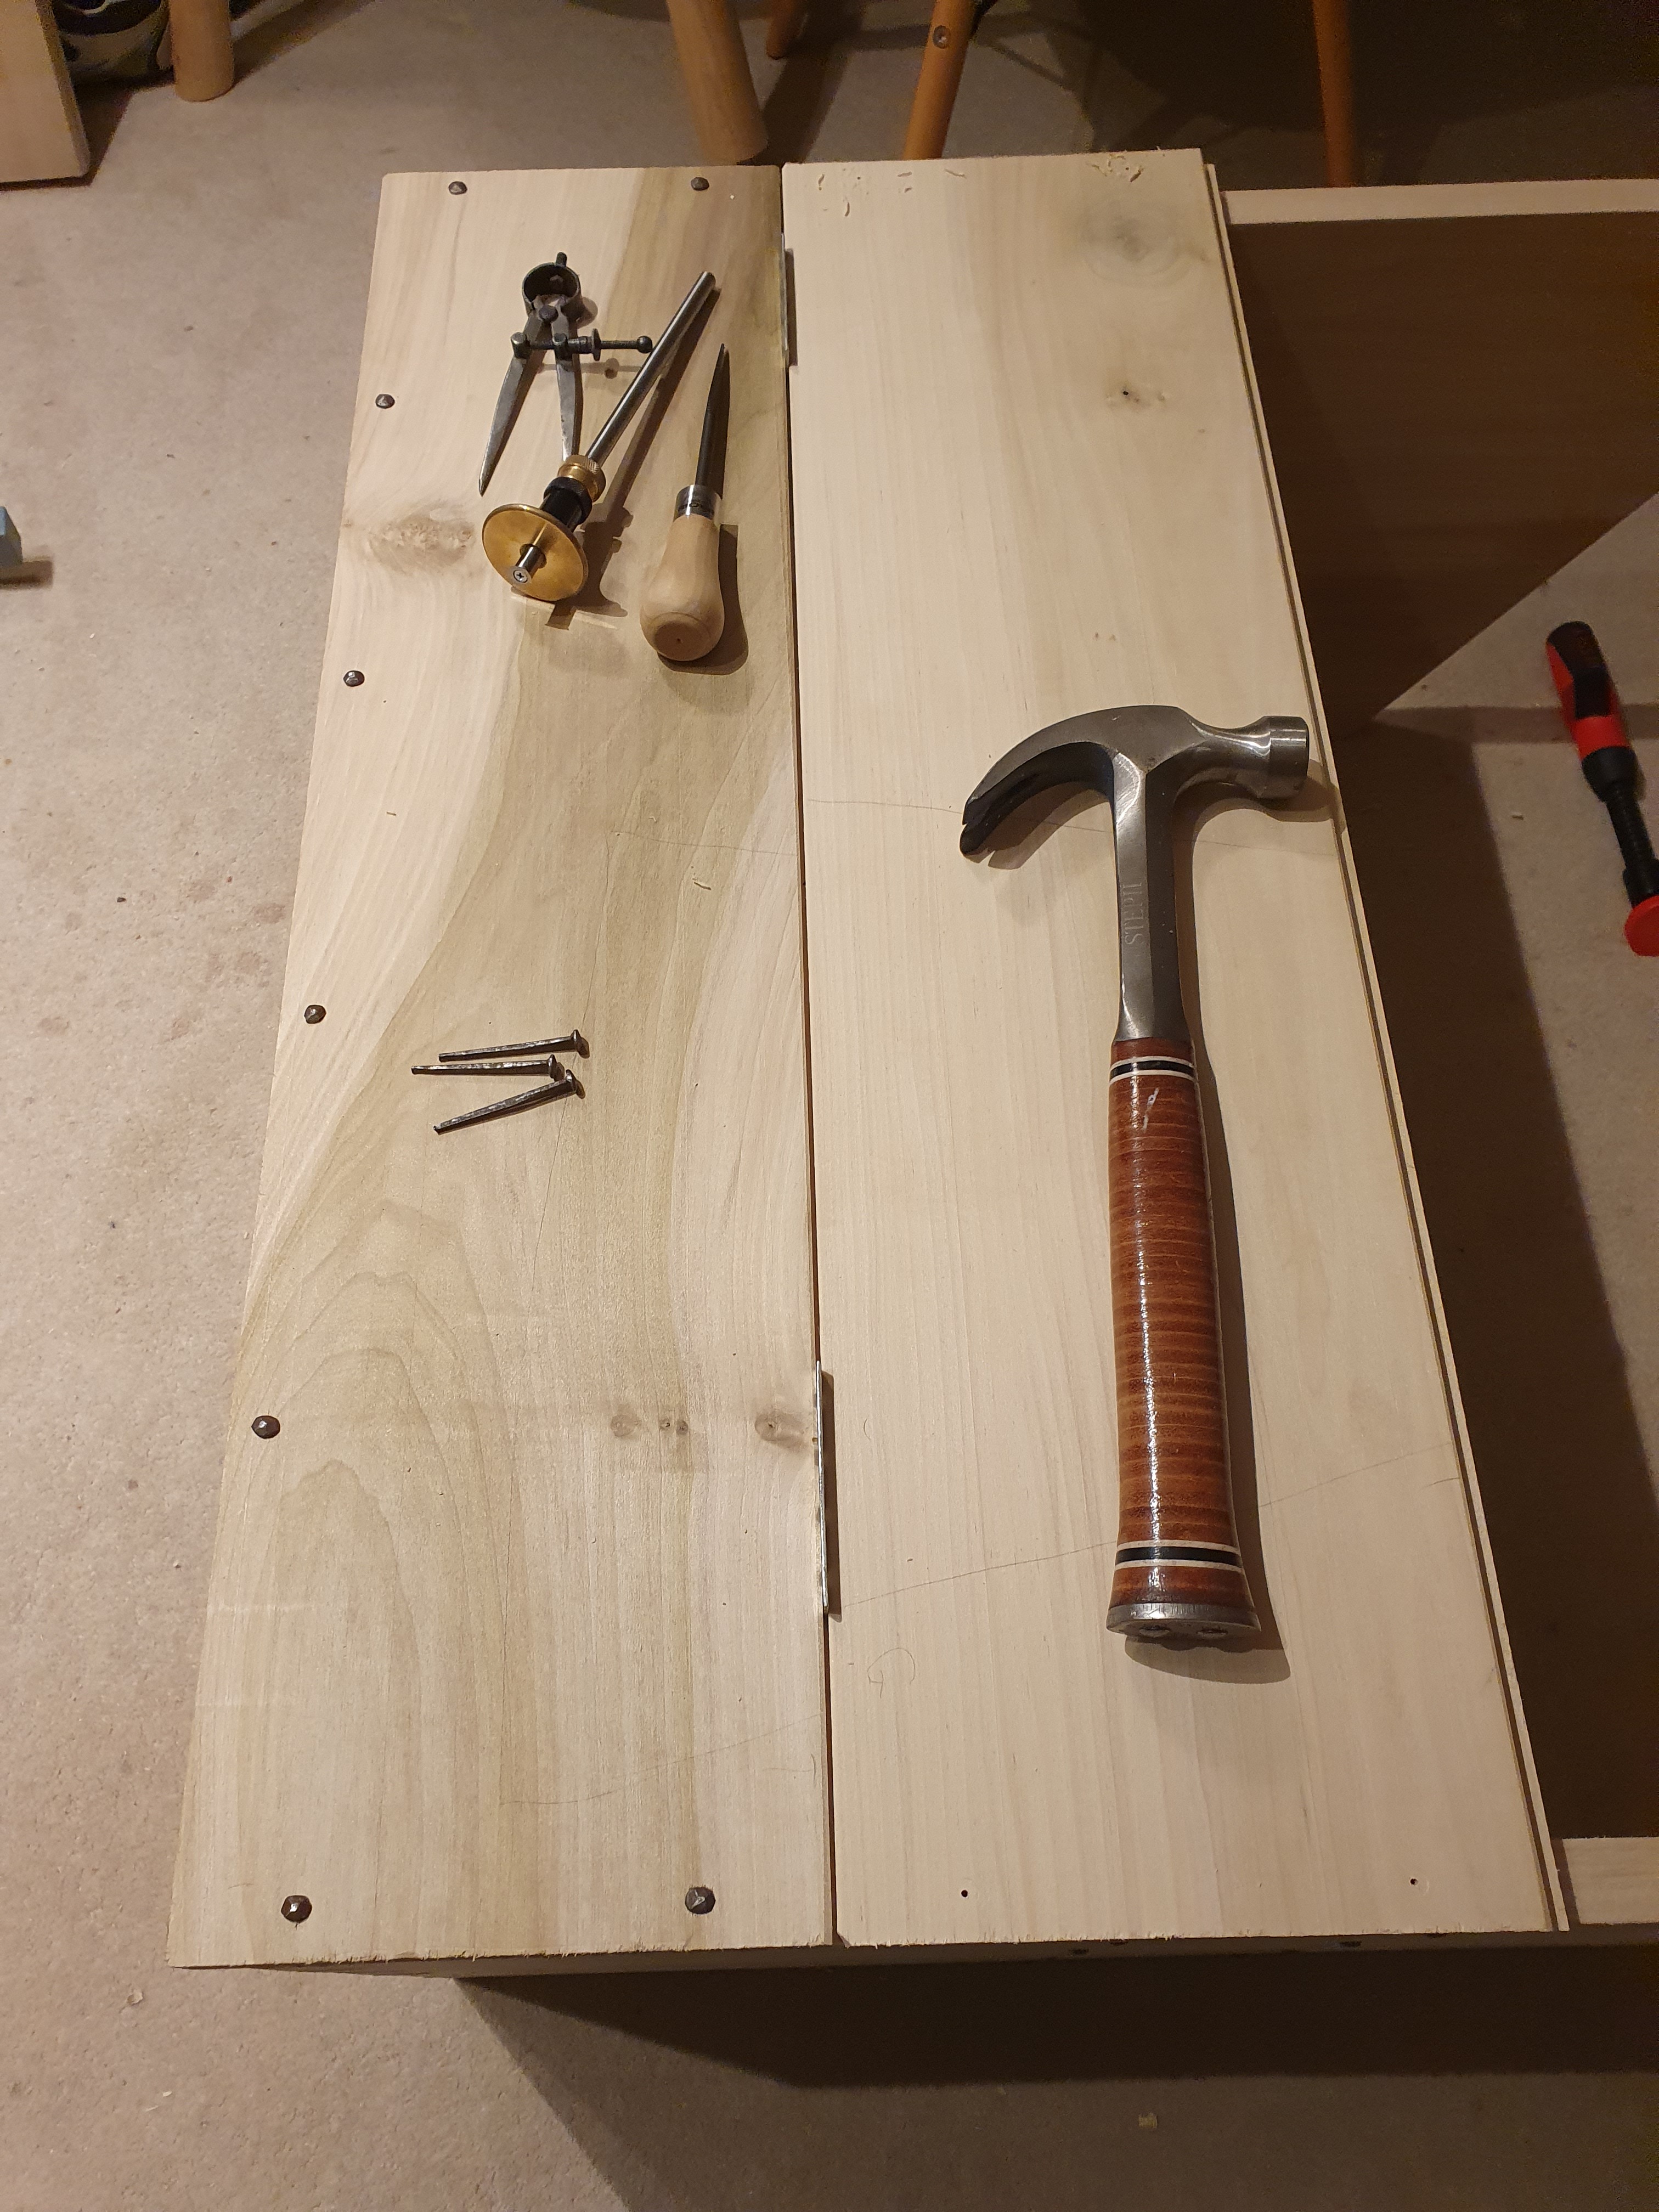
I’ve also notched out where the fall front’s locks will go in preparation for doing the front at some point this weekend.
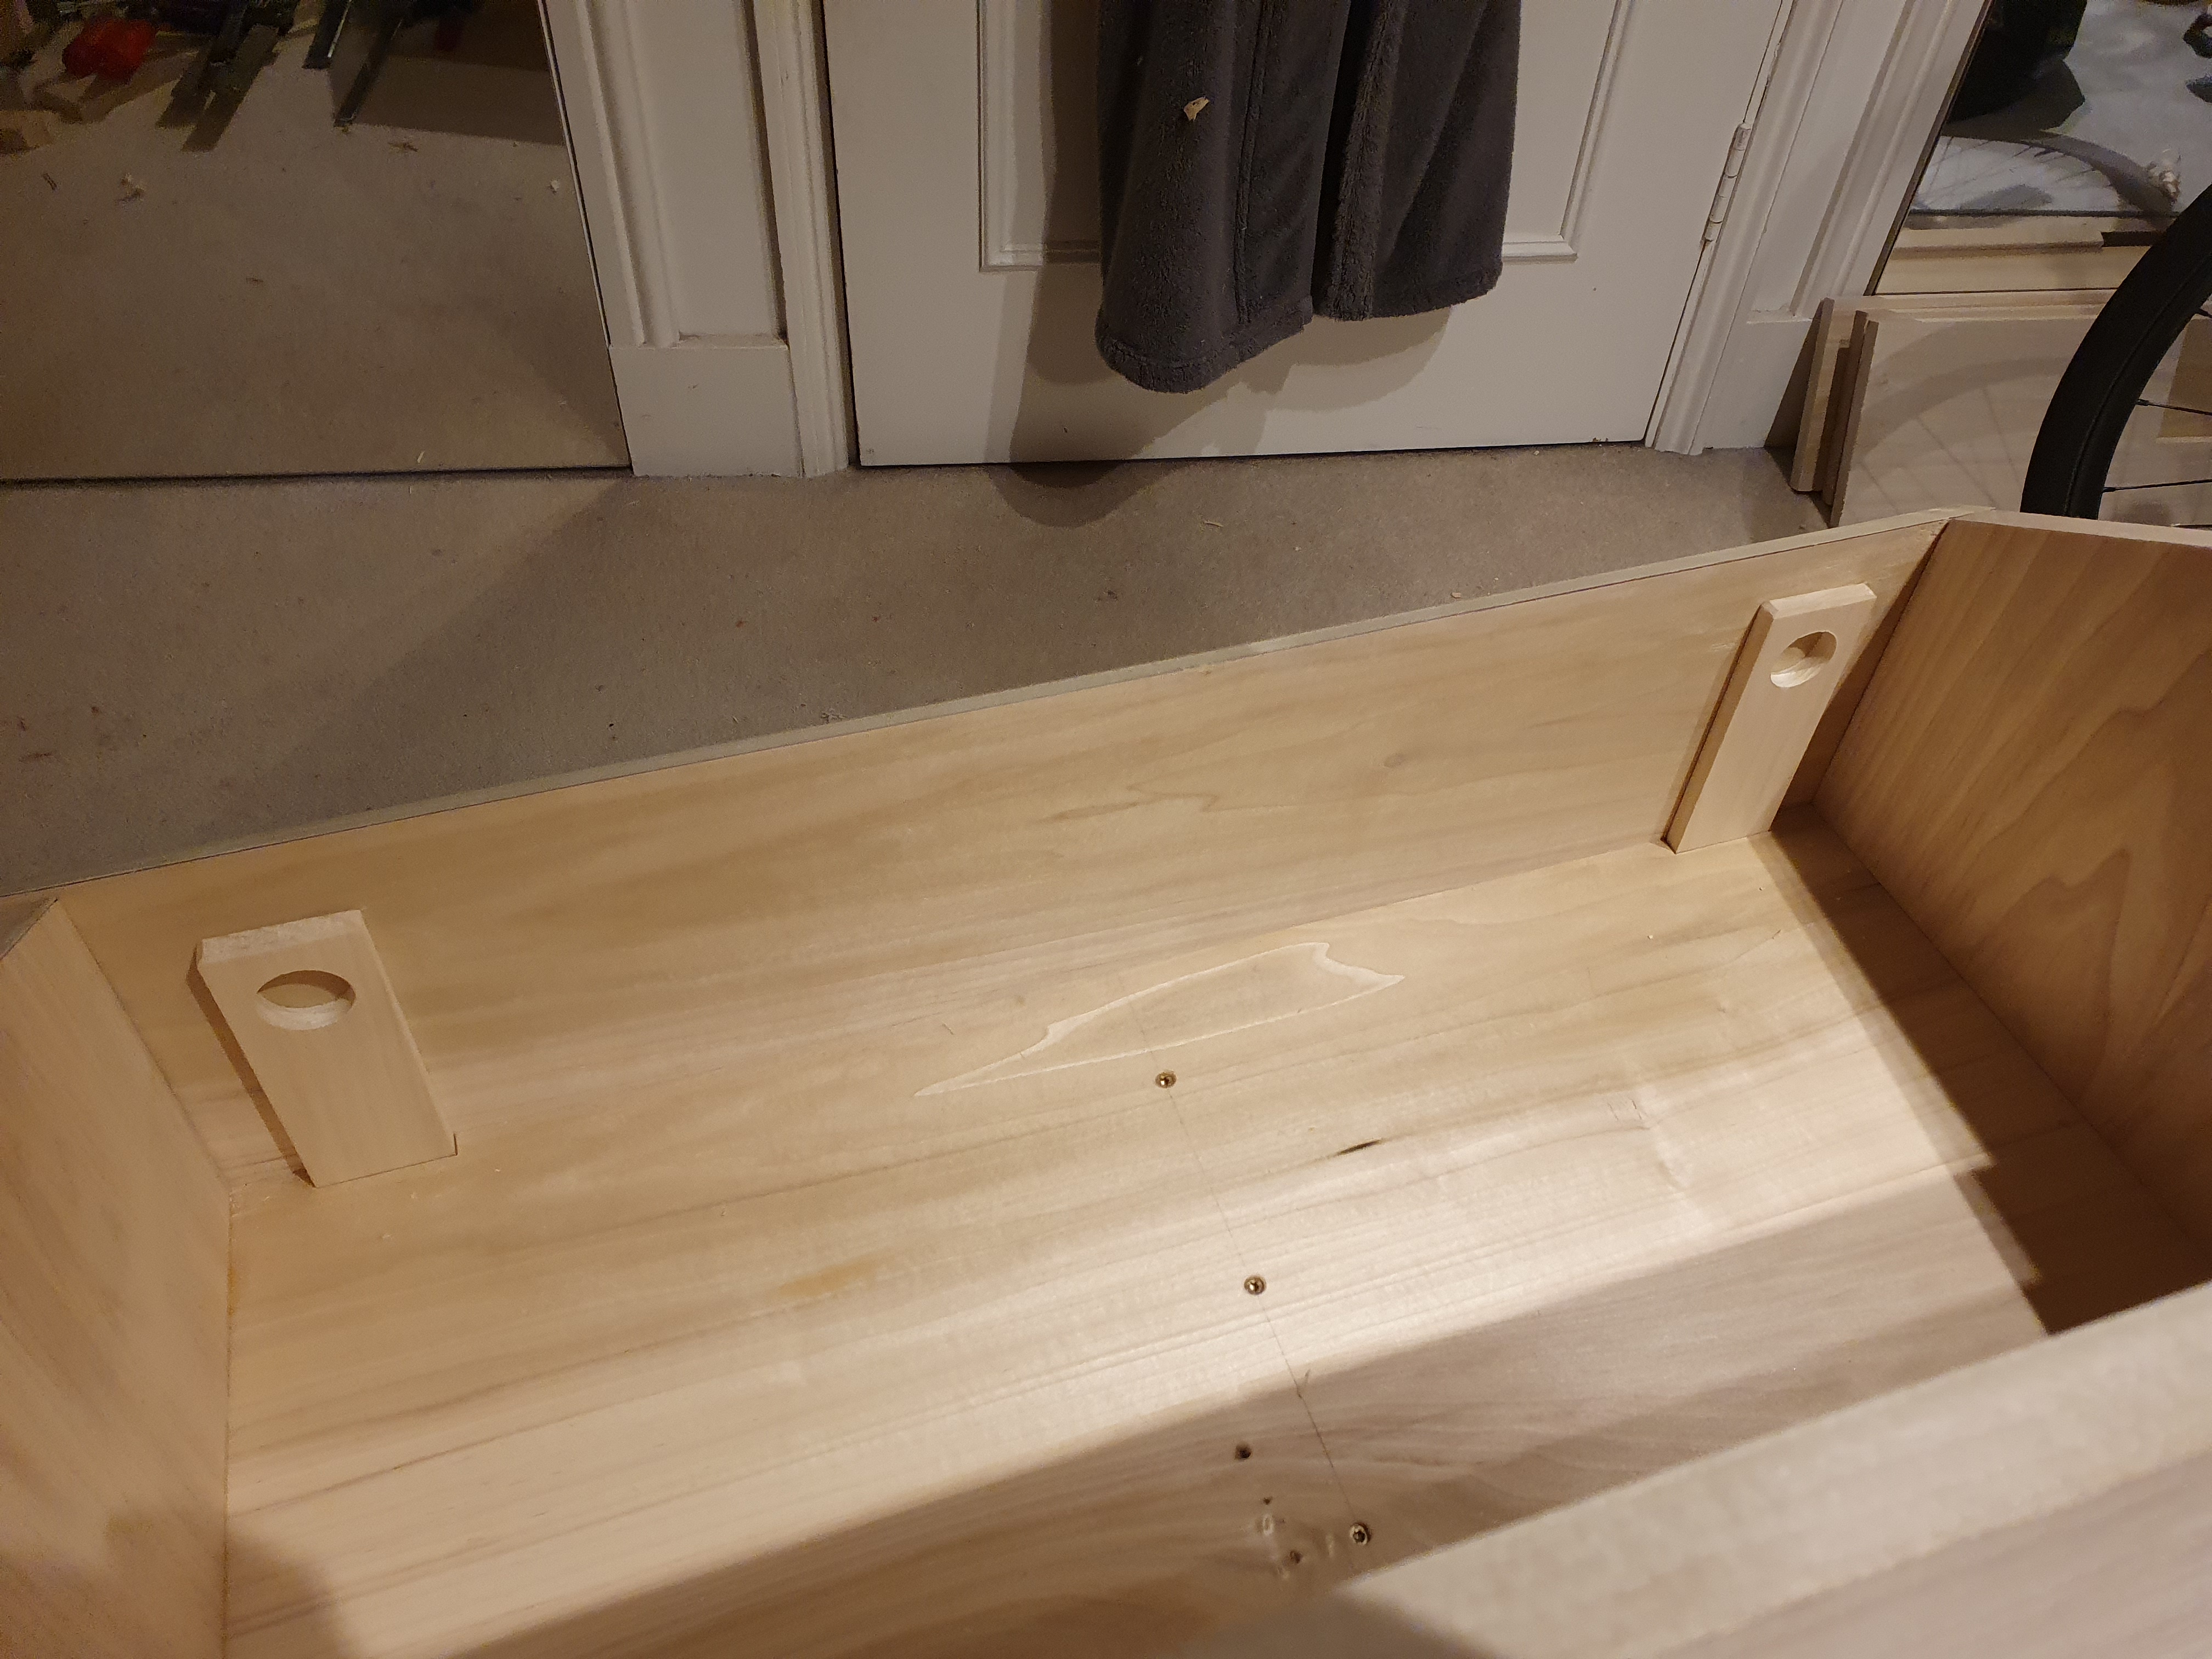
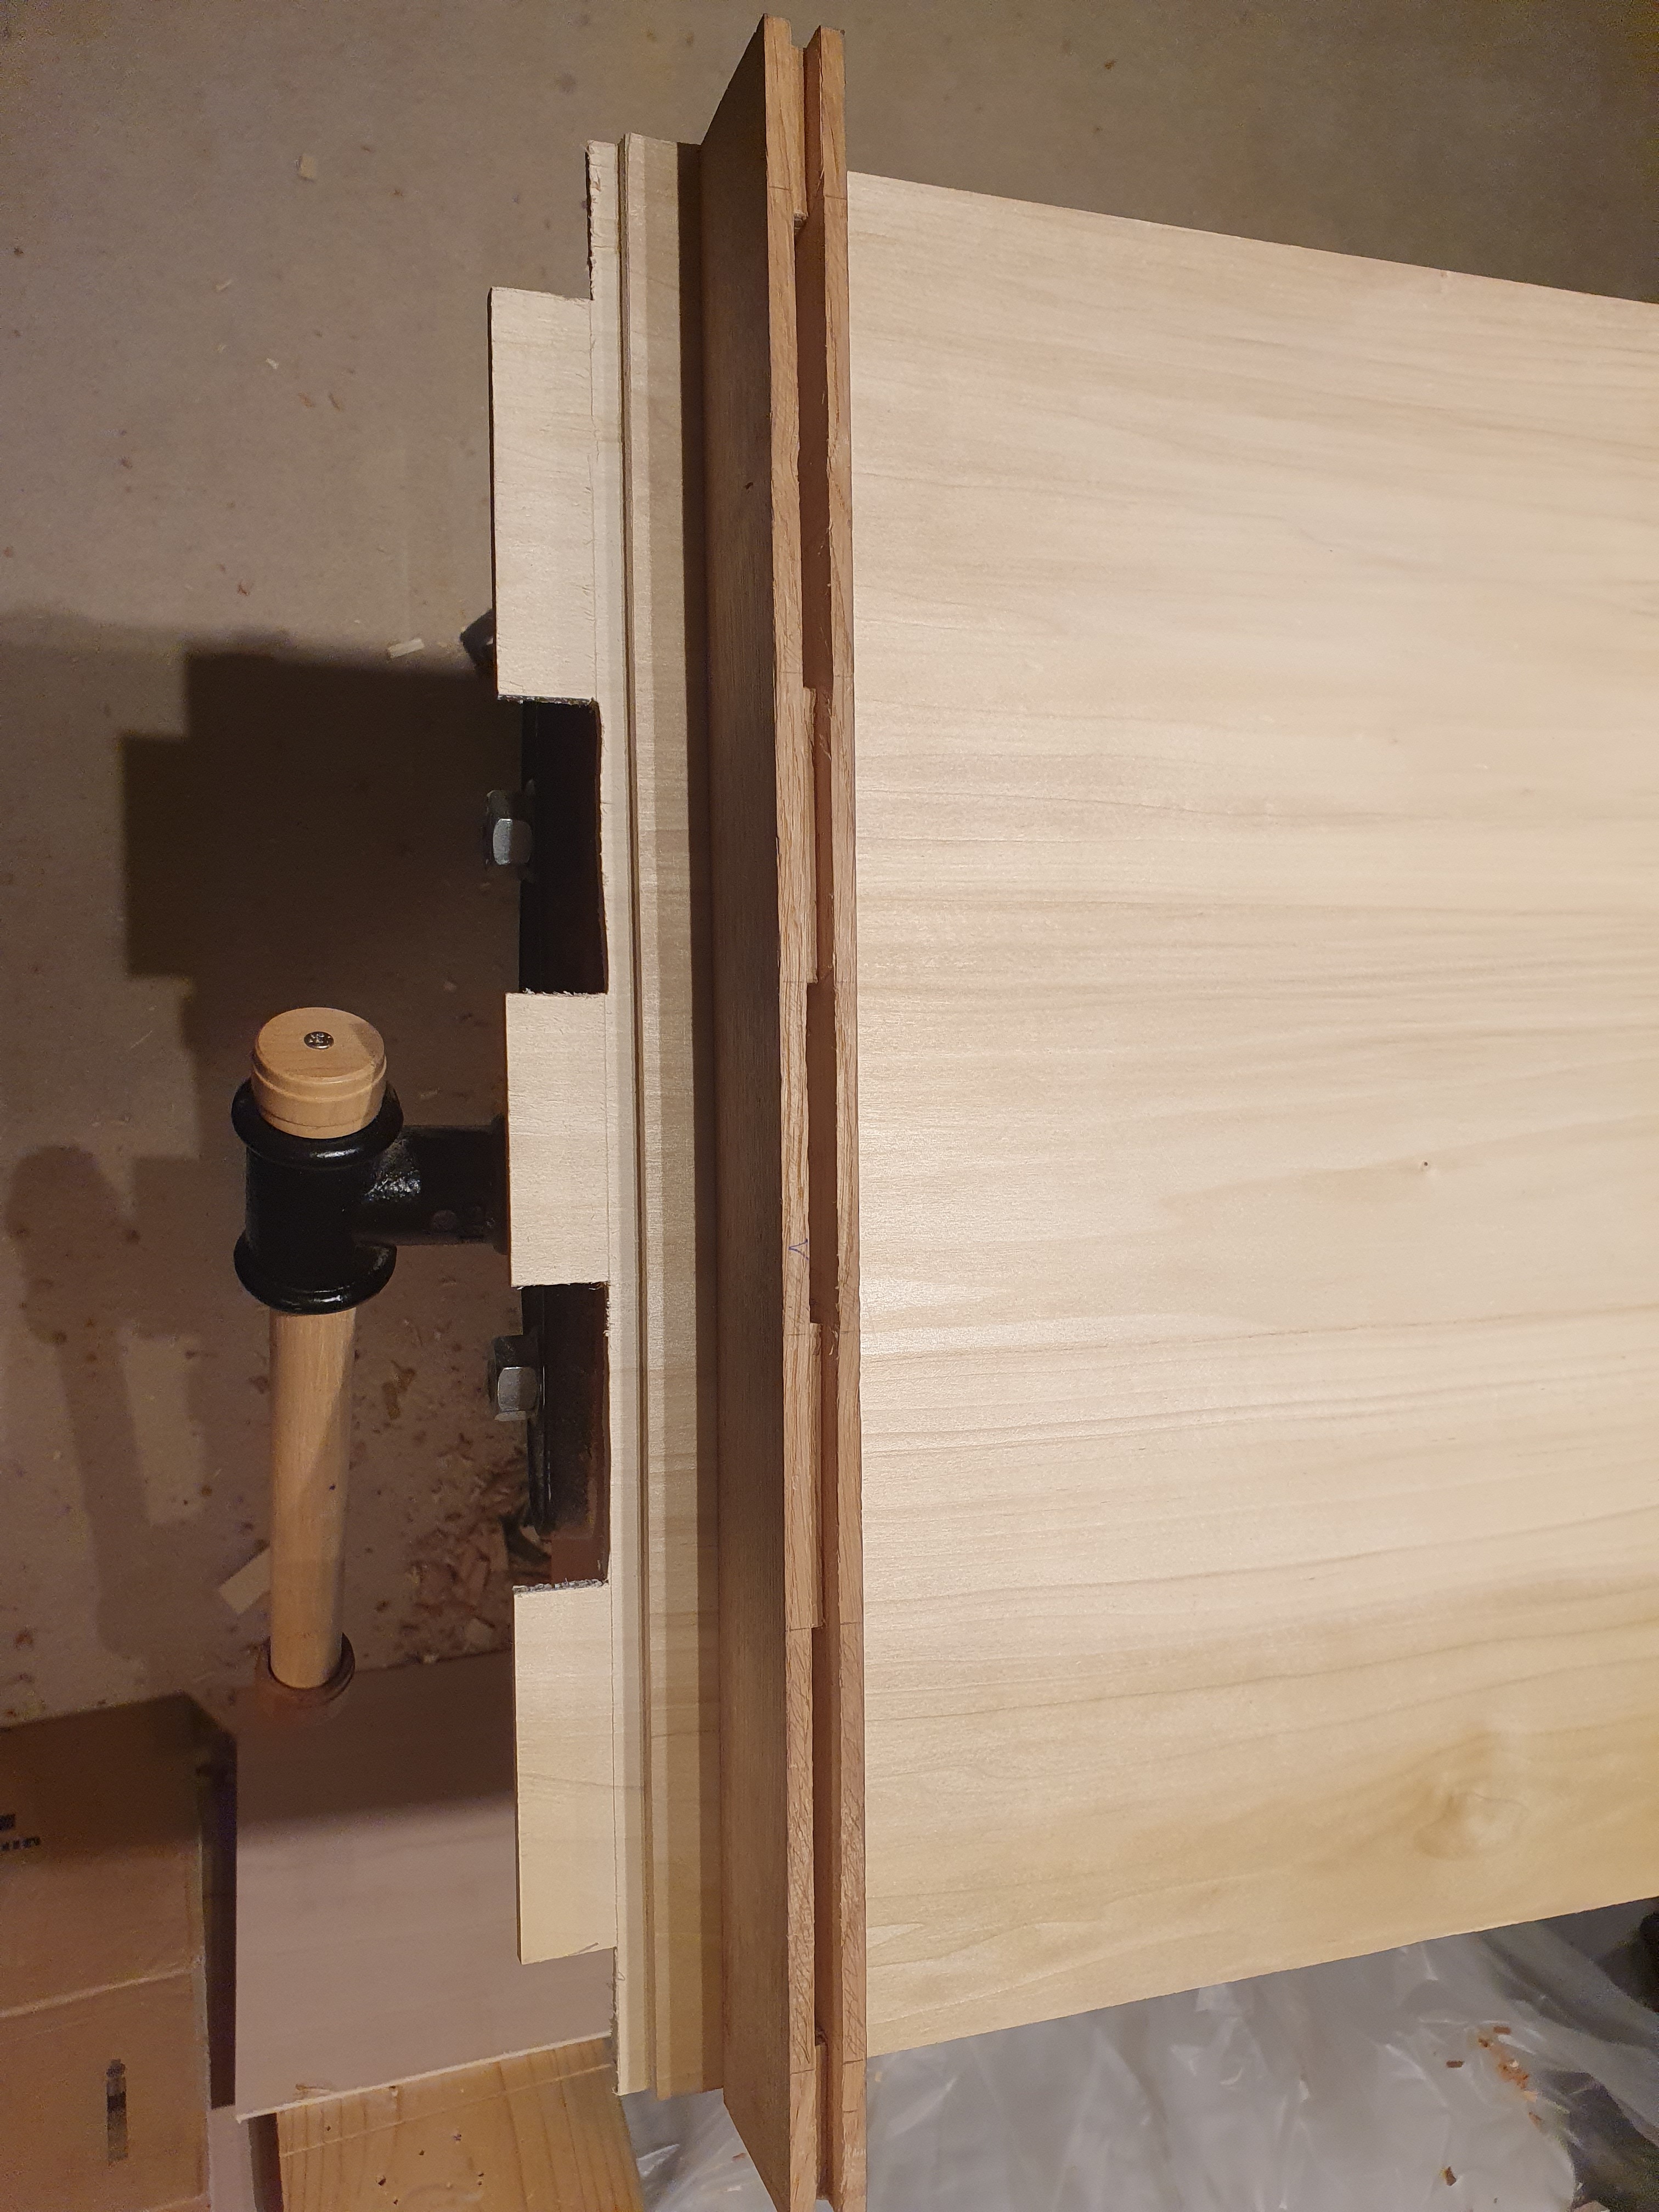
Pull them out and the fall front is able to come out. I used some leftover beech for the battens and the catches. The battens, serve a dual purpose of holding the front nice and flat and protrude below the bottom to locate the fall front on the lip at the bottom
I may or may not put some kind of moulding (a bead or something, or maybe a rebate) on the fall front for aesthetics. I don’t currently have any moulding planes though so we’ll see.
Those battens are good and thick - mine were a bit thin and I did regret not doing it properly in the end.
Beading wise you may find it easier to put it on the lower front edge of the upper compartment - also helps hide the shadow gap at the top of the door. I look forward to seeing the rest of it!
Yeah I stopped the lower shelf about 25mm back from the front to leave plenty of room for some decent battens. And I think for the fall front battens make a lot of sense as it serves as a catch as well.
I’m going to try breadboard ends for the lid though. Annoyingly I don’t have a narrow enough chisel for the mortices yet or a plough plane so I need to do some thinking before I proceed. I think the tenons I’ll saw, split out lots of the waste with a chisel then use the router plane but the mortice I’m not sure yet.
I quite like one example of a fall front where they did a rebate all around the edges which I thought looked good as an alternative to a moulding. No rebate plane ATM but we’ll see. I guess plain is also a legitimate option! It looks good as is to me
On an unrelated note I also just bought the anarchists design book of your recommendation! Hoping to find my next project reading the essential woodworker first though, some good tips from it so far
Hey @mikekelly, I got the wood from surrey timbers. I’ve used them for my last few projects and found them to be pretty good. You’re not going to get the bargain of the century, but it’ll turn up quickly and in good shape. I also went there before to pick stuff out and its a nice timber yard. Its set up with hobbyists in mind I think so they’re helpful, everything is priced very clearly and you can pick through at your leisure.
For the dados:
I marked the first side with a knife (quite deep)
Made a relief cut with a chisel to get a groove all the way along
Used this to locate the shelf and mark the other side
marked across with a knife and chiseled out again
Sawed down to depth along the knife walls with a tenon saw (carefully)
Chiseled out until I was near to the line
Router plane to get to final depth
Was pretty easy although a router plane isnt exactly std kit. The stopped ones were a little more tricky as it was harder to saw down but it just meant a bit more chisel work
its not so bad as you make the little channel with a chisel first so your saw locates and runs against the knife wall. You can also just clamp a block in place and run the saw against it which is a little less risky… no chance of slipping into your nicely planed surface (which I did on one of them)
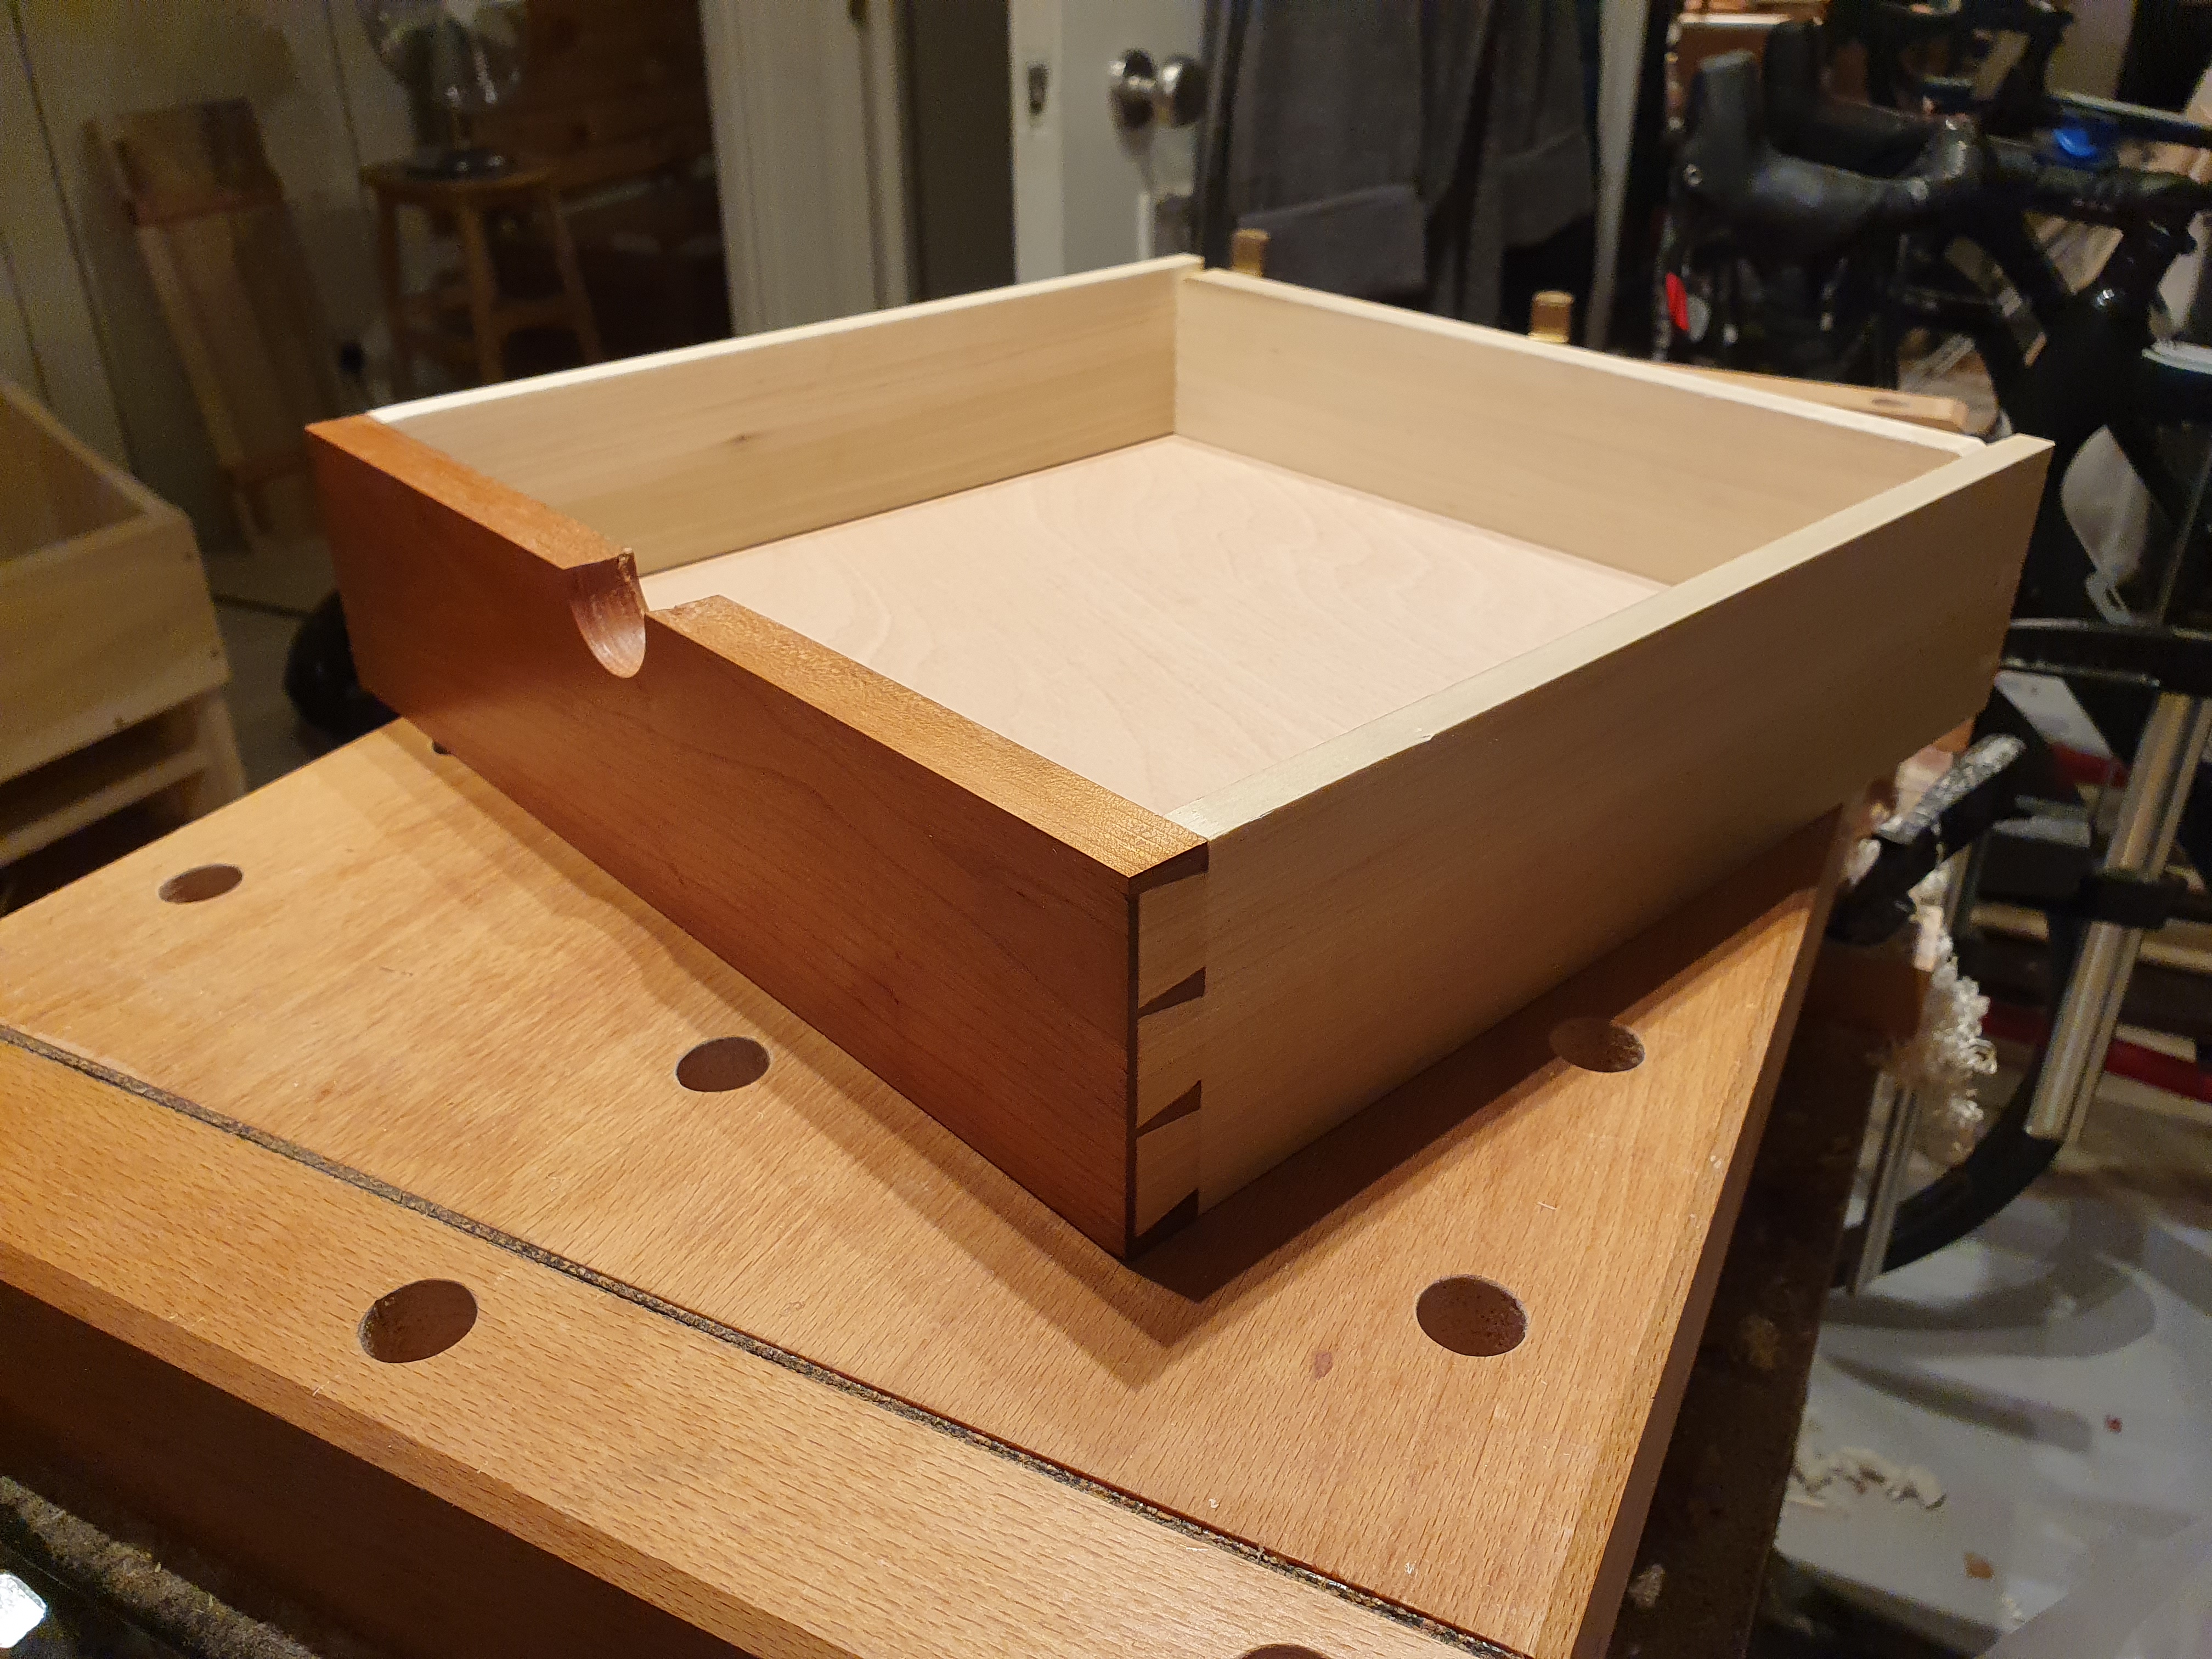
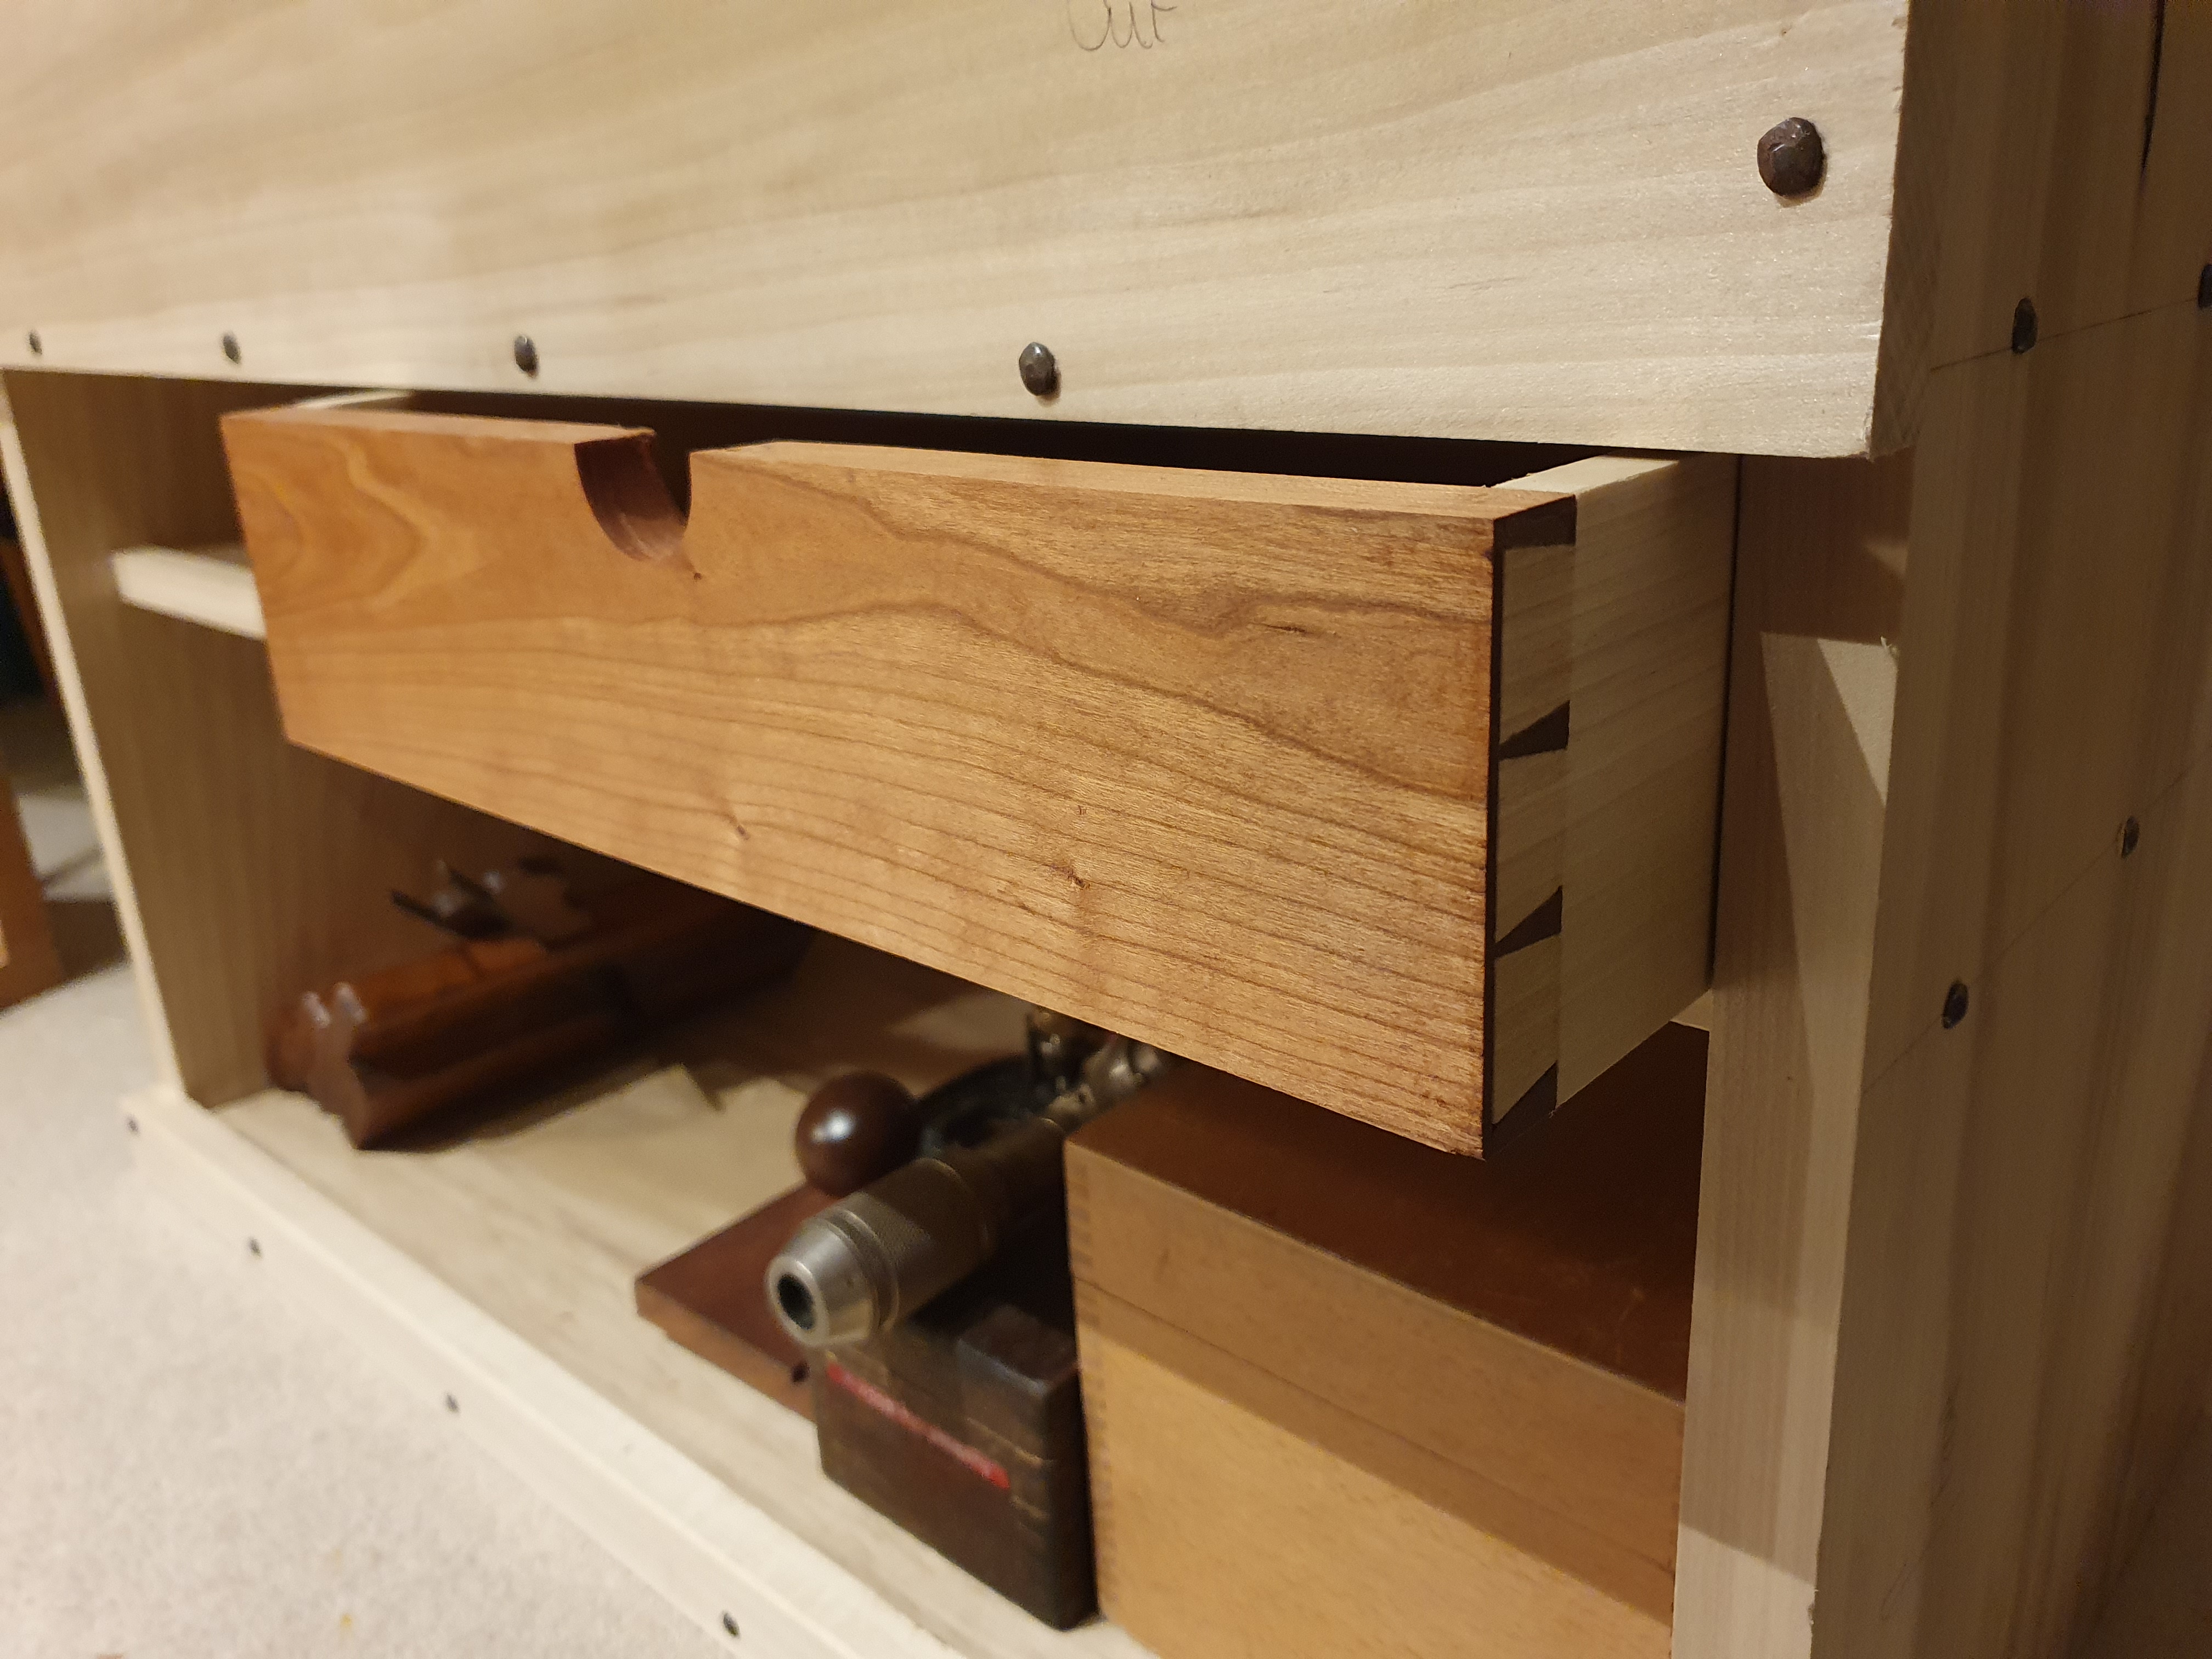
Got frustratingly little done this weekend but I finished the first drawer at least. First time doing half blinds and happy with the result. One major fail hit towards the end when I drilled the finger hole (which I definitely should have done earlier in the process). I should have used a sacrificial block so that the drill had nowhere to slip, I didn’t, it did. It cause some regrettable damage but I glued the chips back in and the repair isn’t noticible from the front. Oh well, all a learning experience.
Ha! I’ve moved it to where it’s going to live and started kitting it out and putting stuff in it without attaching the lifts yet, so I could see myself falling into this trap!
Yeah I’m really happy with it. Excited to see all my tools in there. Already I’ve put some stuff in and have started working from it and I love it. Was definitely the right choice for me Vs anarchists tool chest
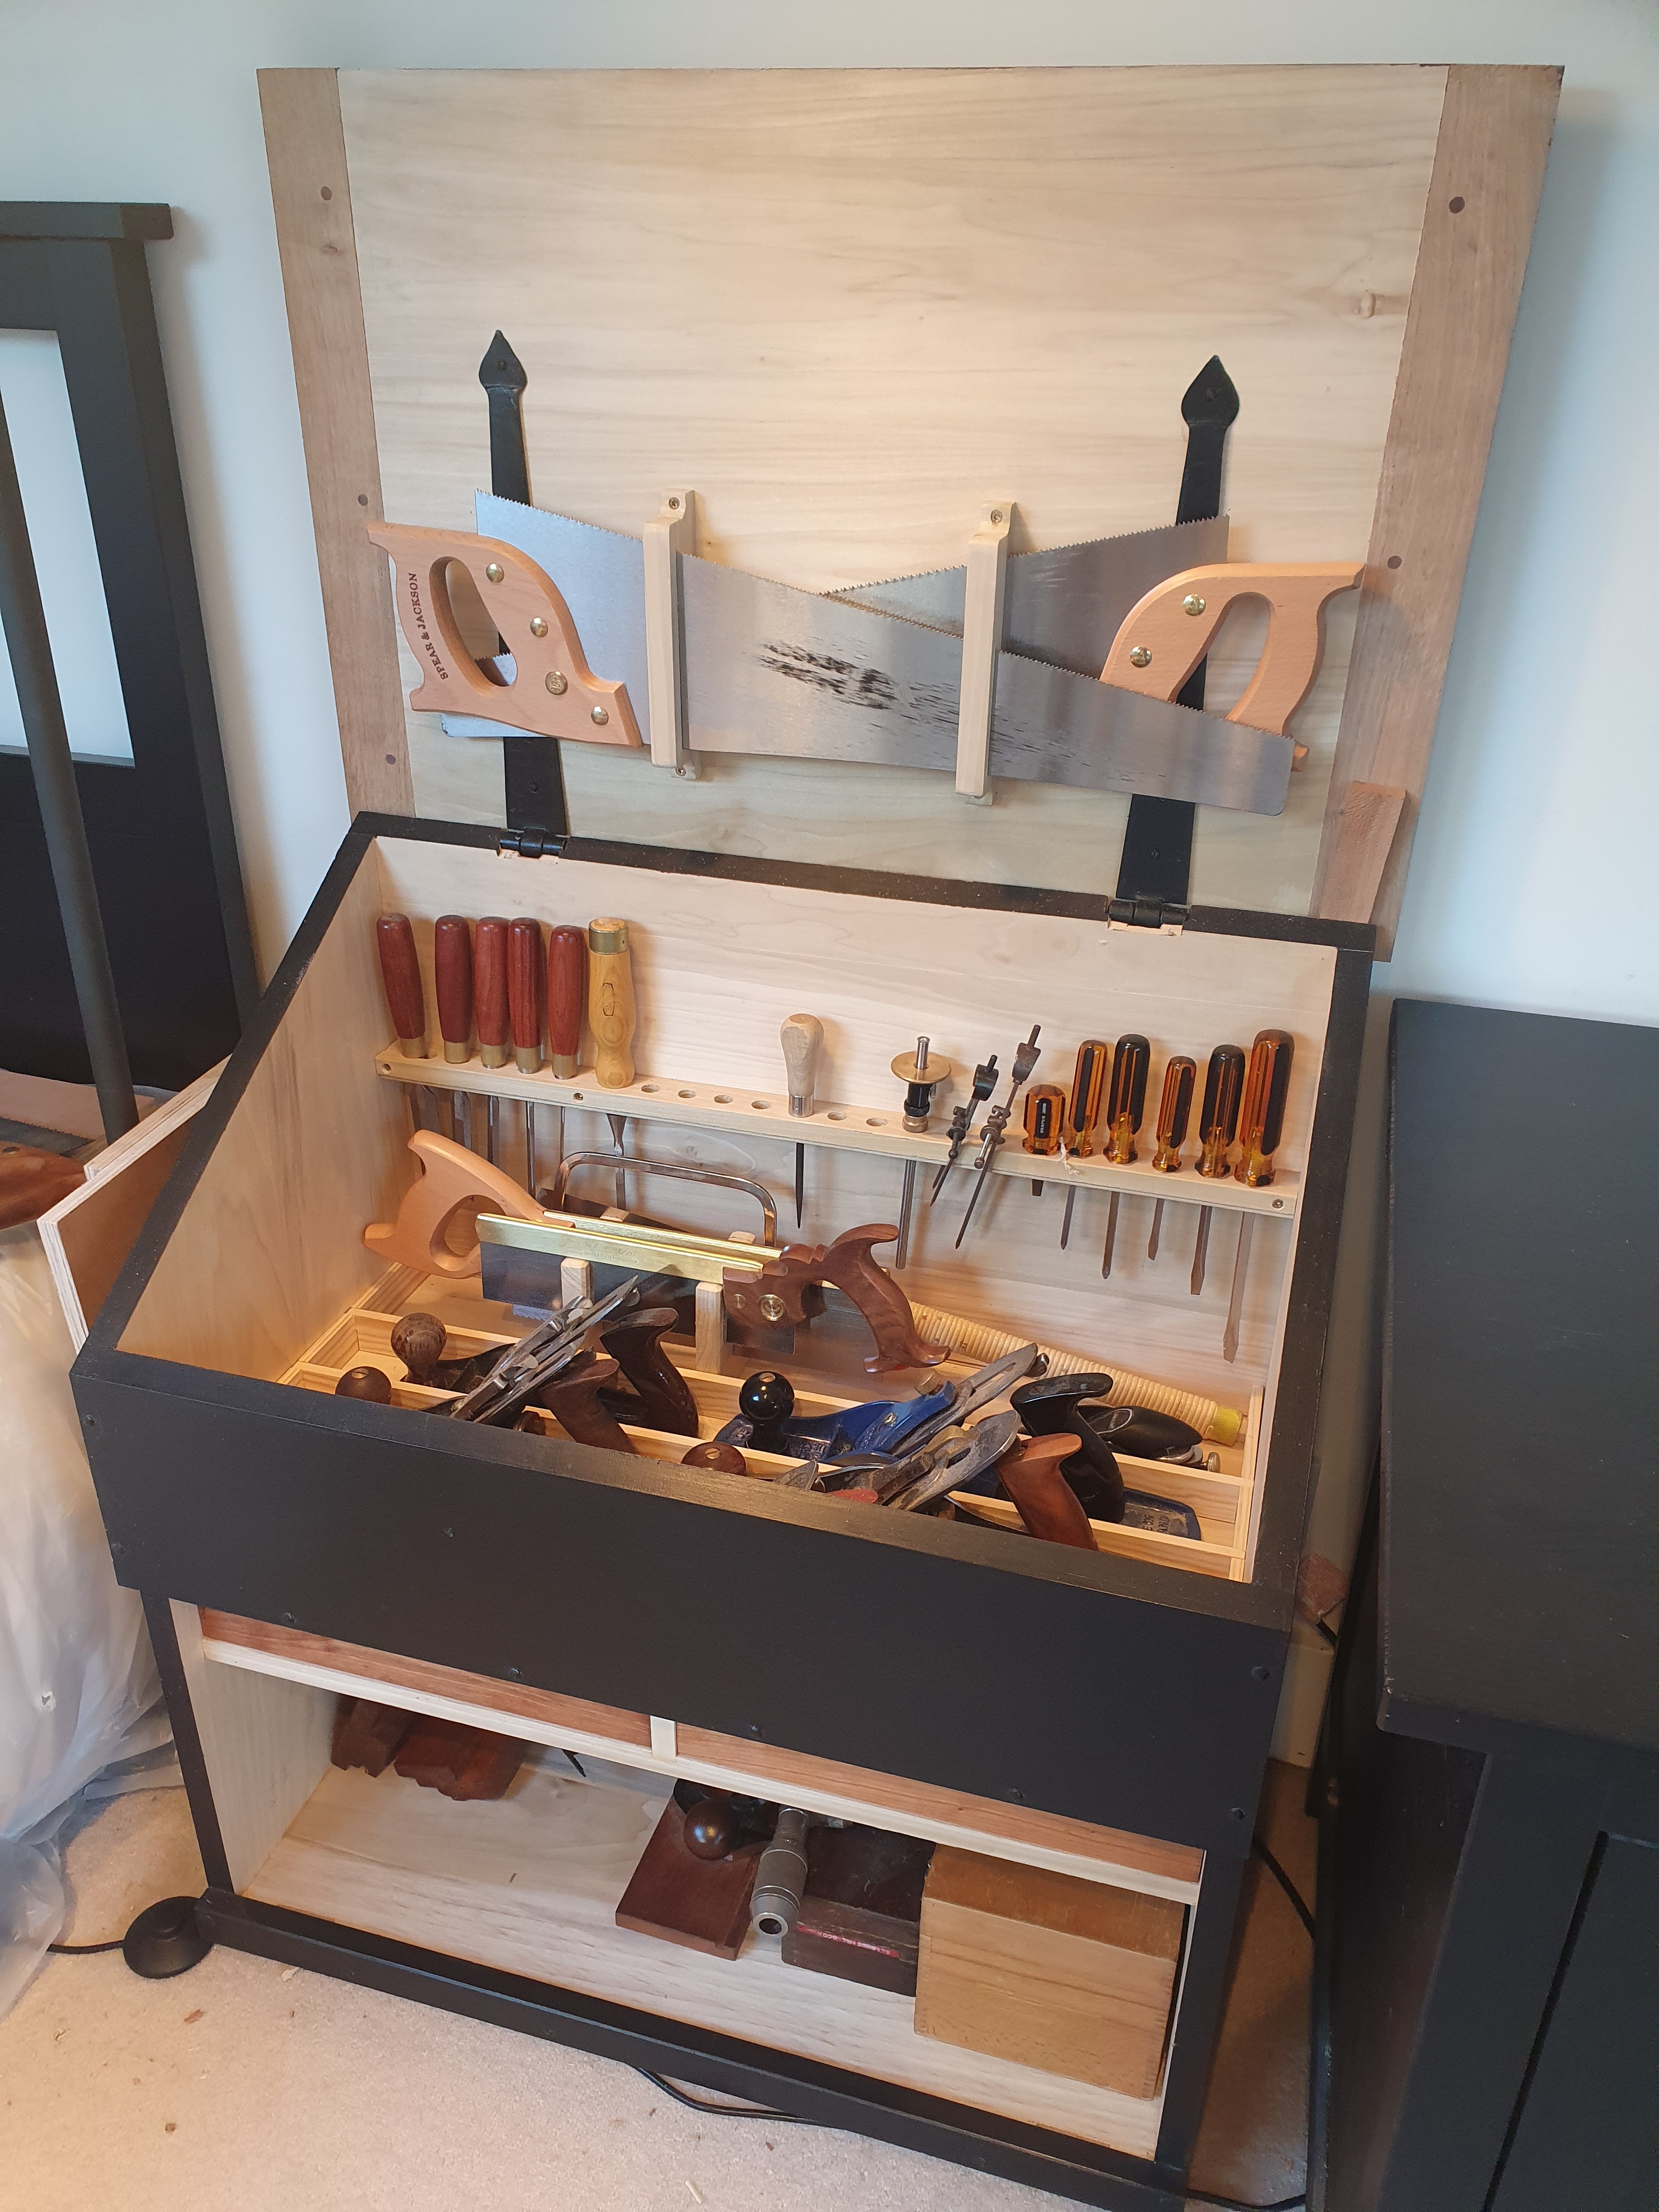
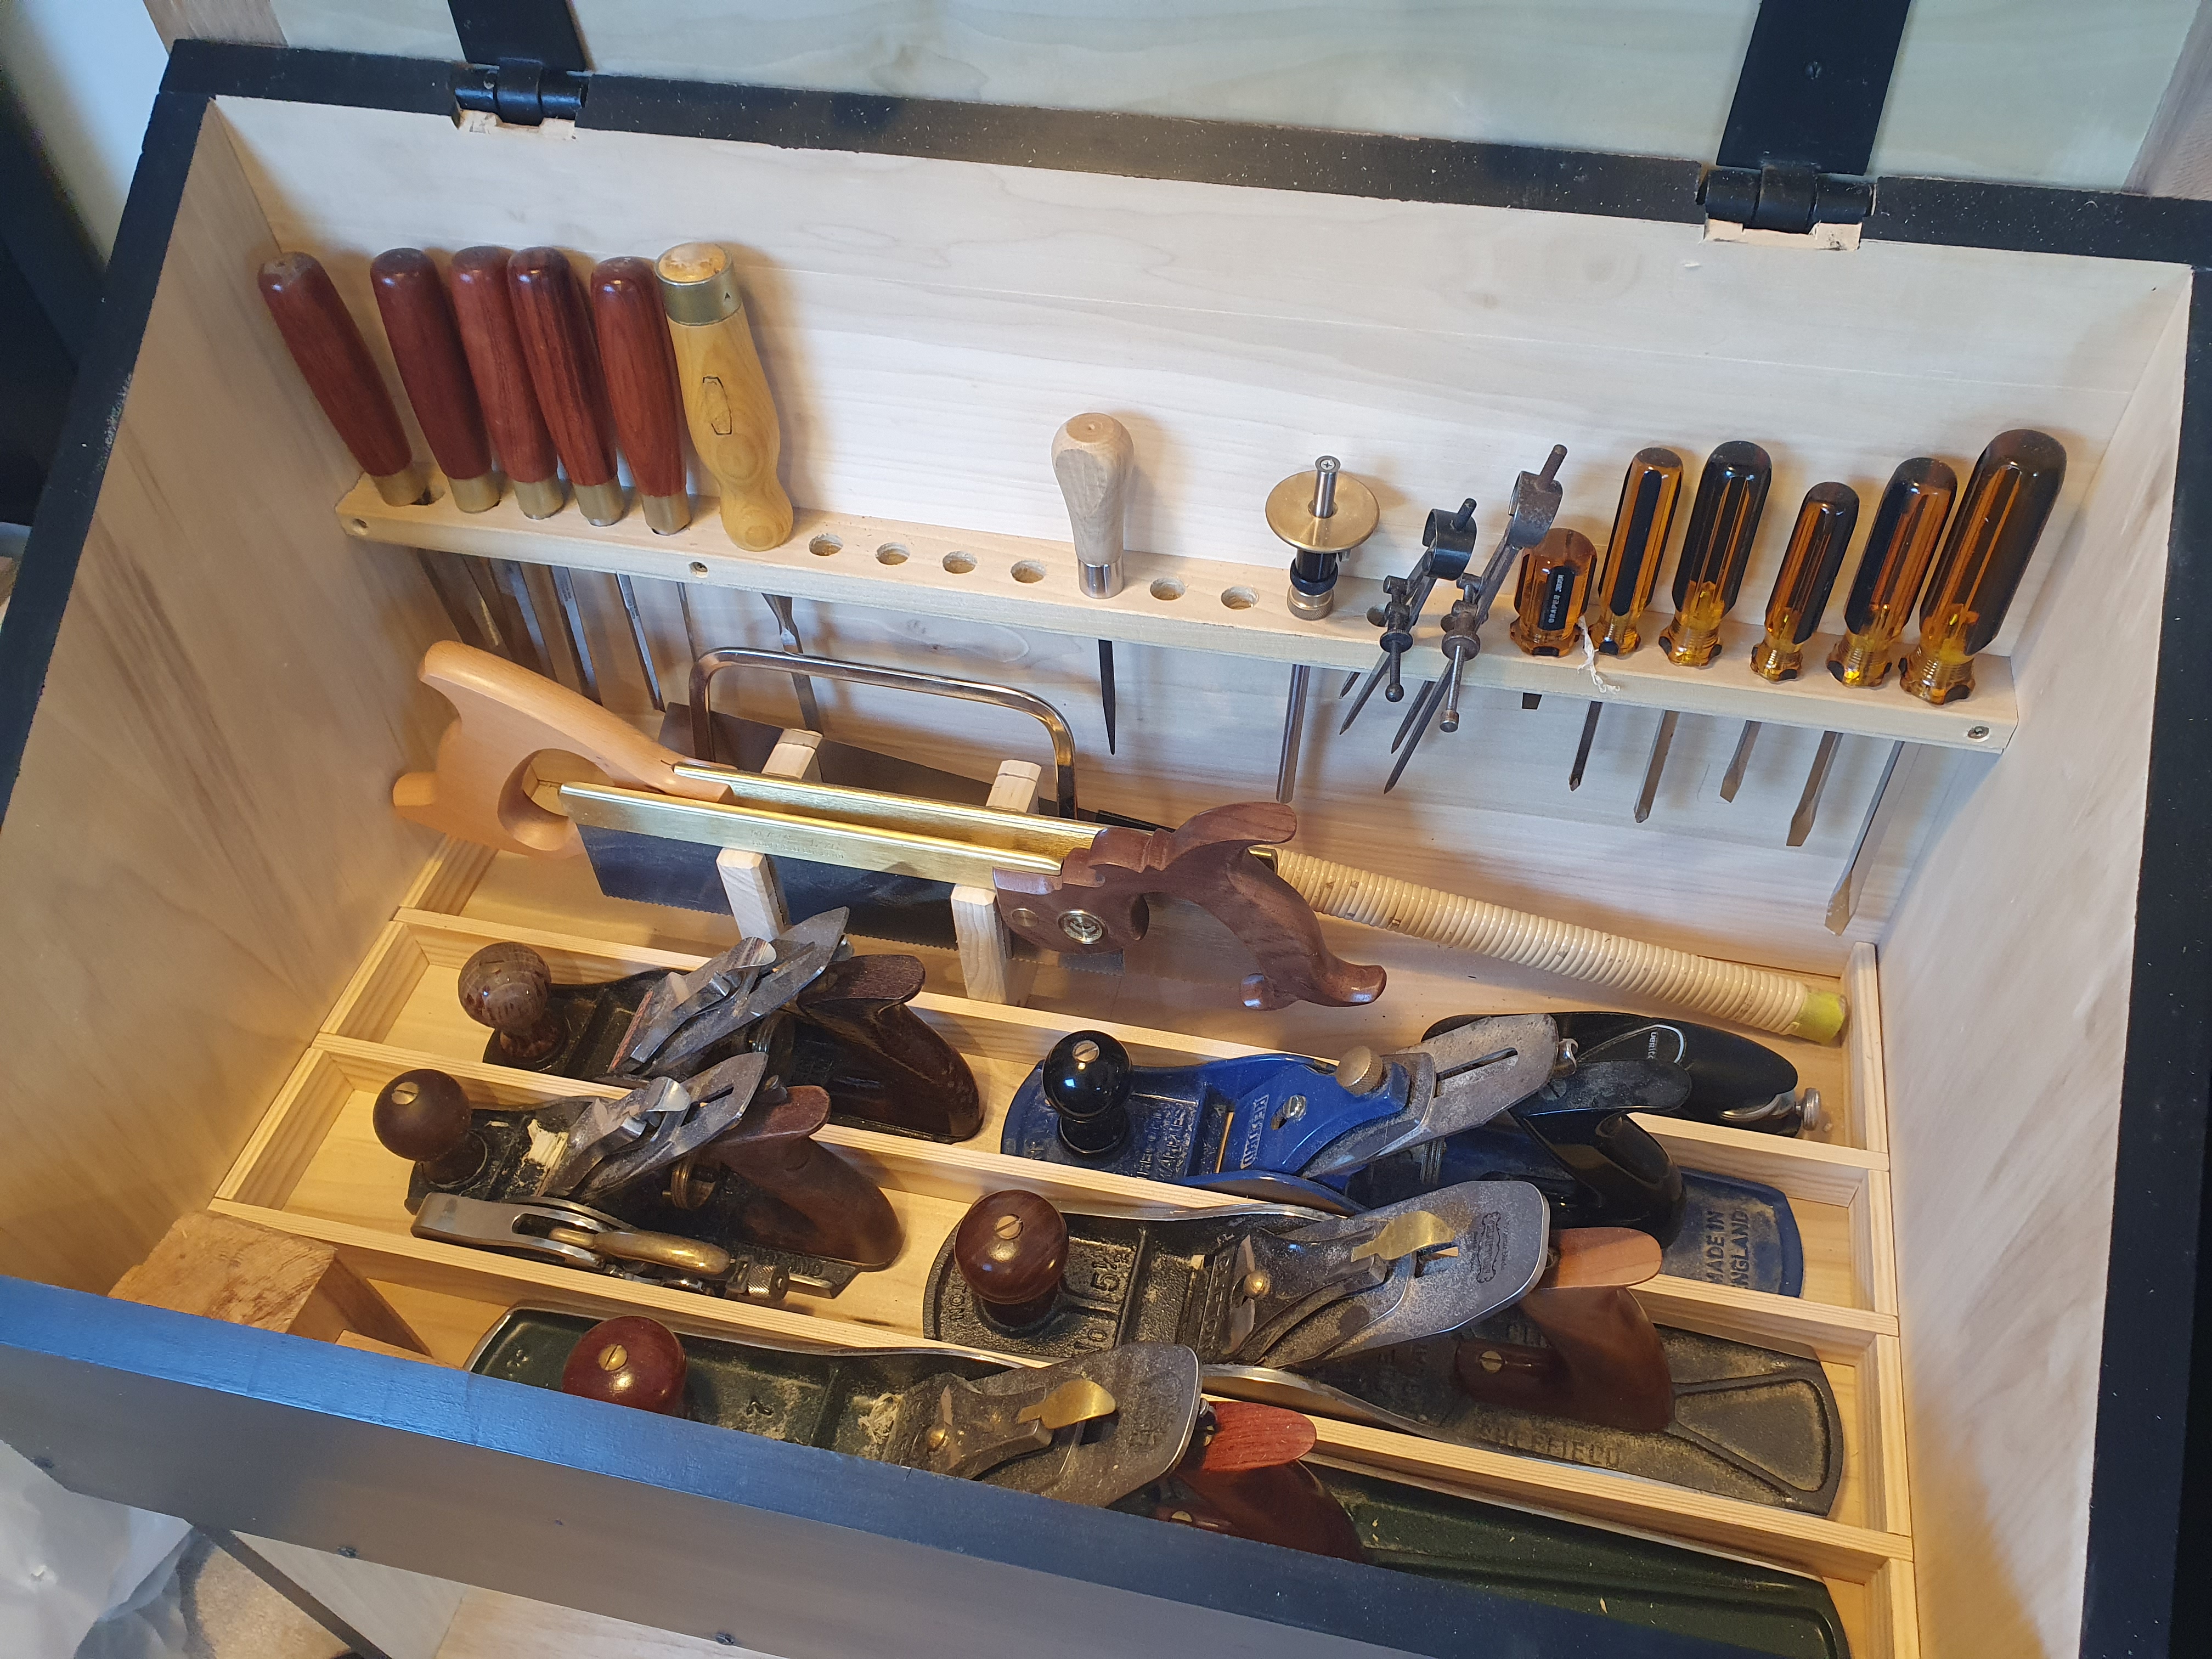
The final post… Here’s the chest full(ish) of tools. It’s great for my setup as it allows me to take tools out, use them, and then straight back in, keeping everything well contained and exactly where it’s supposed to be.
Thanks to @CriticalTolerance who’s advice prior to starting steered me towards a design that seems perfect for me so far.