


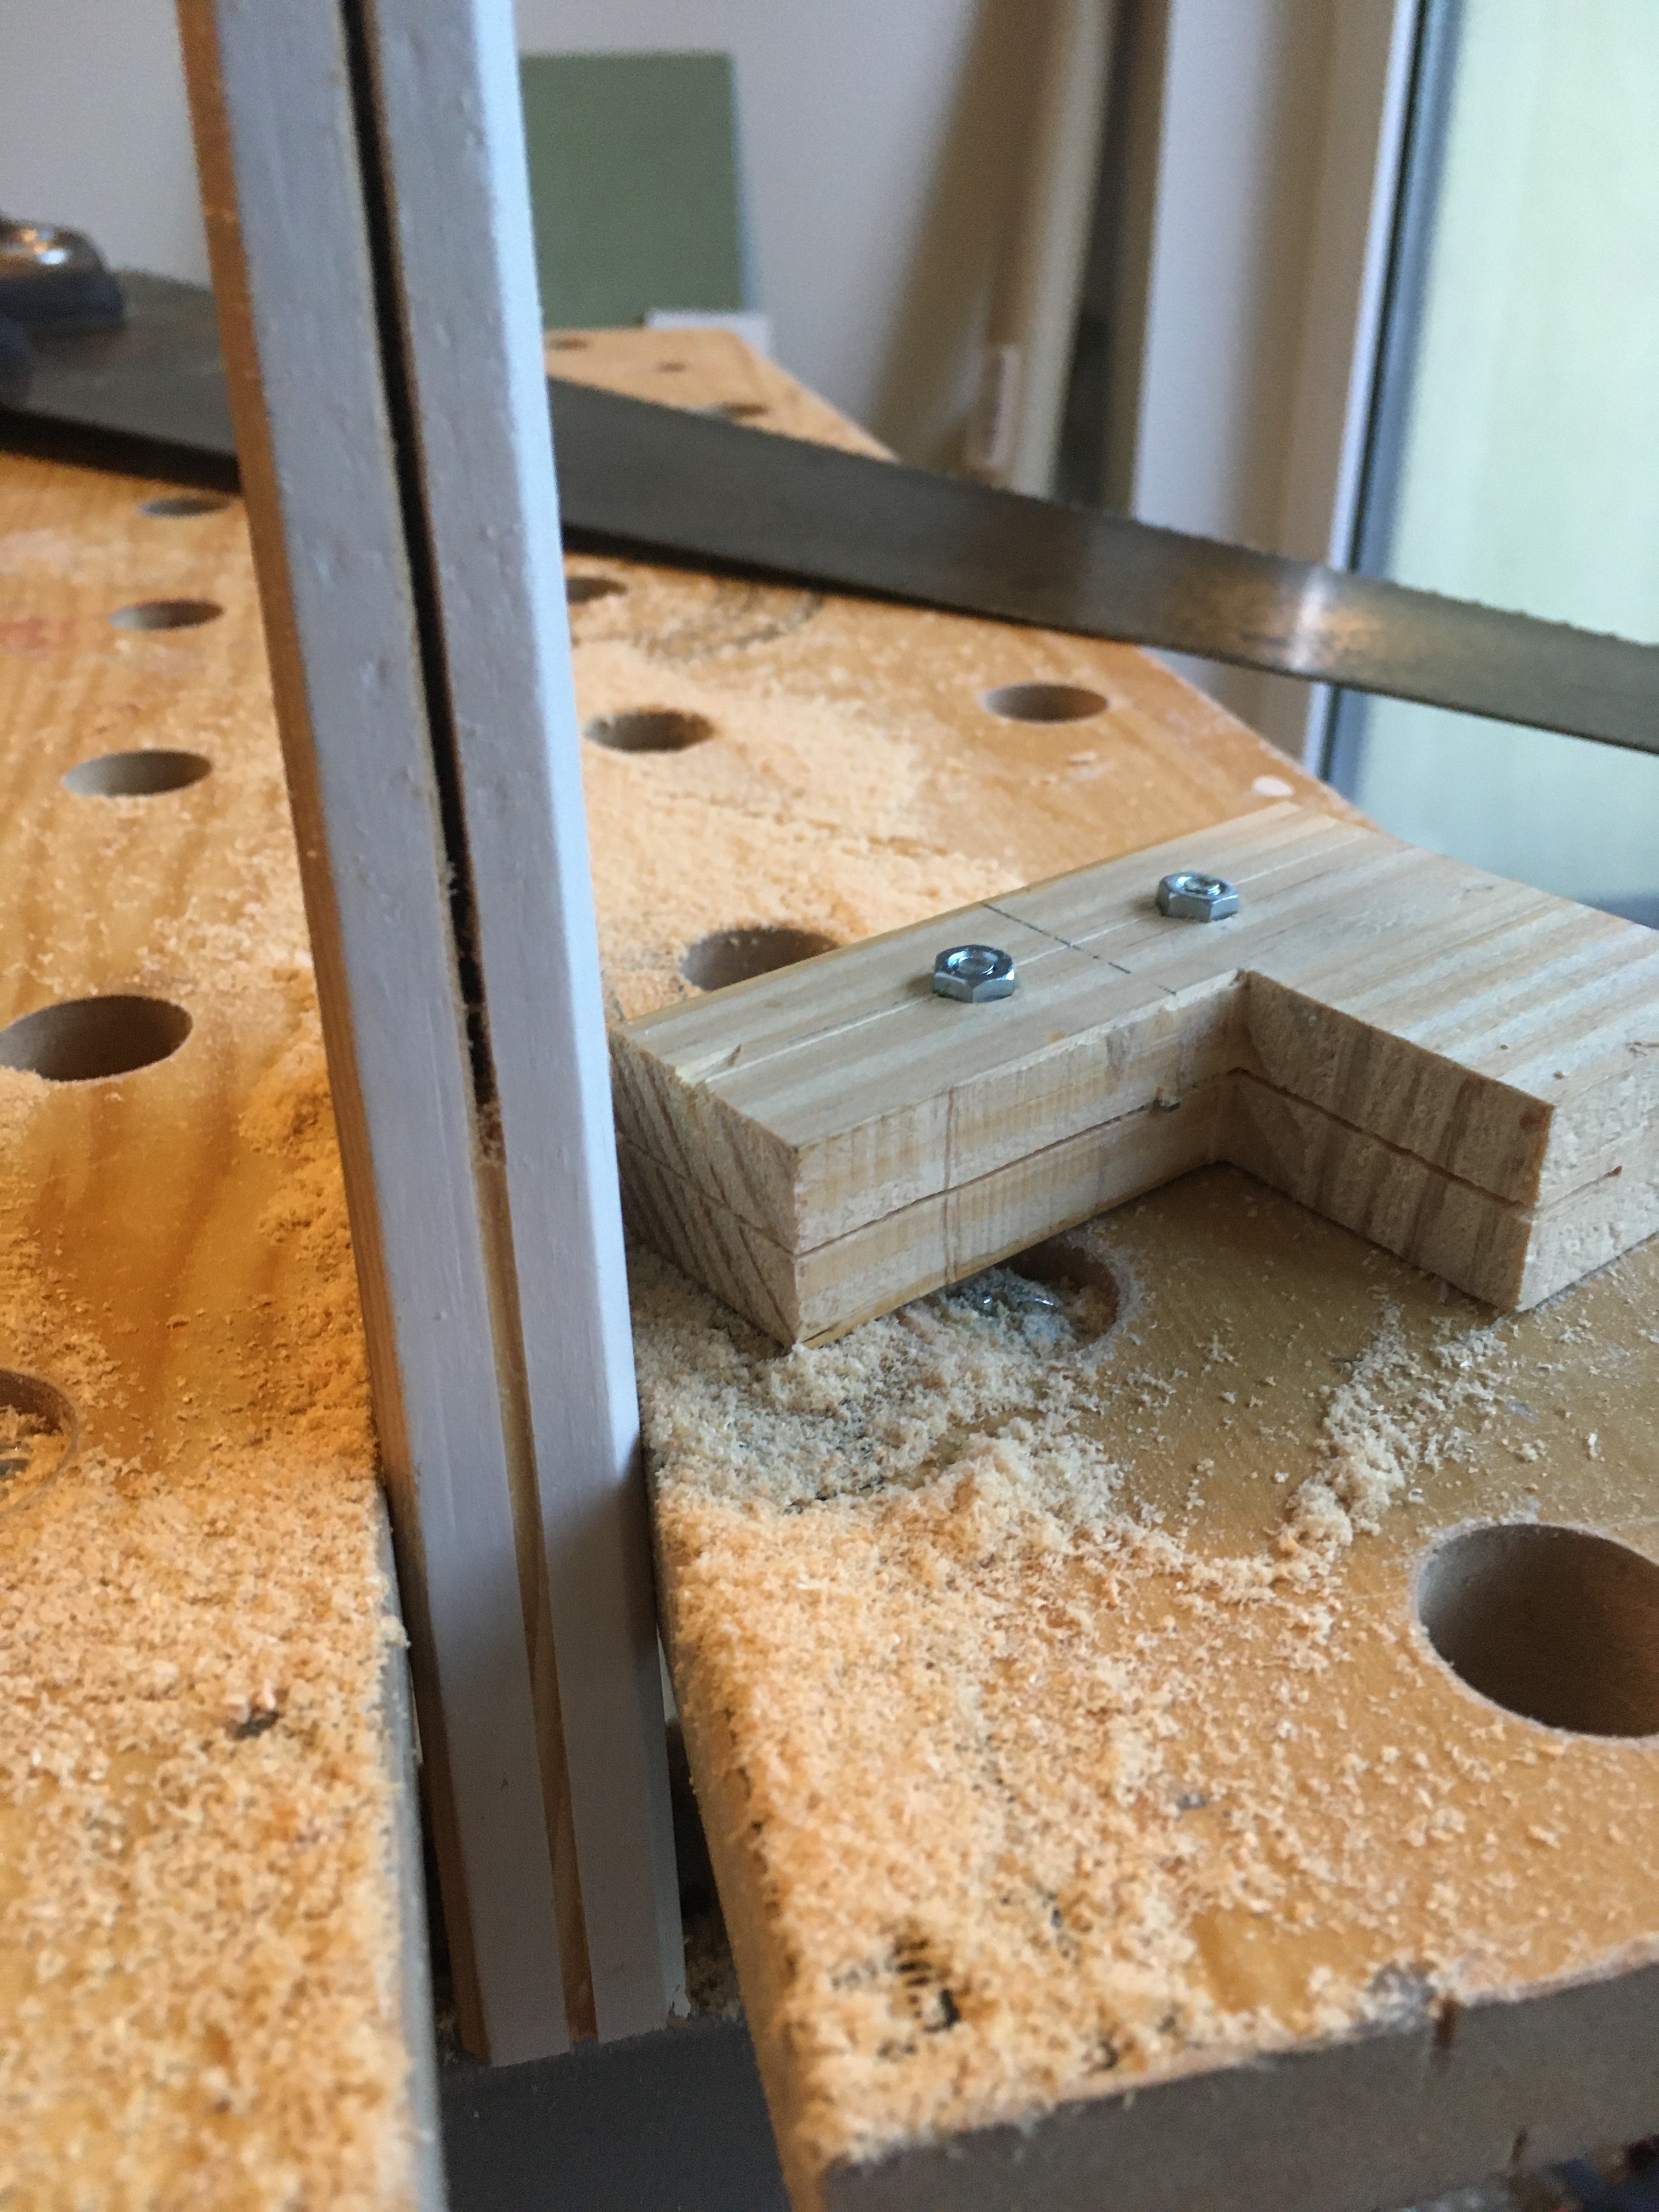
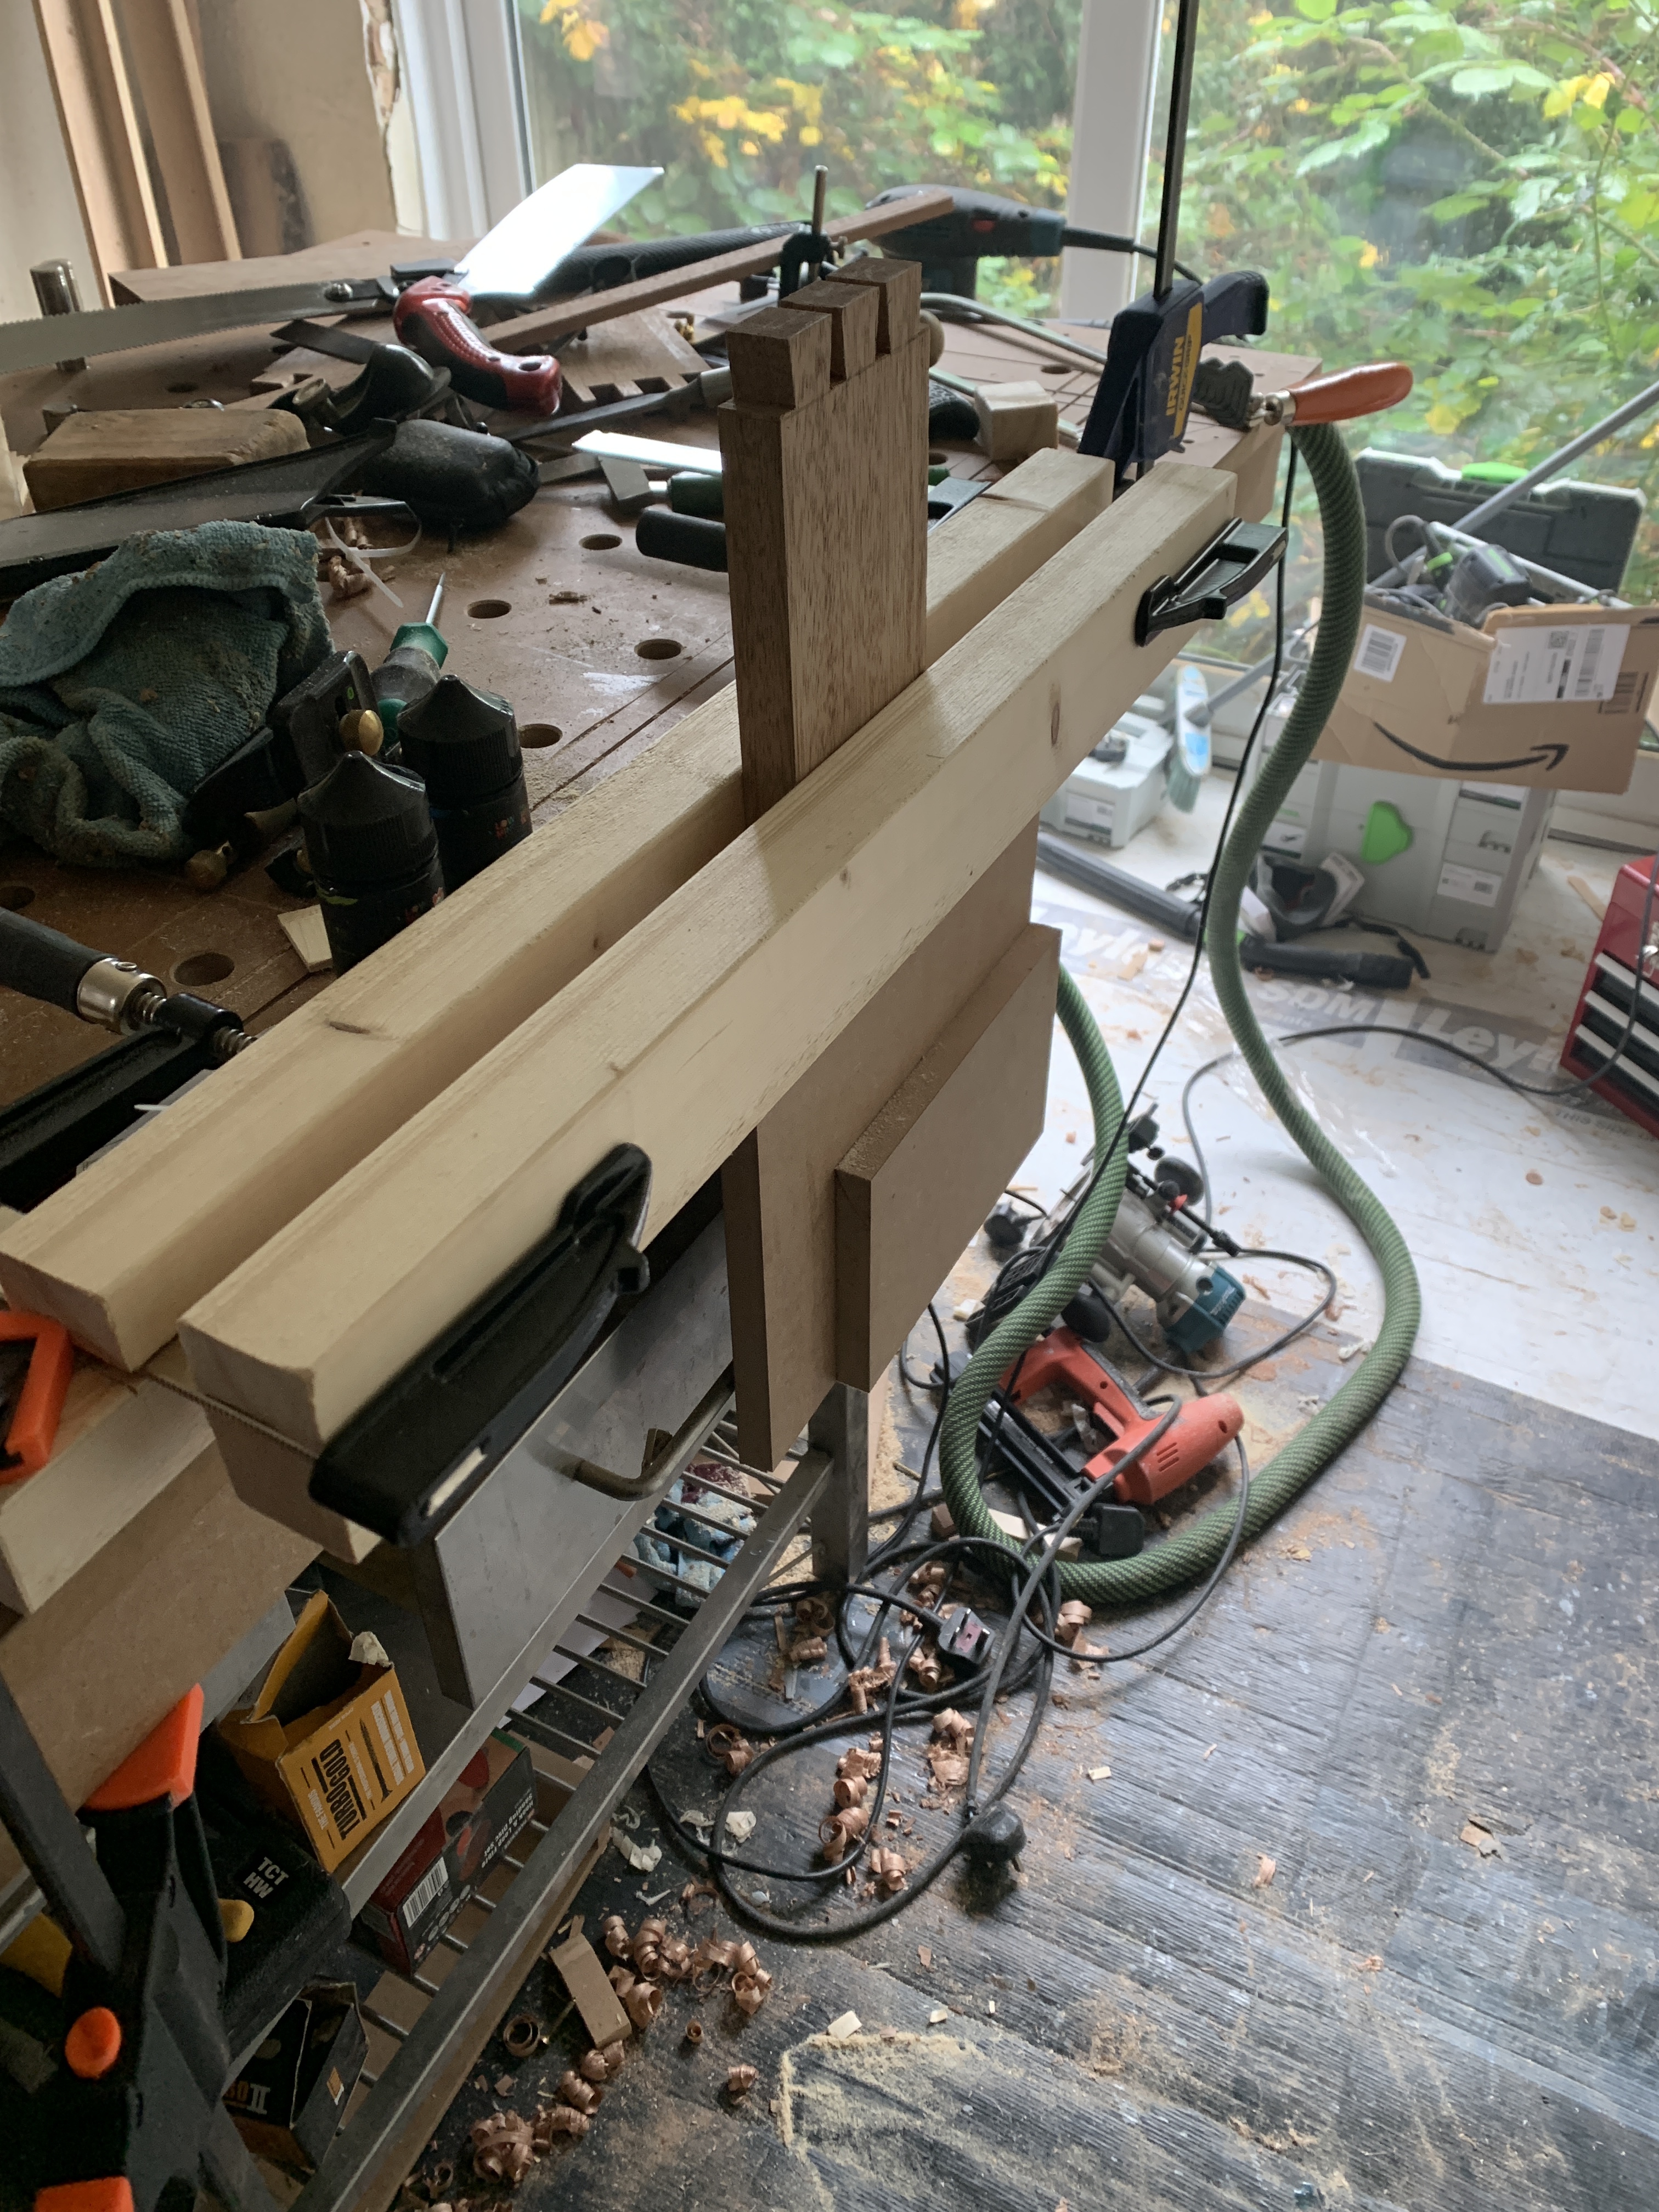
I made a really cheap moxon vice for under a tenner
Using a 2.4m cls 2x3 from b&q (2.74) and a couple of fclamps from screwfix (6.99)
An attempt to make it in under 1/2 hour ended up with dovetails clamped in 26 minutes .
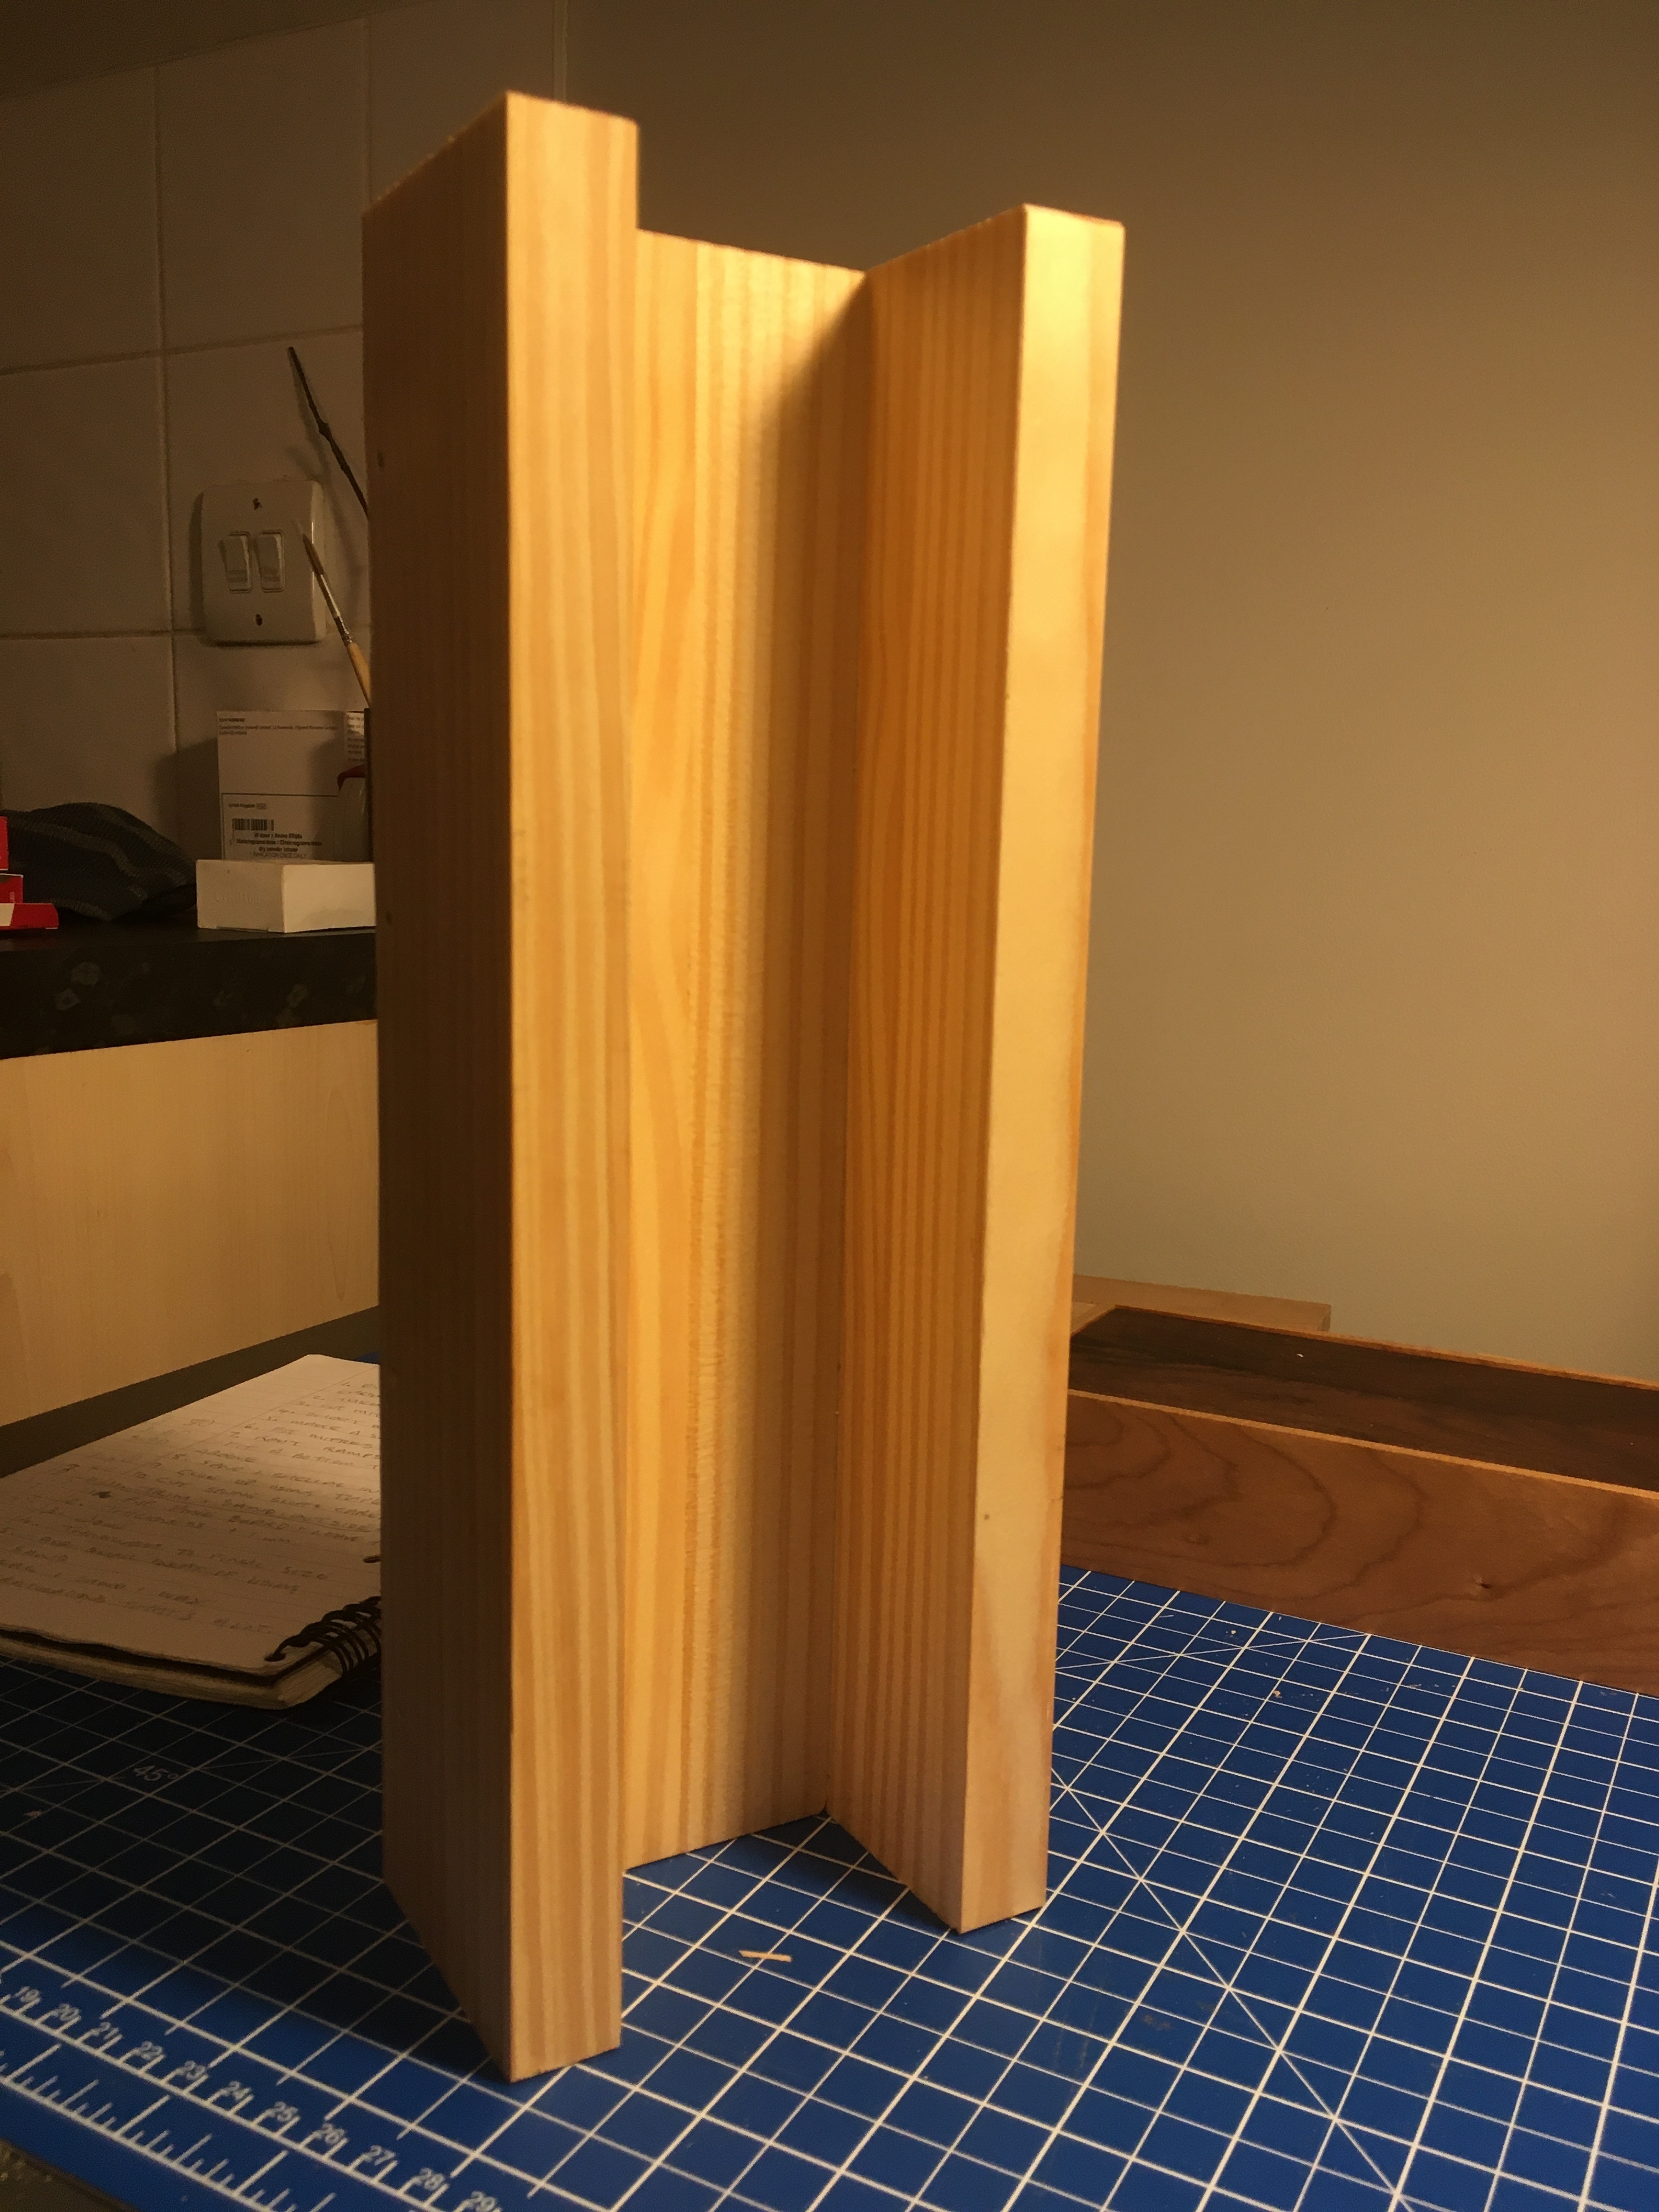
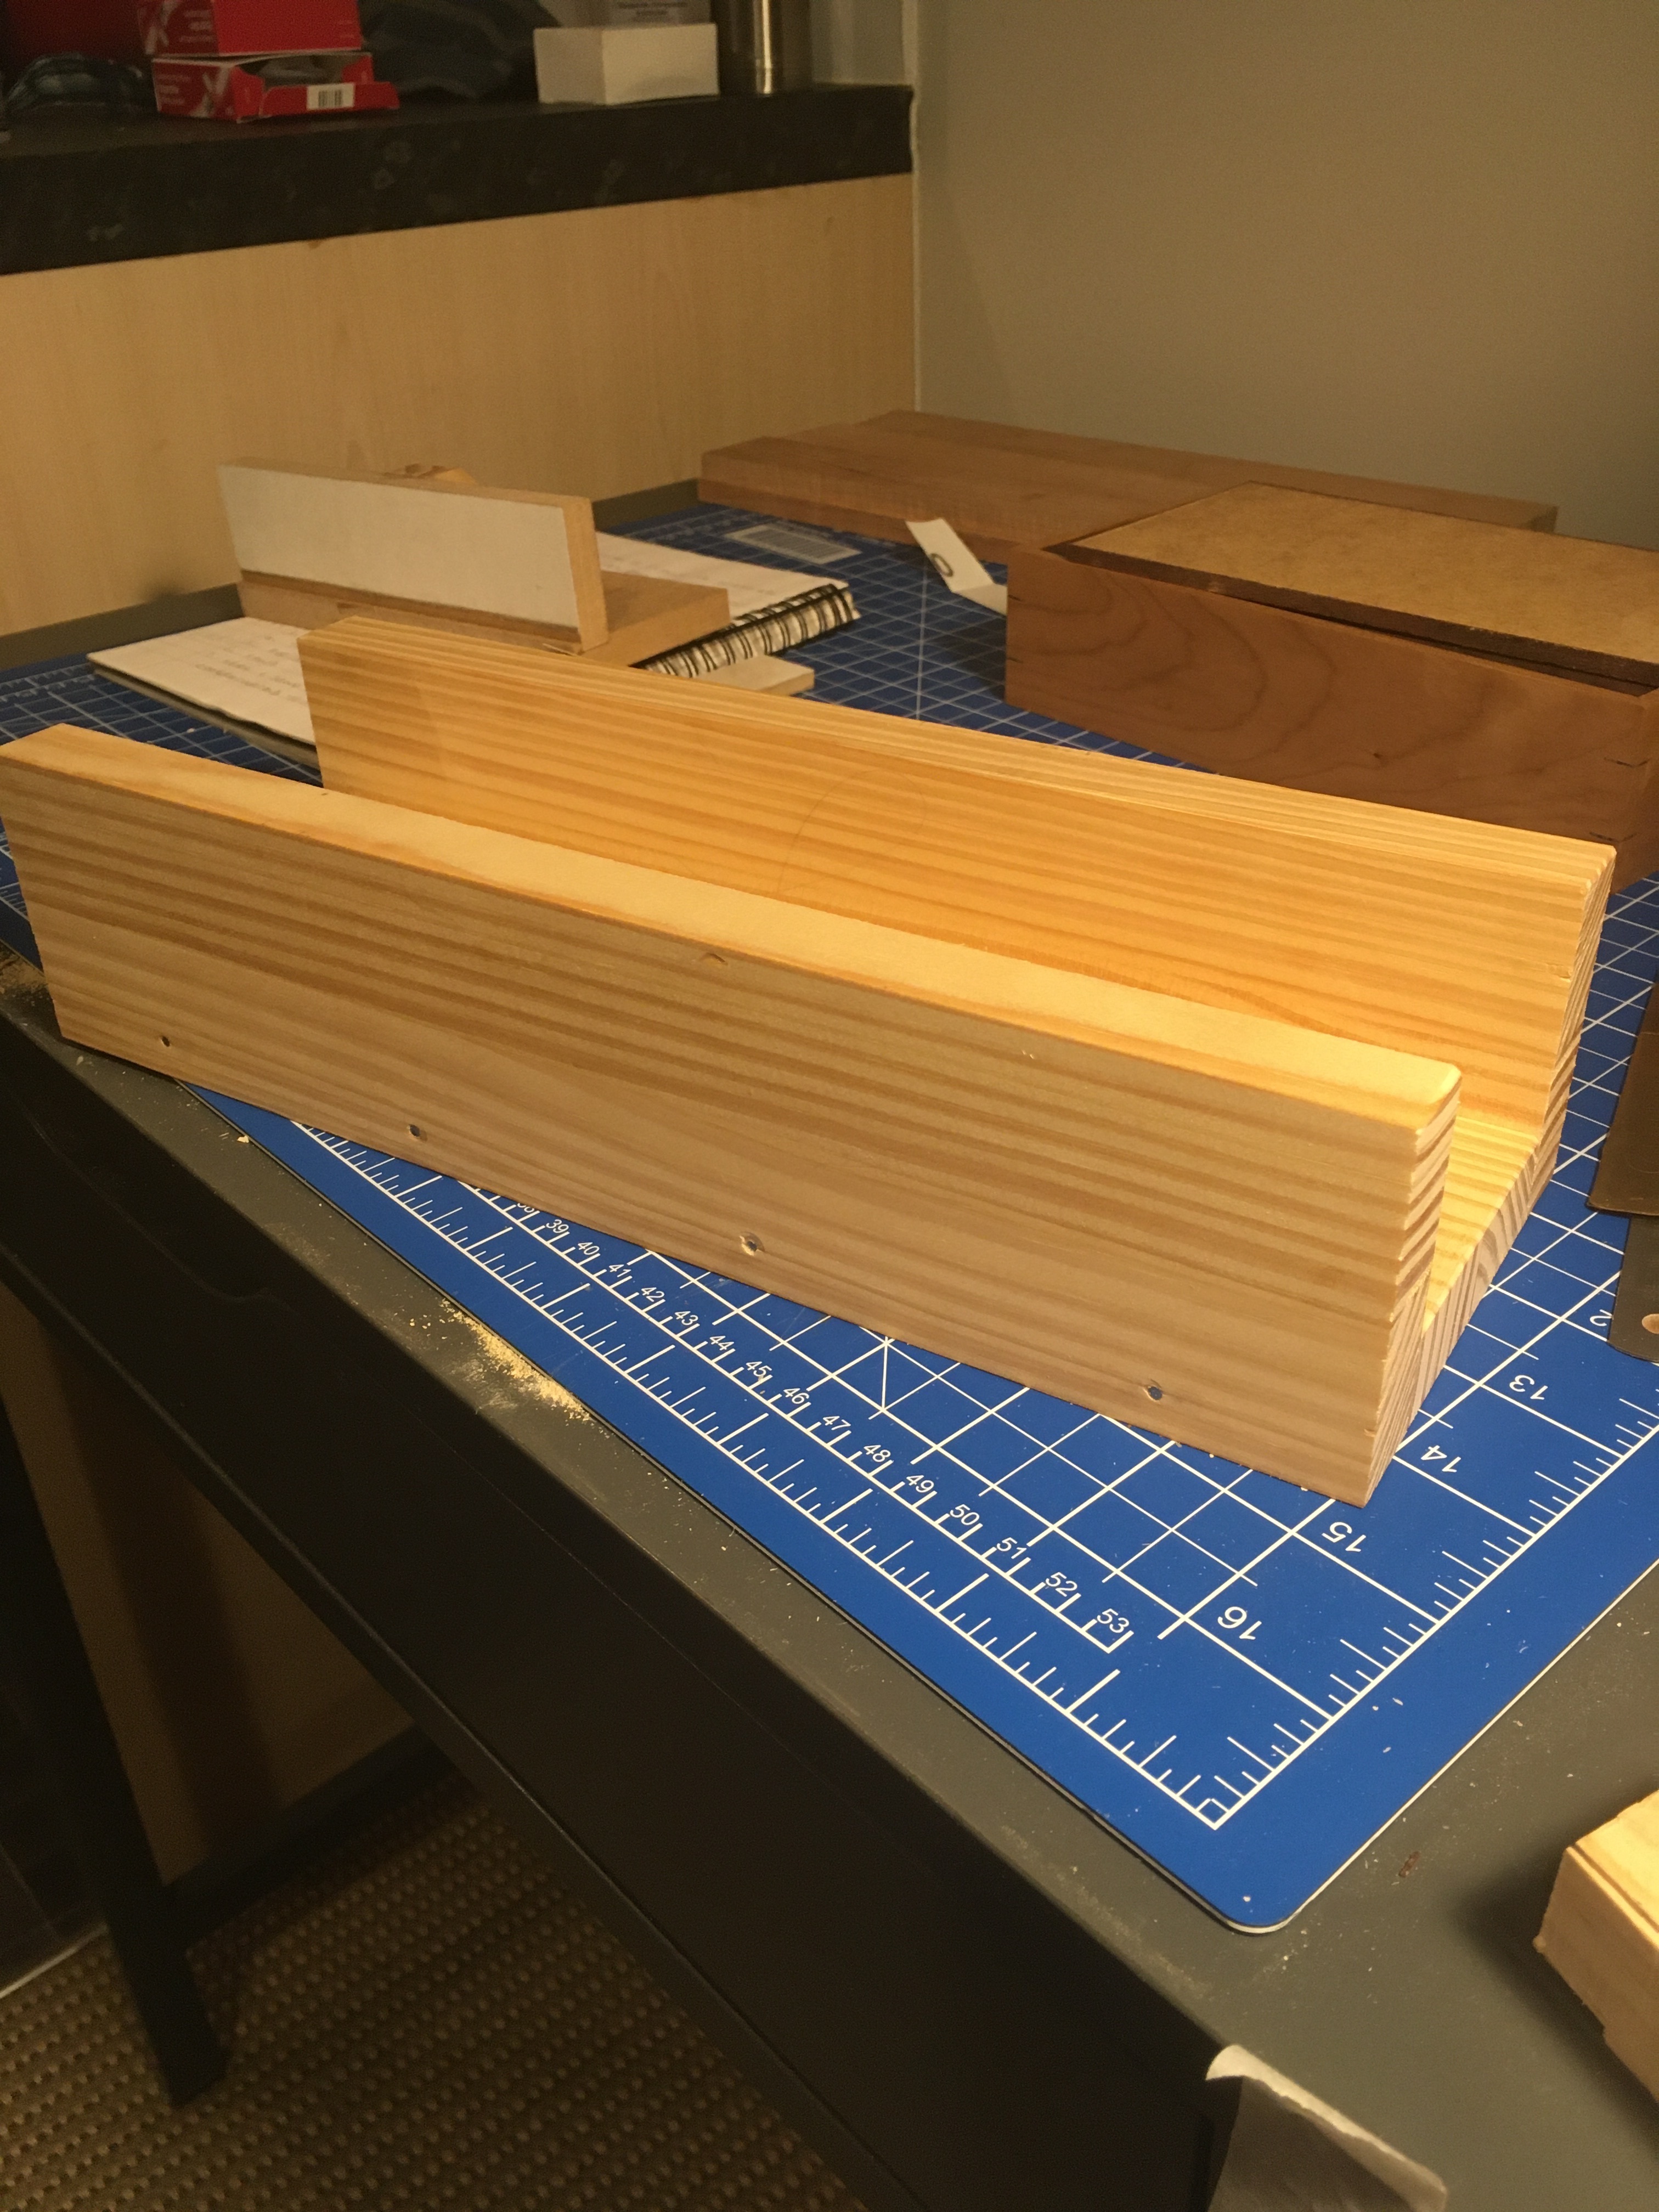
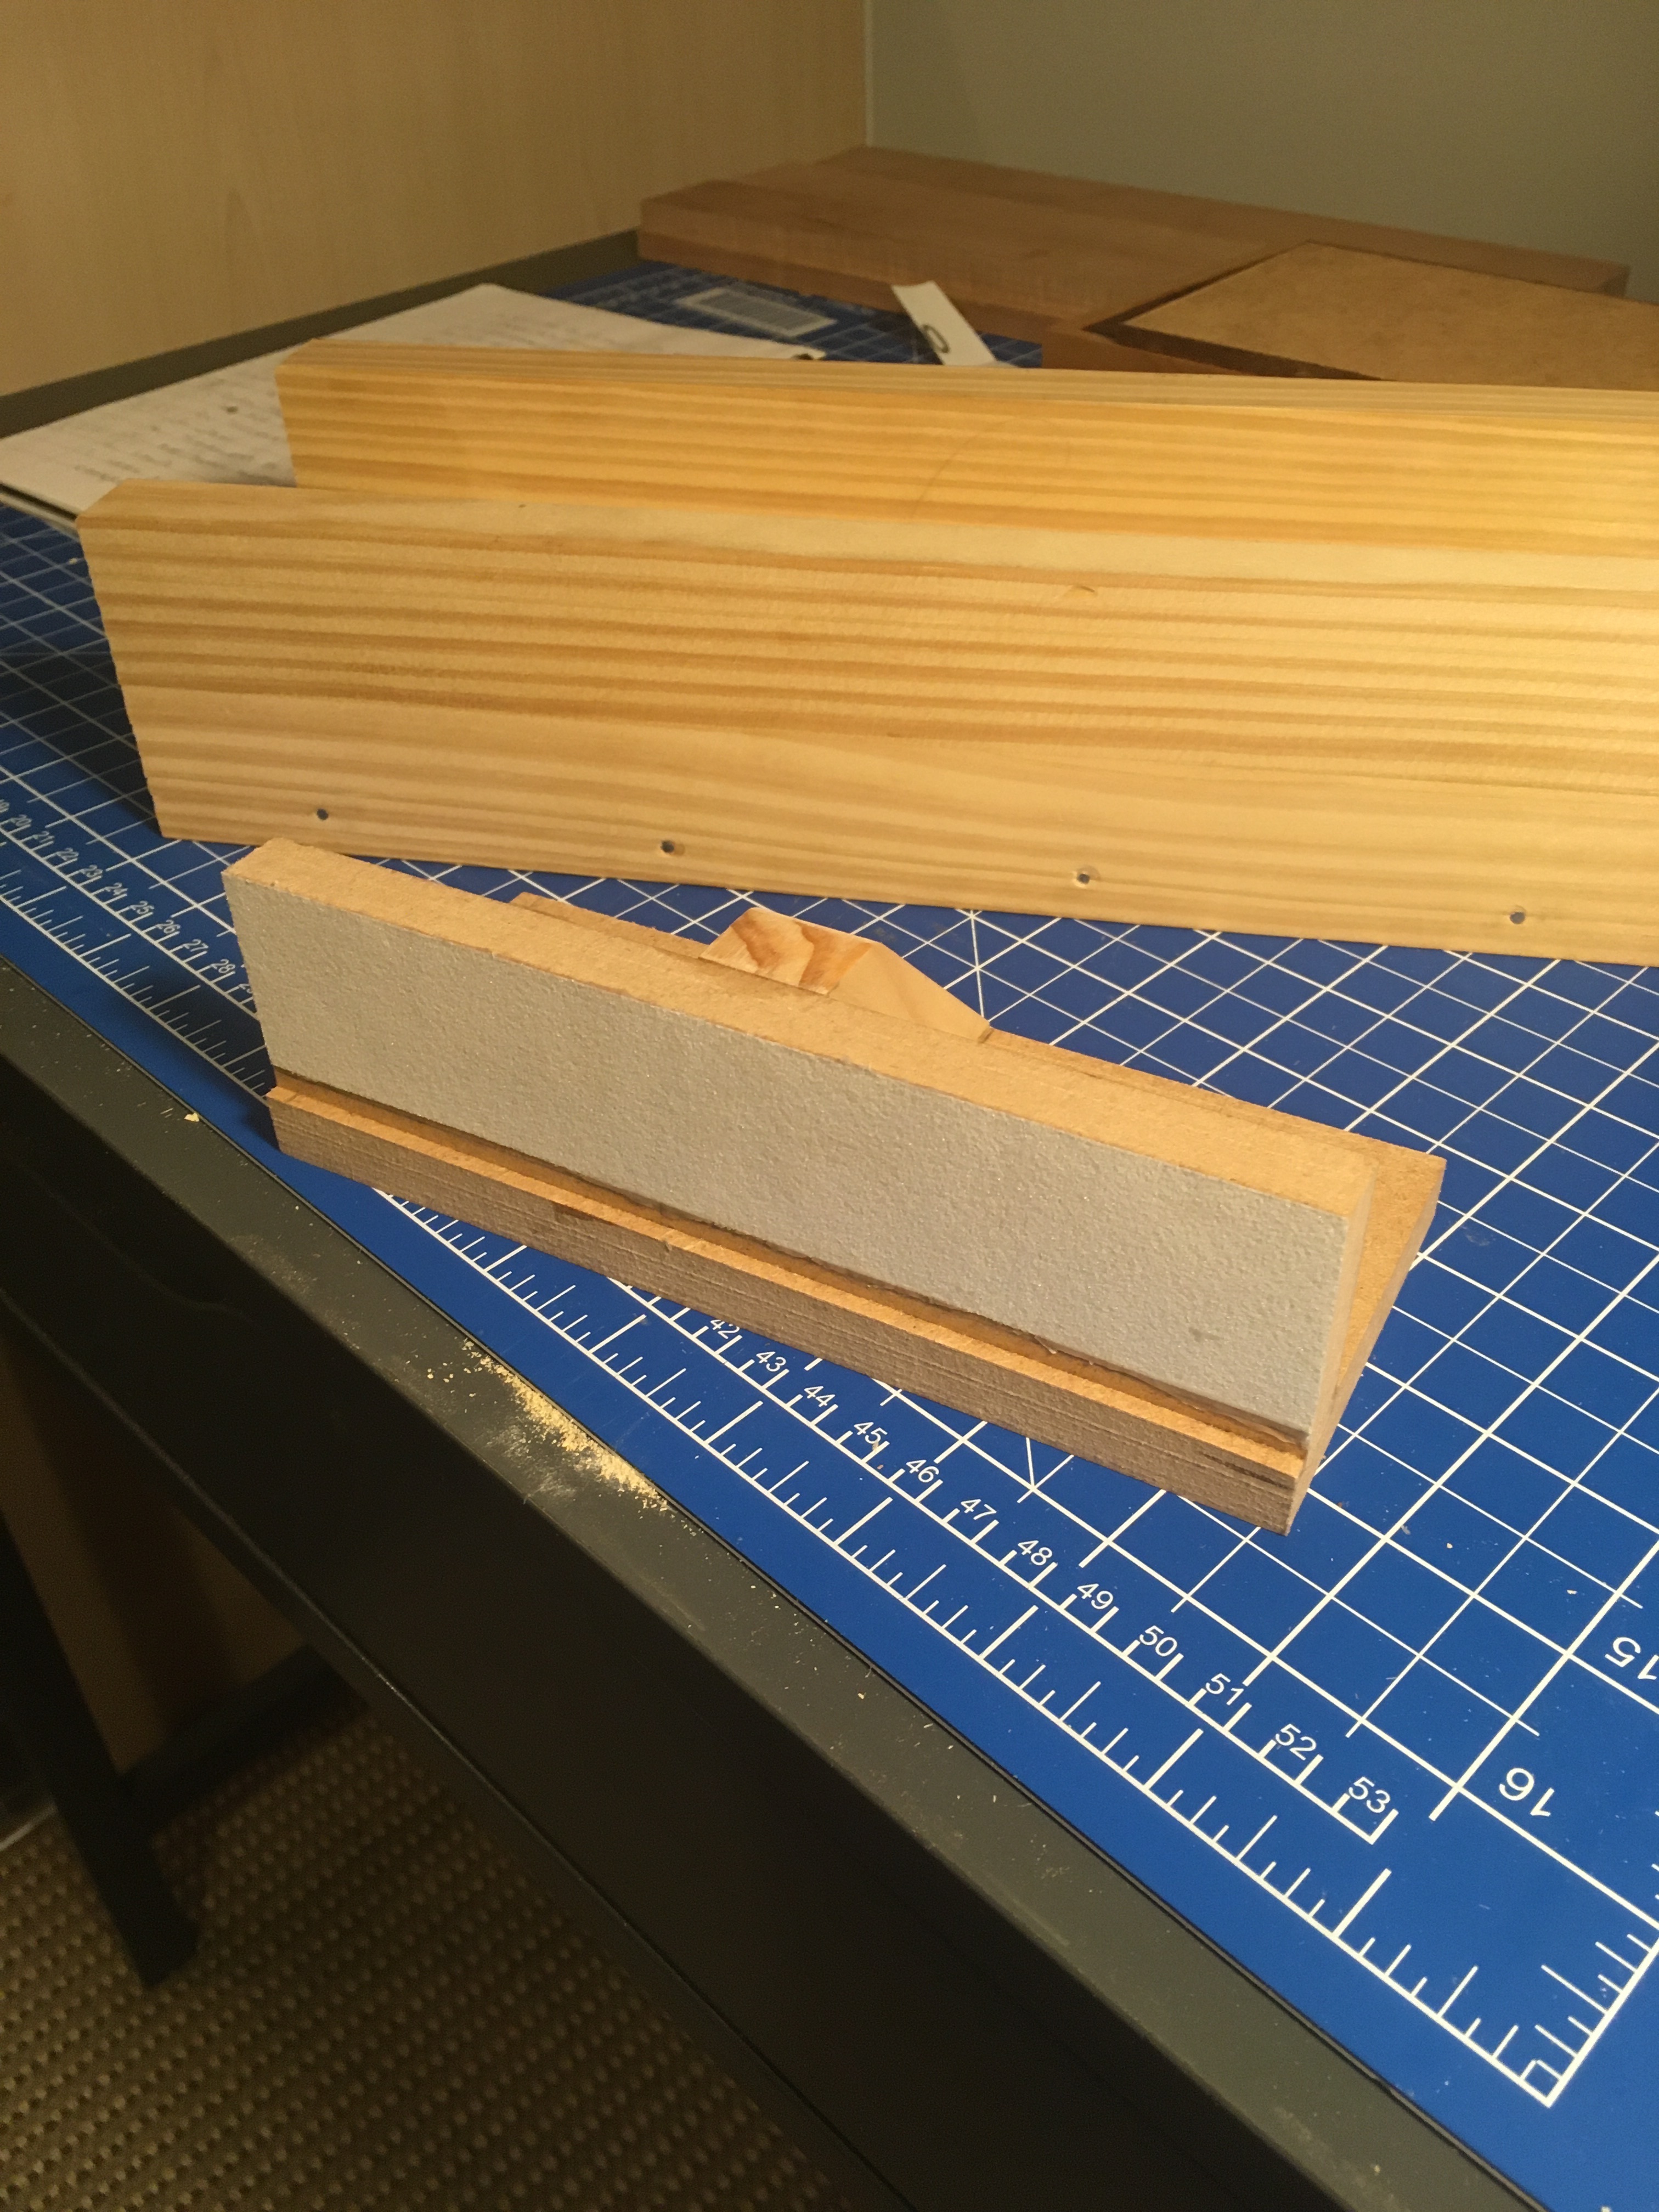
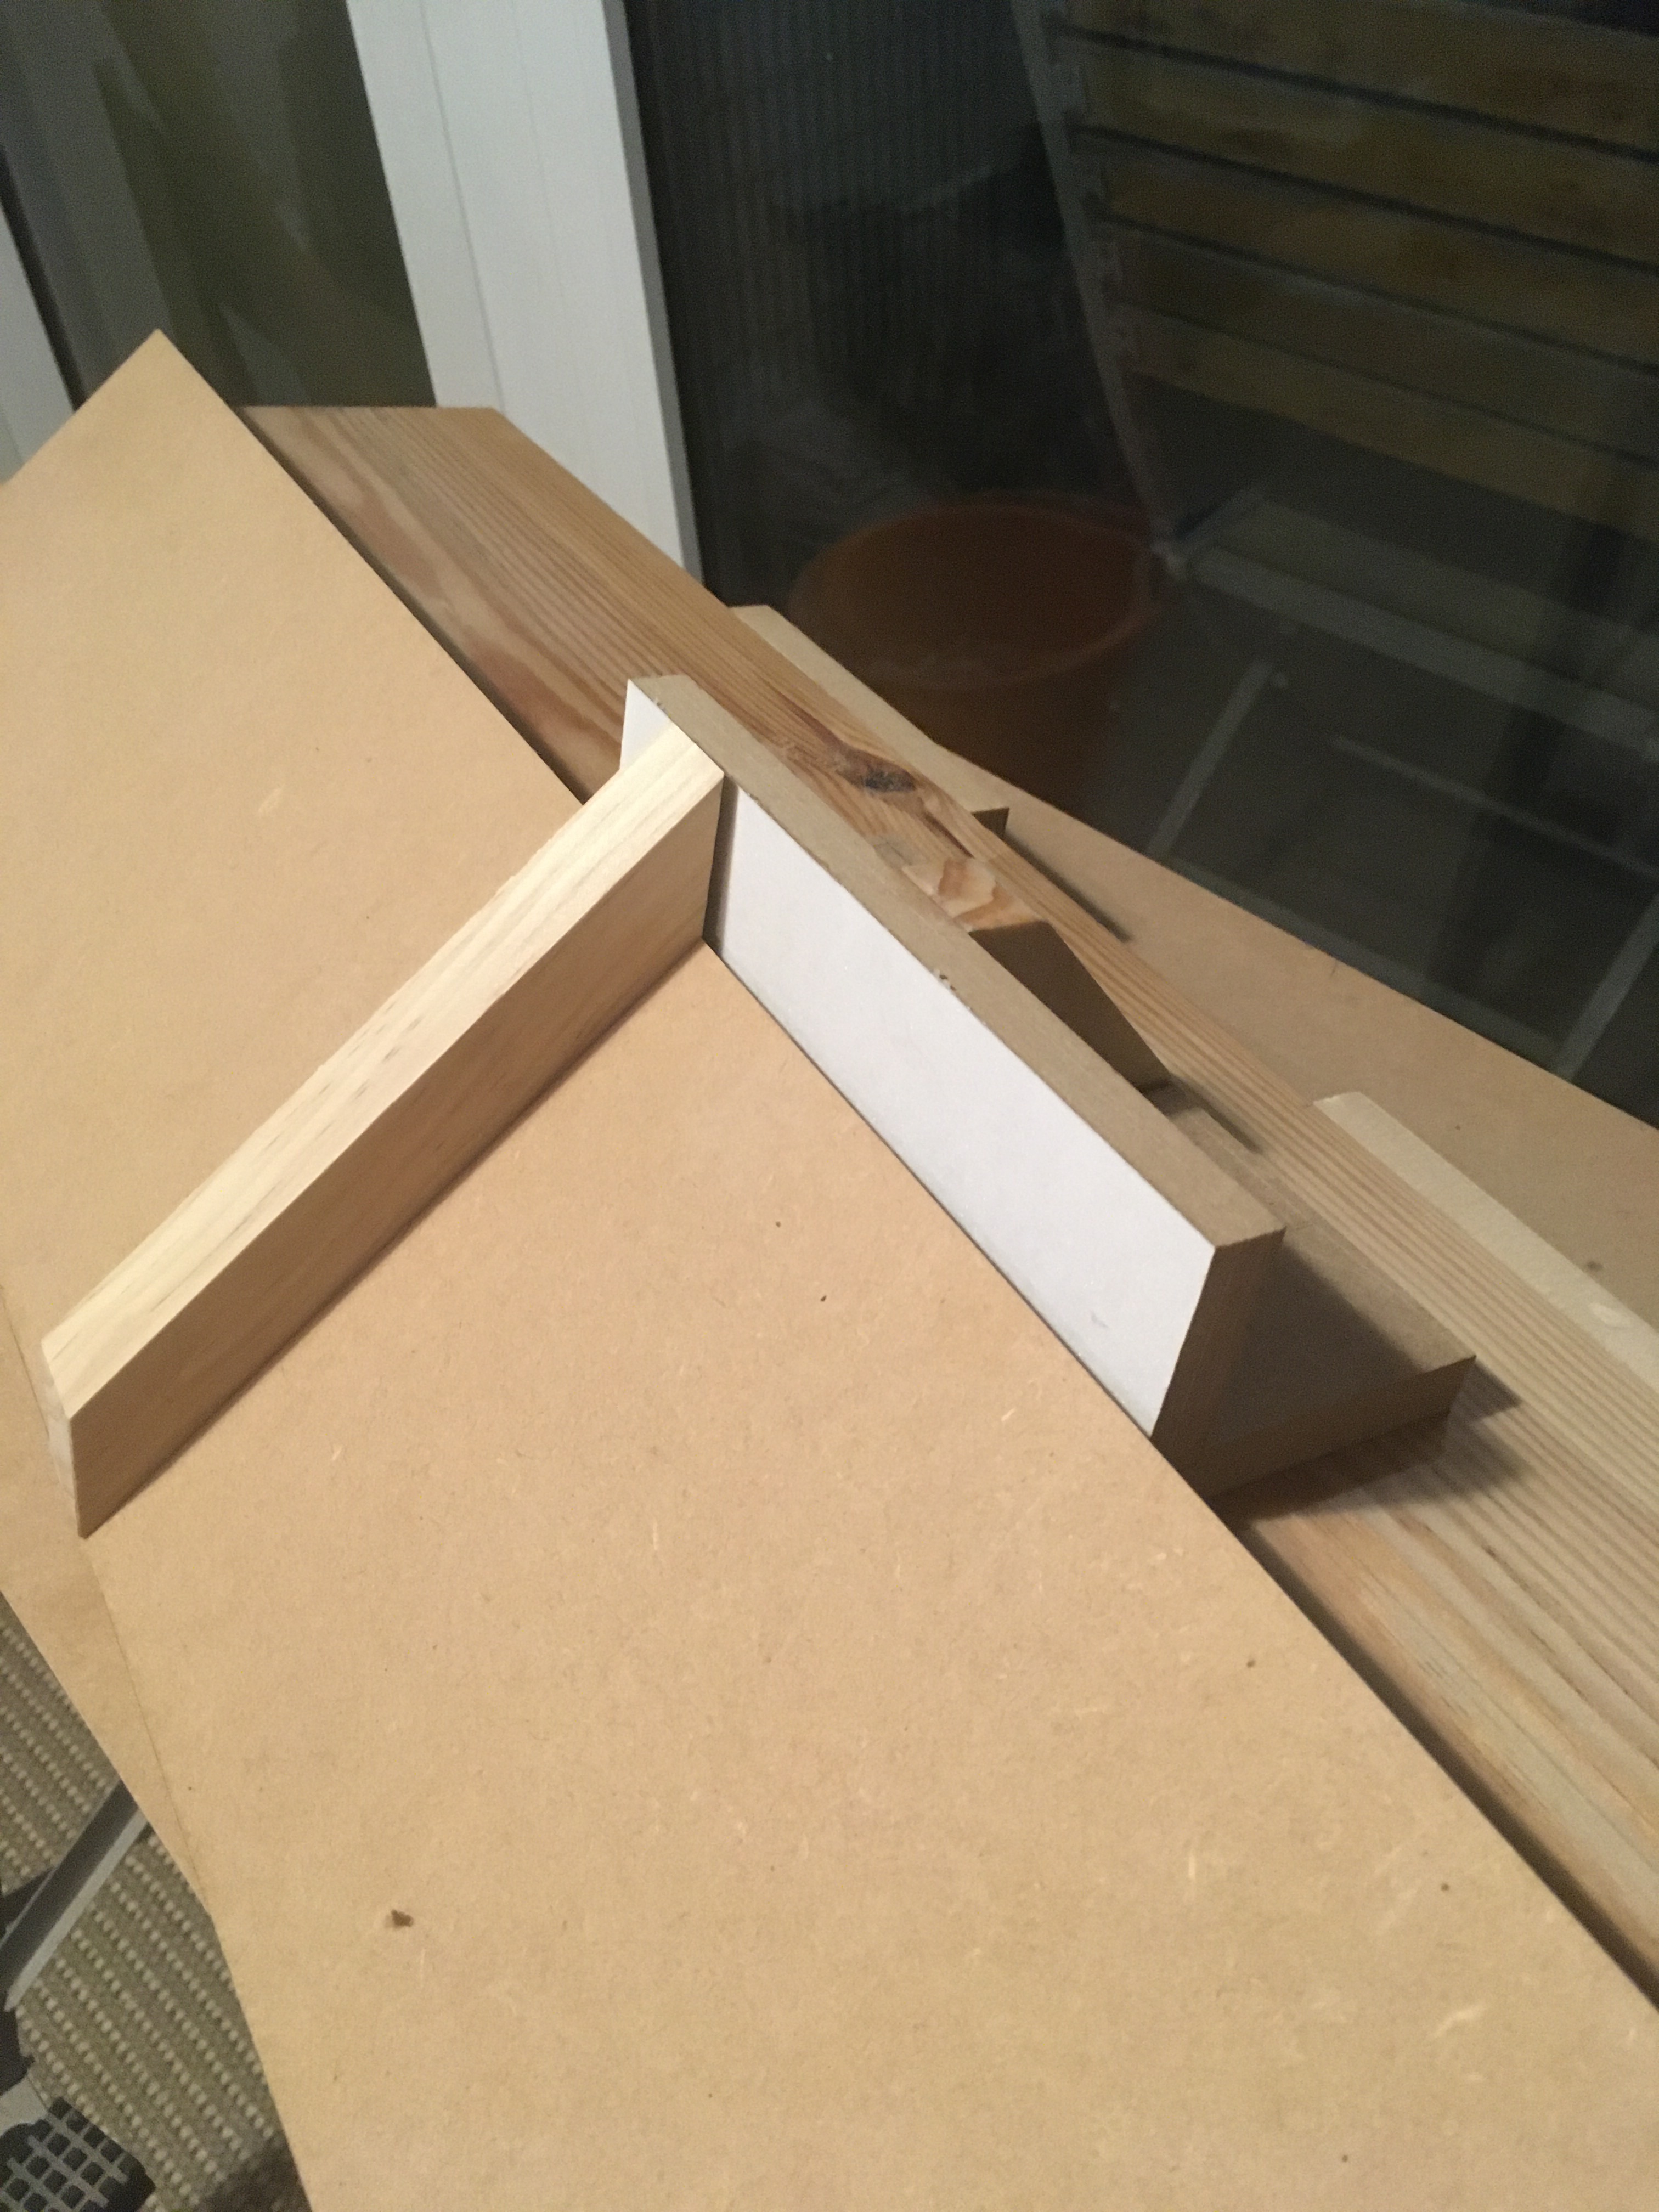
Yes that’s a nice idea, I joined the space with the intention of making a bench and a tool chest. Lockdown started about a fortnight after I joined. Anyway I have decided I should just crack on with the bench. For a Nicholson it’s legs first and I am going to use two by fours glued together to include a half lap at the top. It’s do able with hand tools and no bench. I can do the top later, with SYPine when the workshop opens. I think I have built it up in my head as a difficult task. Probably just need to crack on with it. What have you been making recently?
I might try something similar to your quick moxxon. I don’t see why it wouldn’t work on the workmate.
What is cls?
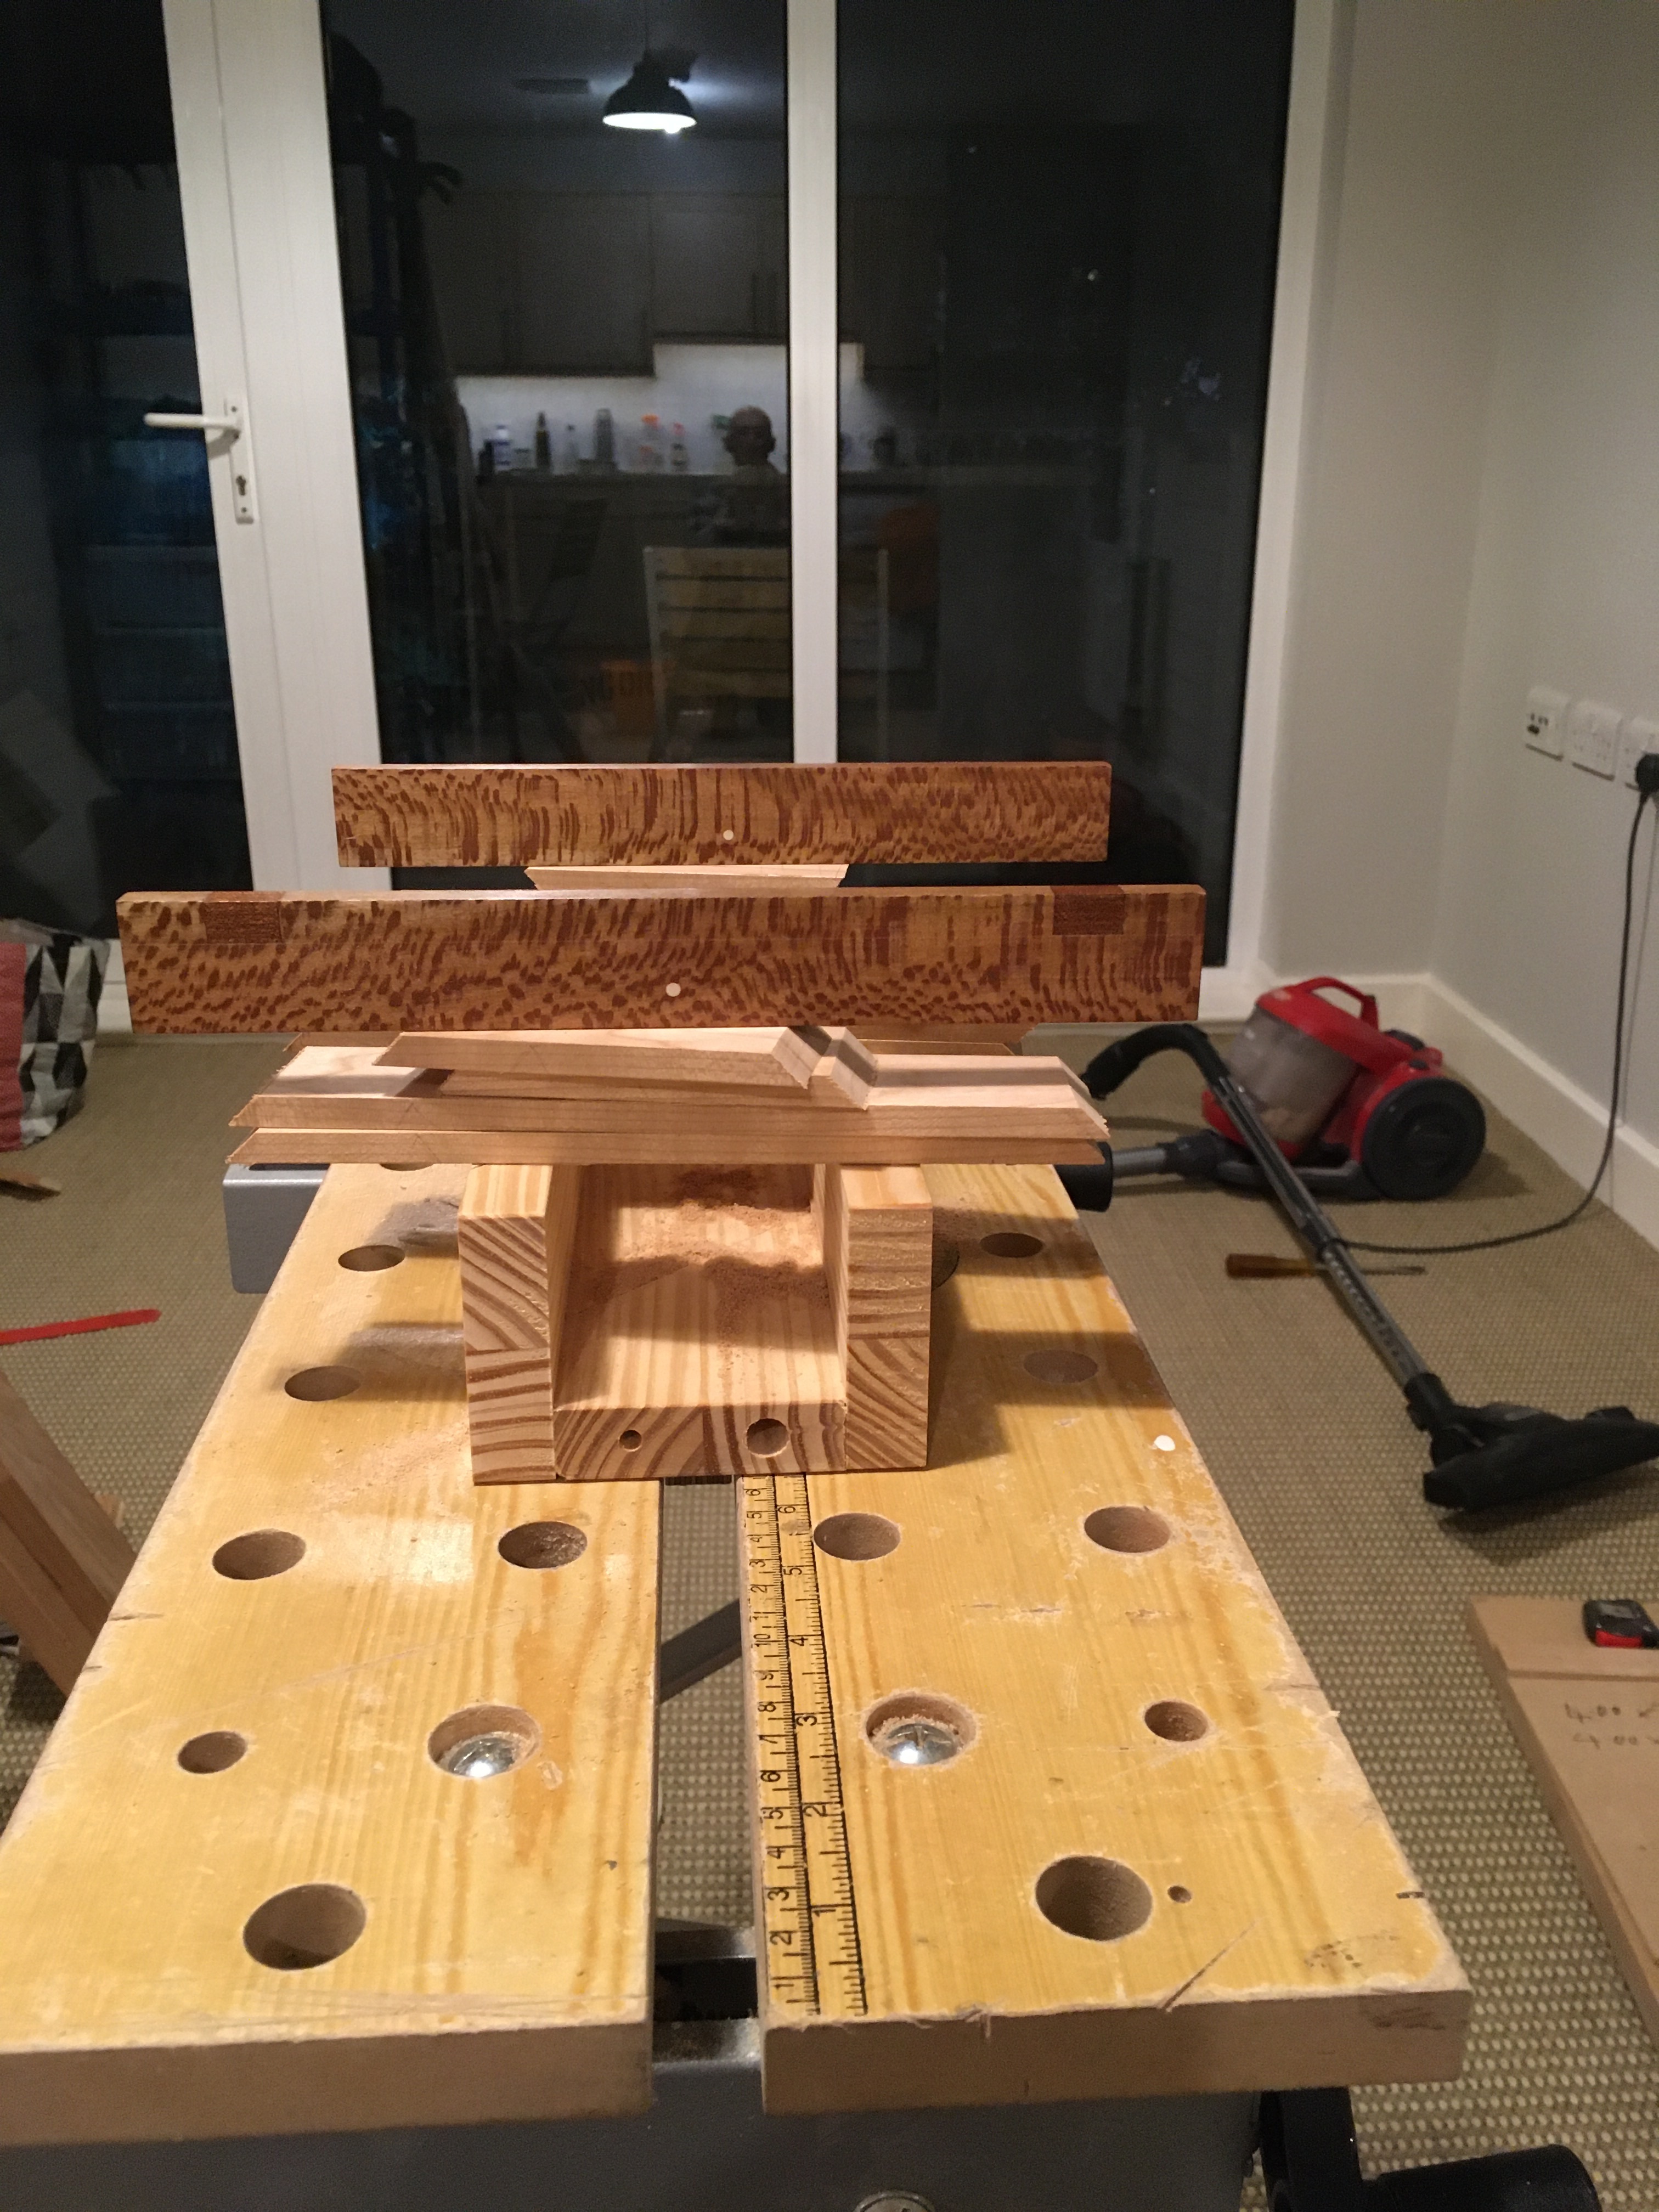
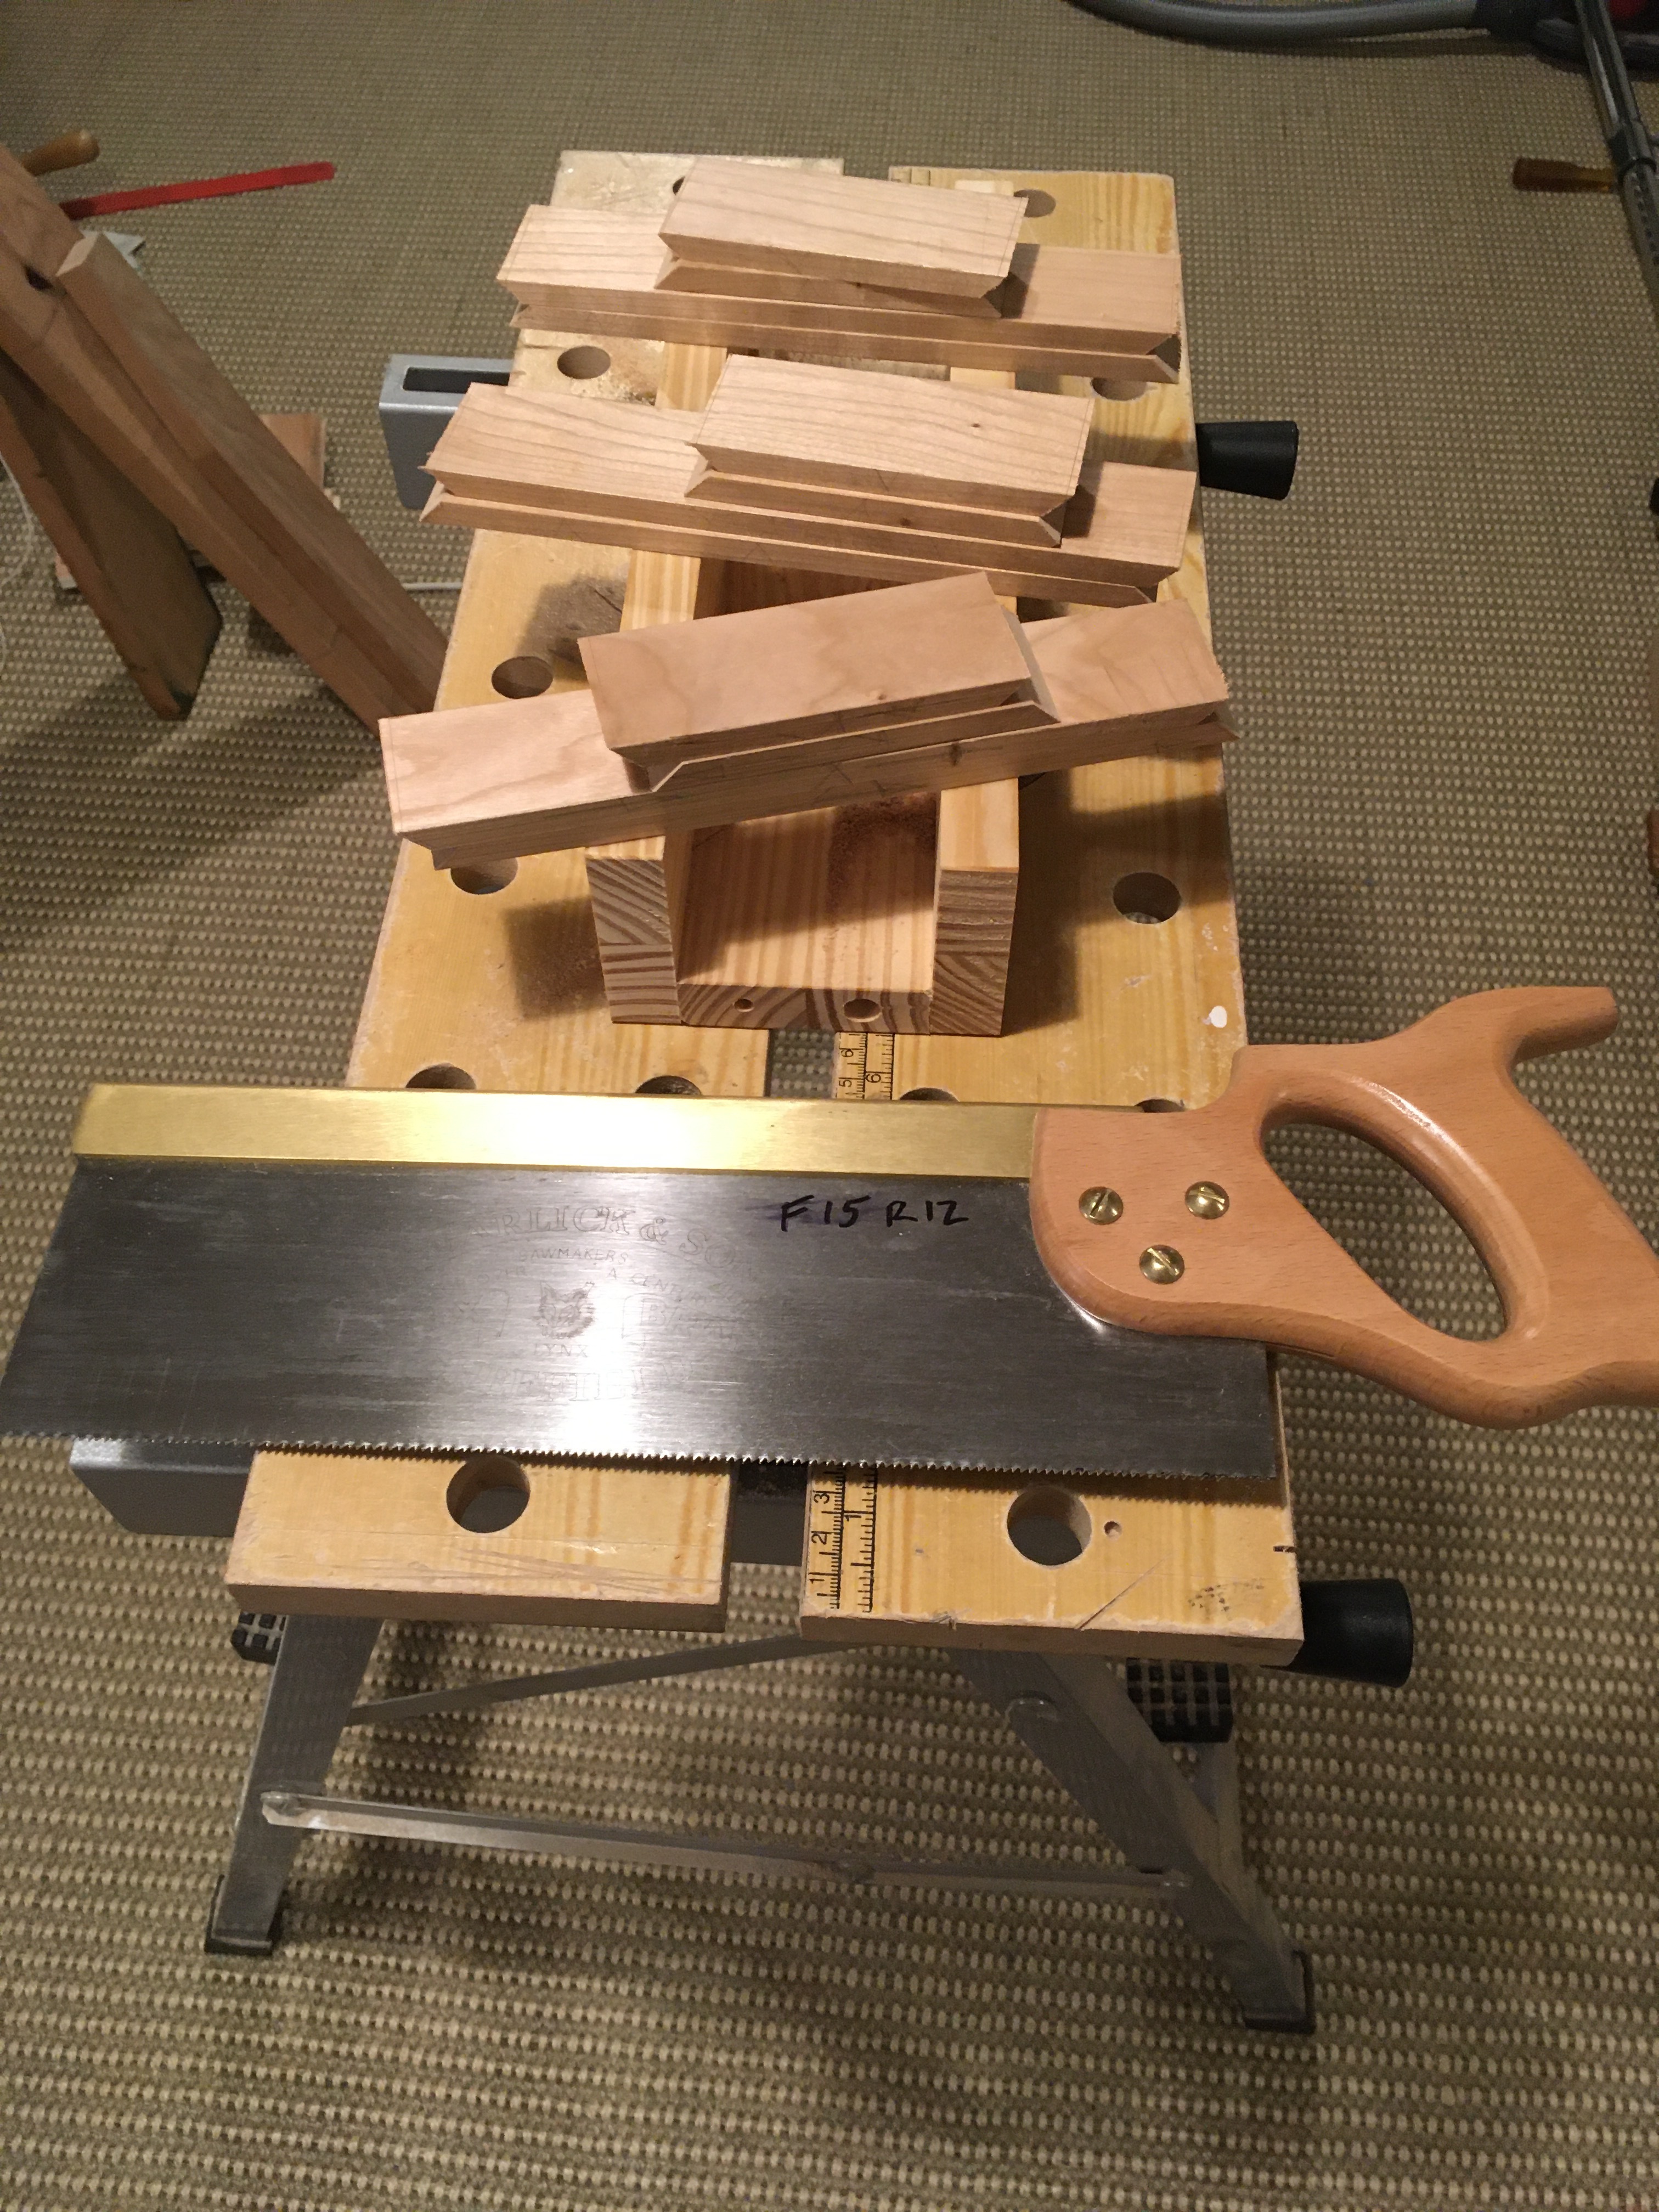
Stands for Canadian lumber standard it is pine from b&q but you will probably need to spend more time trying to find a straight one than it takes to make the vice, I am also working on a small moxon bench for dovetails out of old oak worktops, will post when it’s done
Yes very nice, it must be great having the parf dog system with the track saw. I suppose setting up accurate cross cuts etc is a breeze.
I previously noticed my hand sawing failed to meet the standard I require to successfully and efficiently dimension my timber. Everything in woodwork is causal, the end. So I took a look at what I had been doing. I was able to pinpoint several areas where improvement was a likely outcome if I enacted change. First off I made a realistic , honest appraisal of my hand saws. Japanese saws were not giving me anywhere near the results I consider adequate. Cost and propaganda had steered me down a dead end street. I was repeatedly getting good results with my European saws. I switched, and I am a dovetail saw away from completing that area of my toolbox. I looked at my bench next, again it was obvious I was hamstrung by the workmate. I thought of a way of clamping, to improve my rip sawing. Top of the list for my woodwork; build a Nicholson bench. I am making changes.
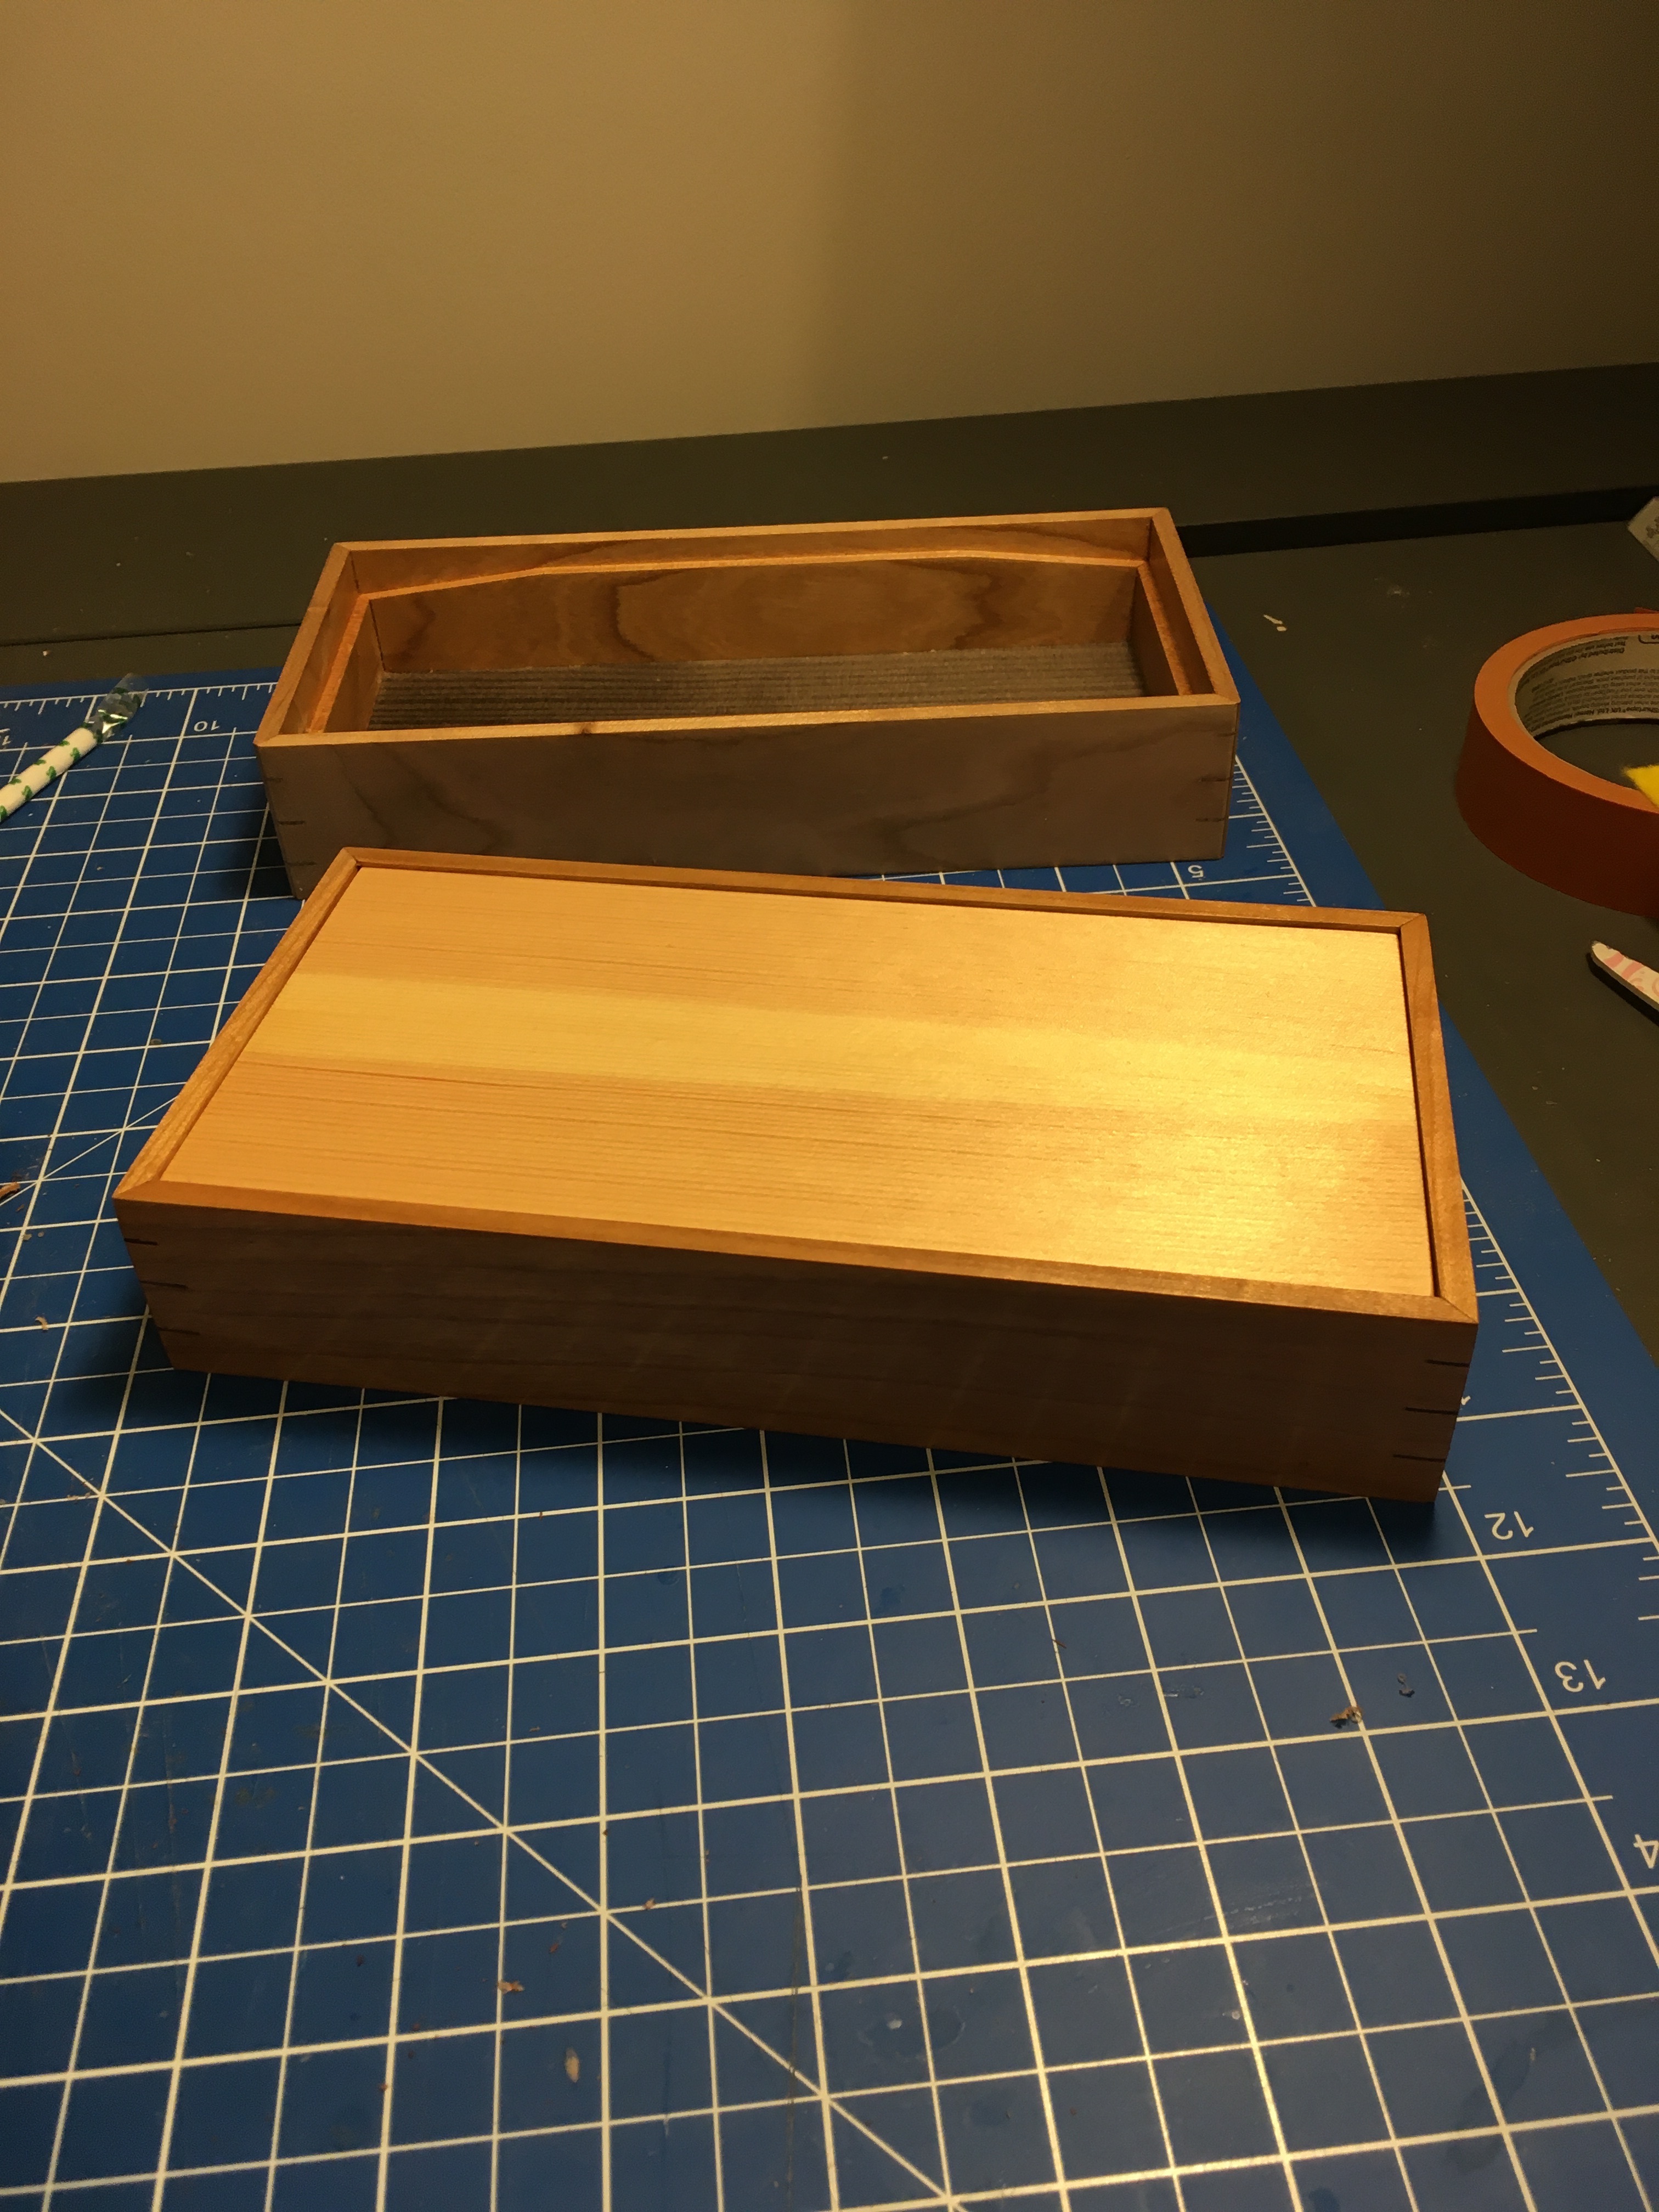
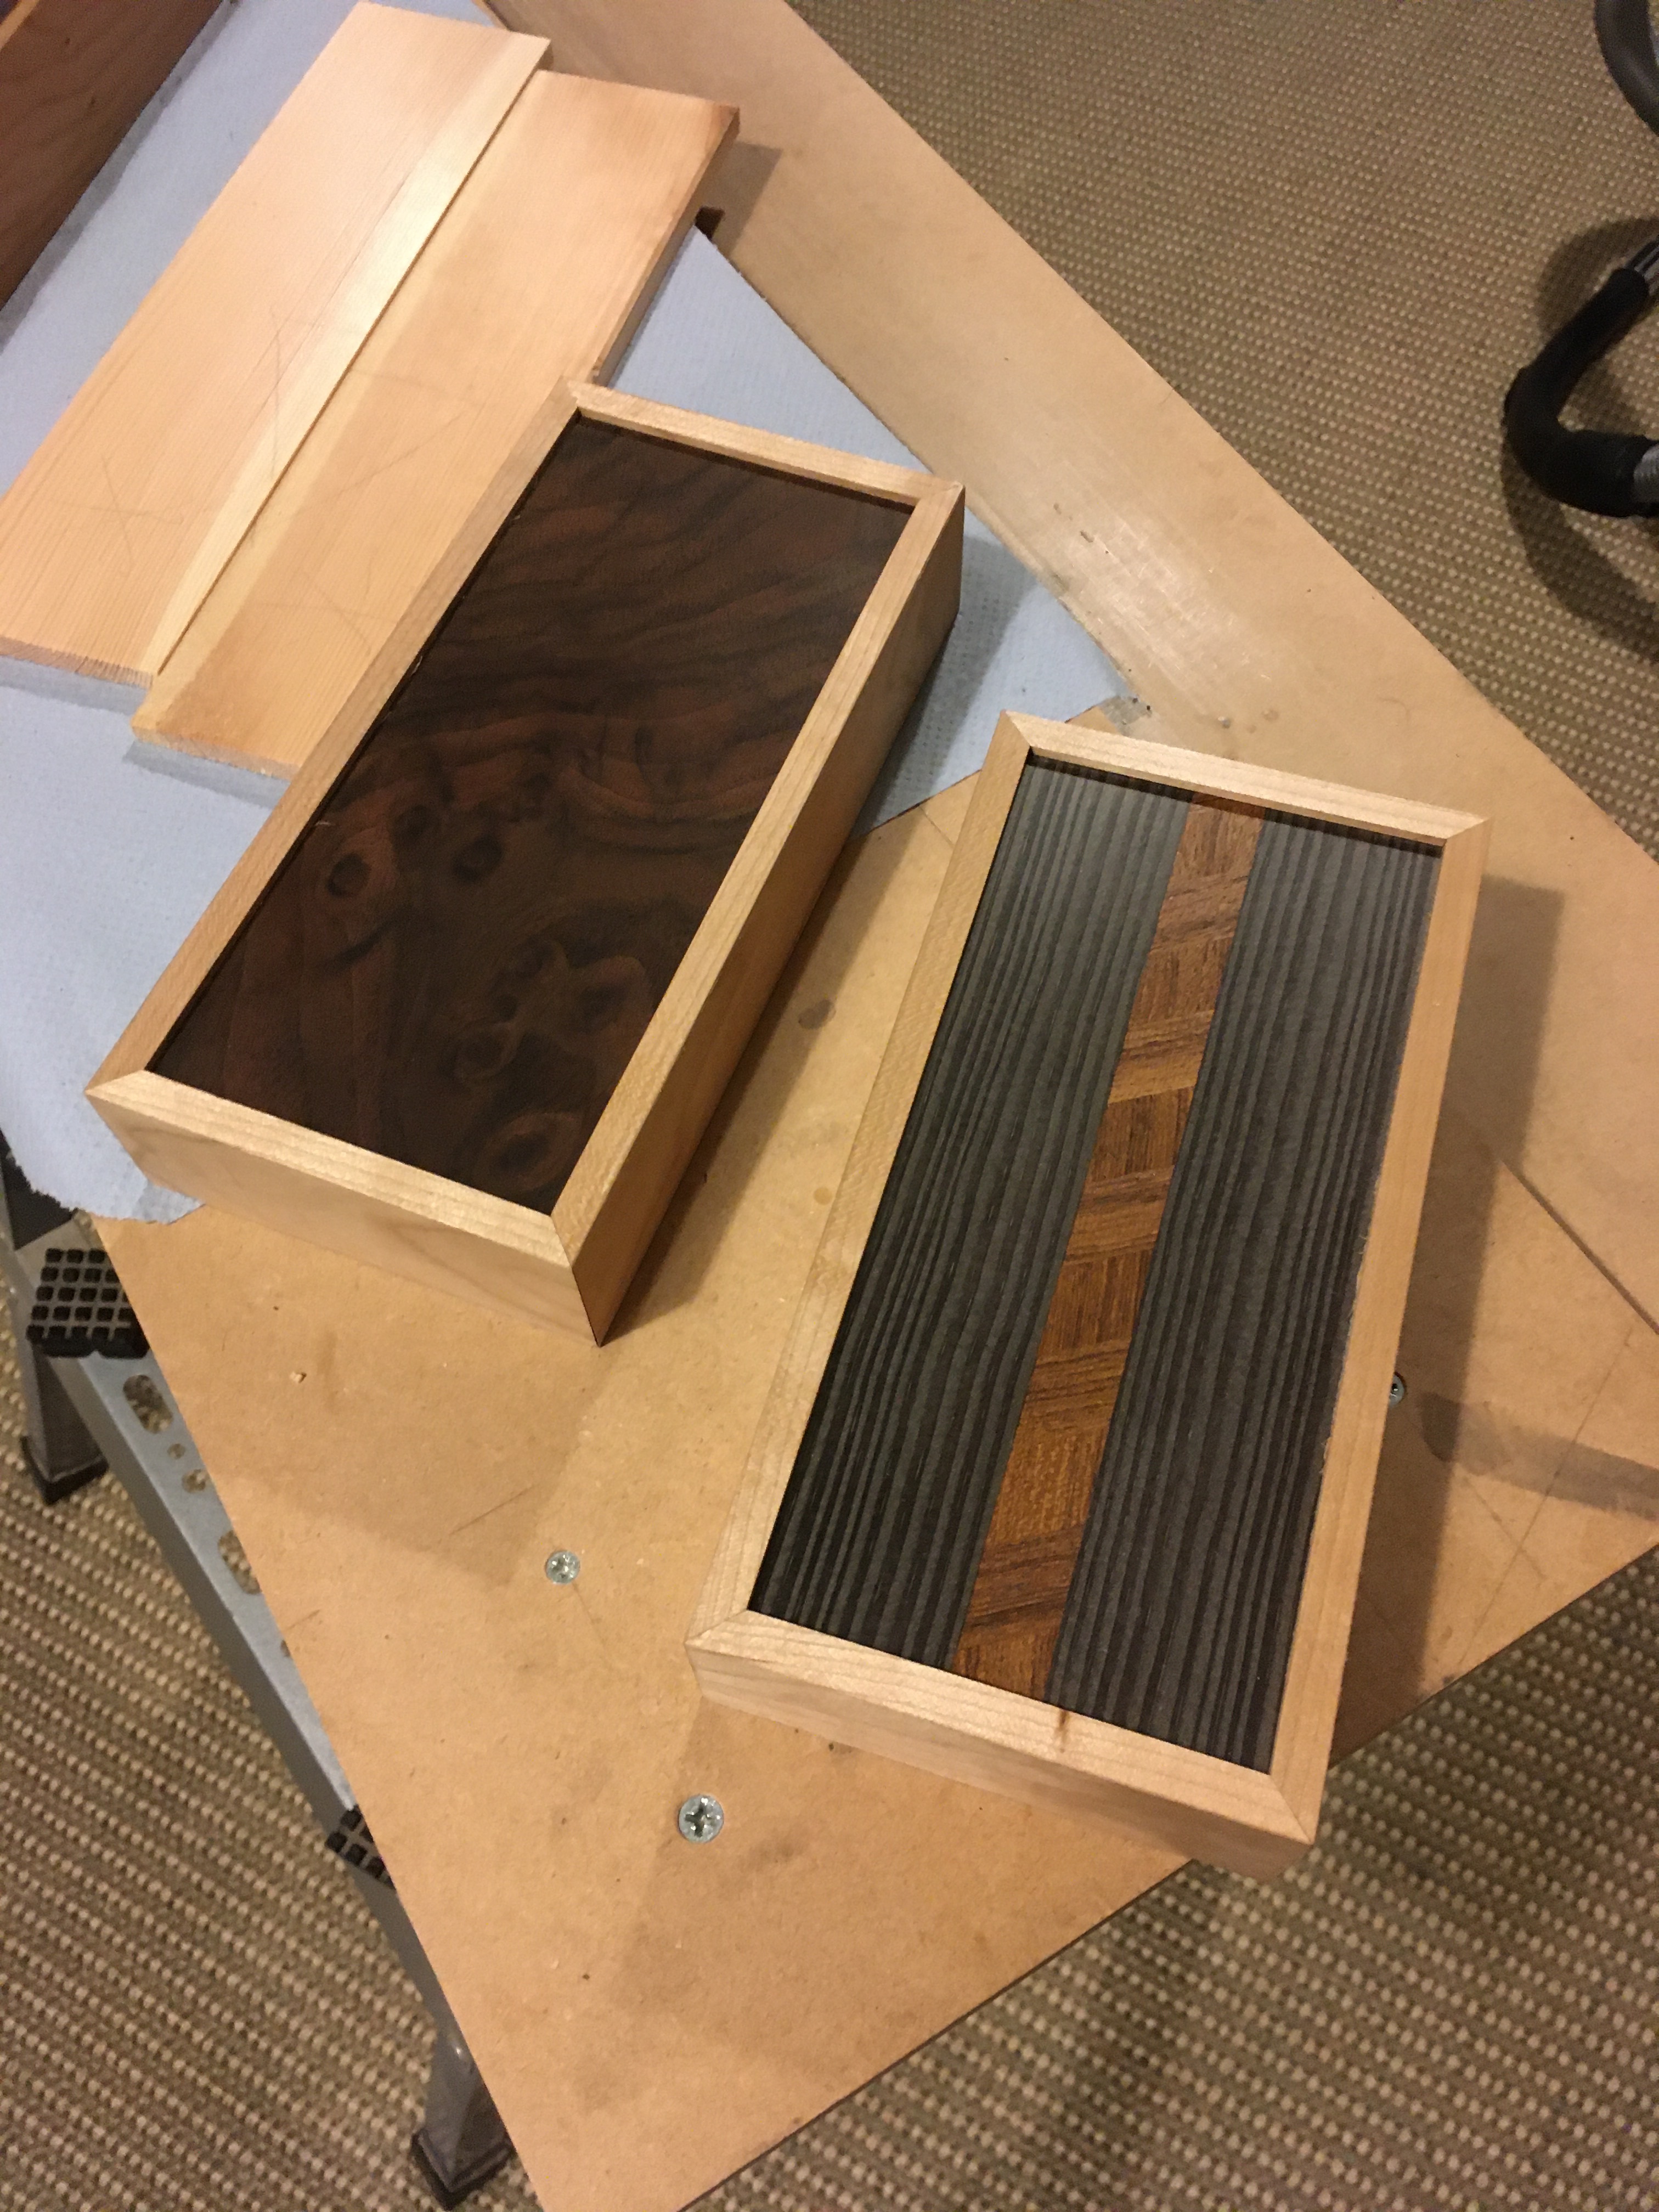
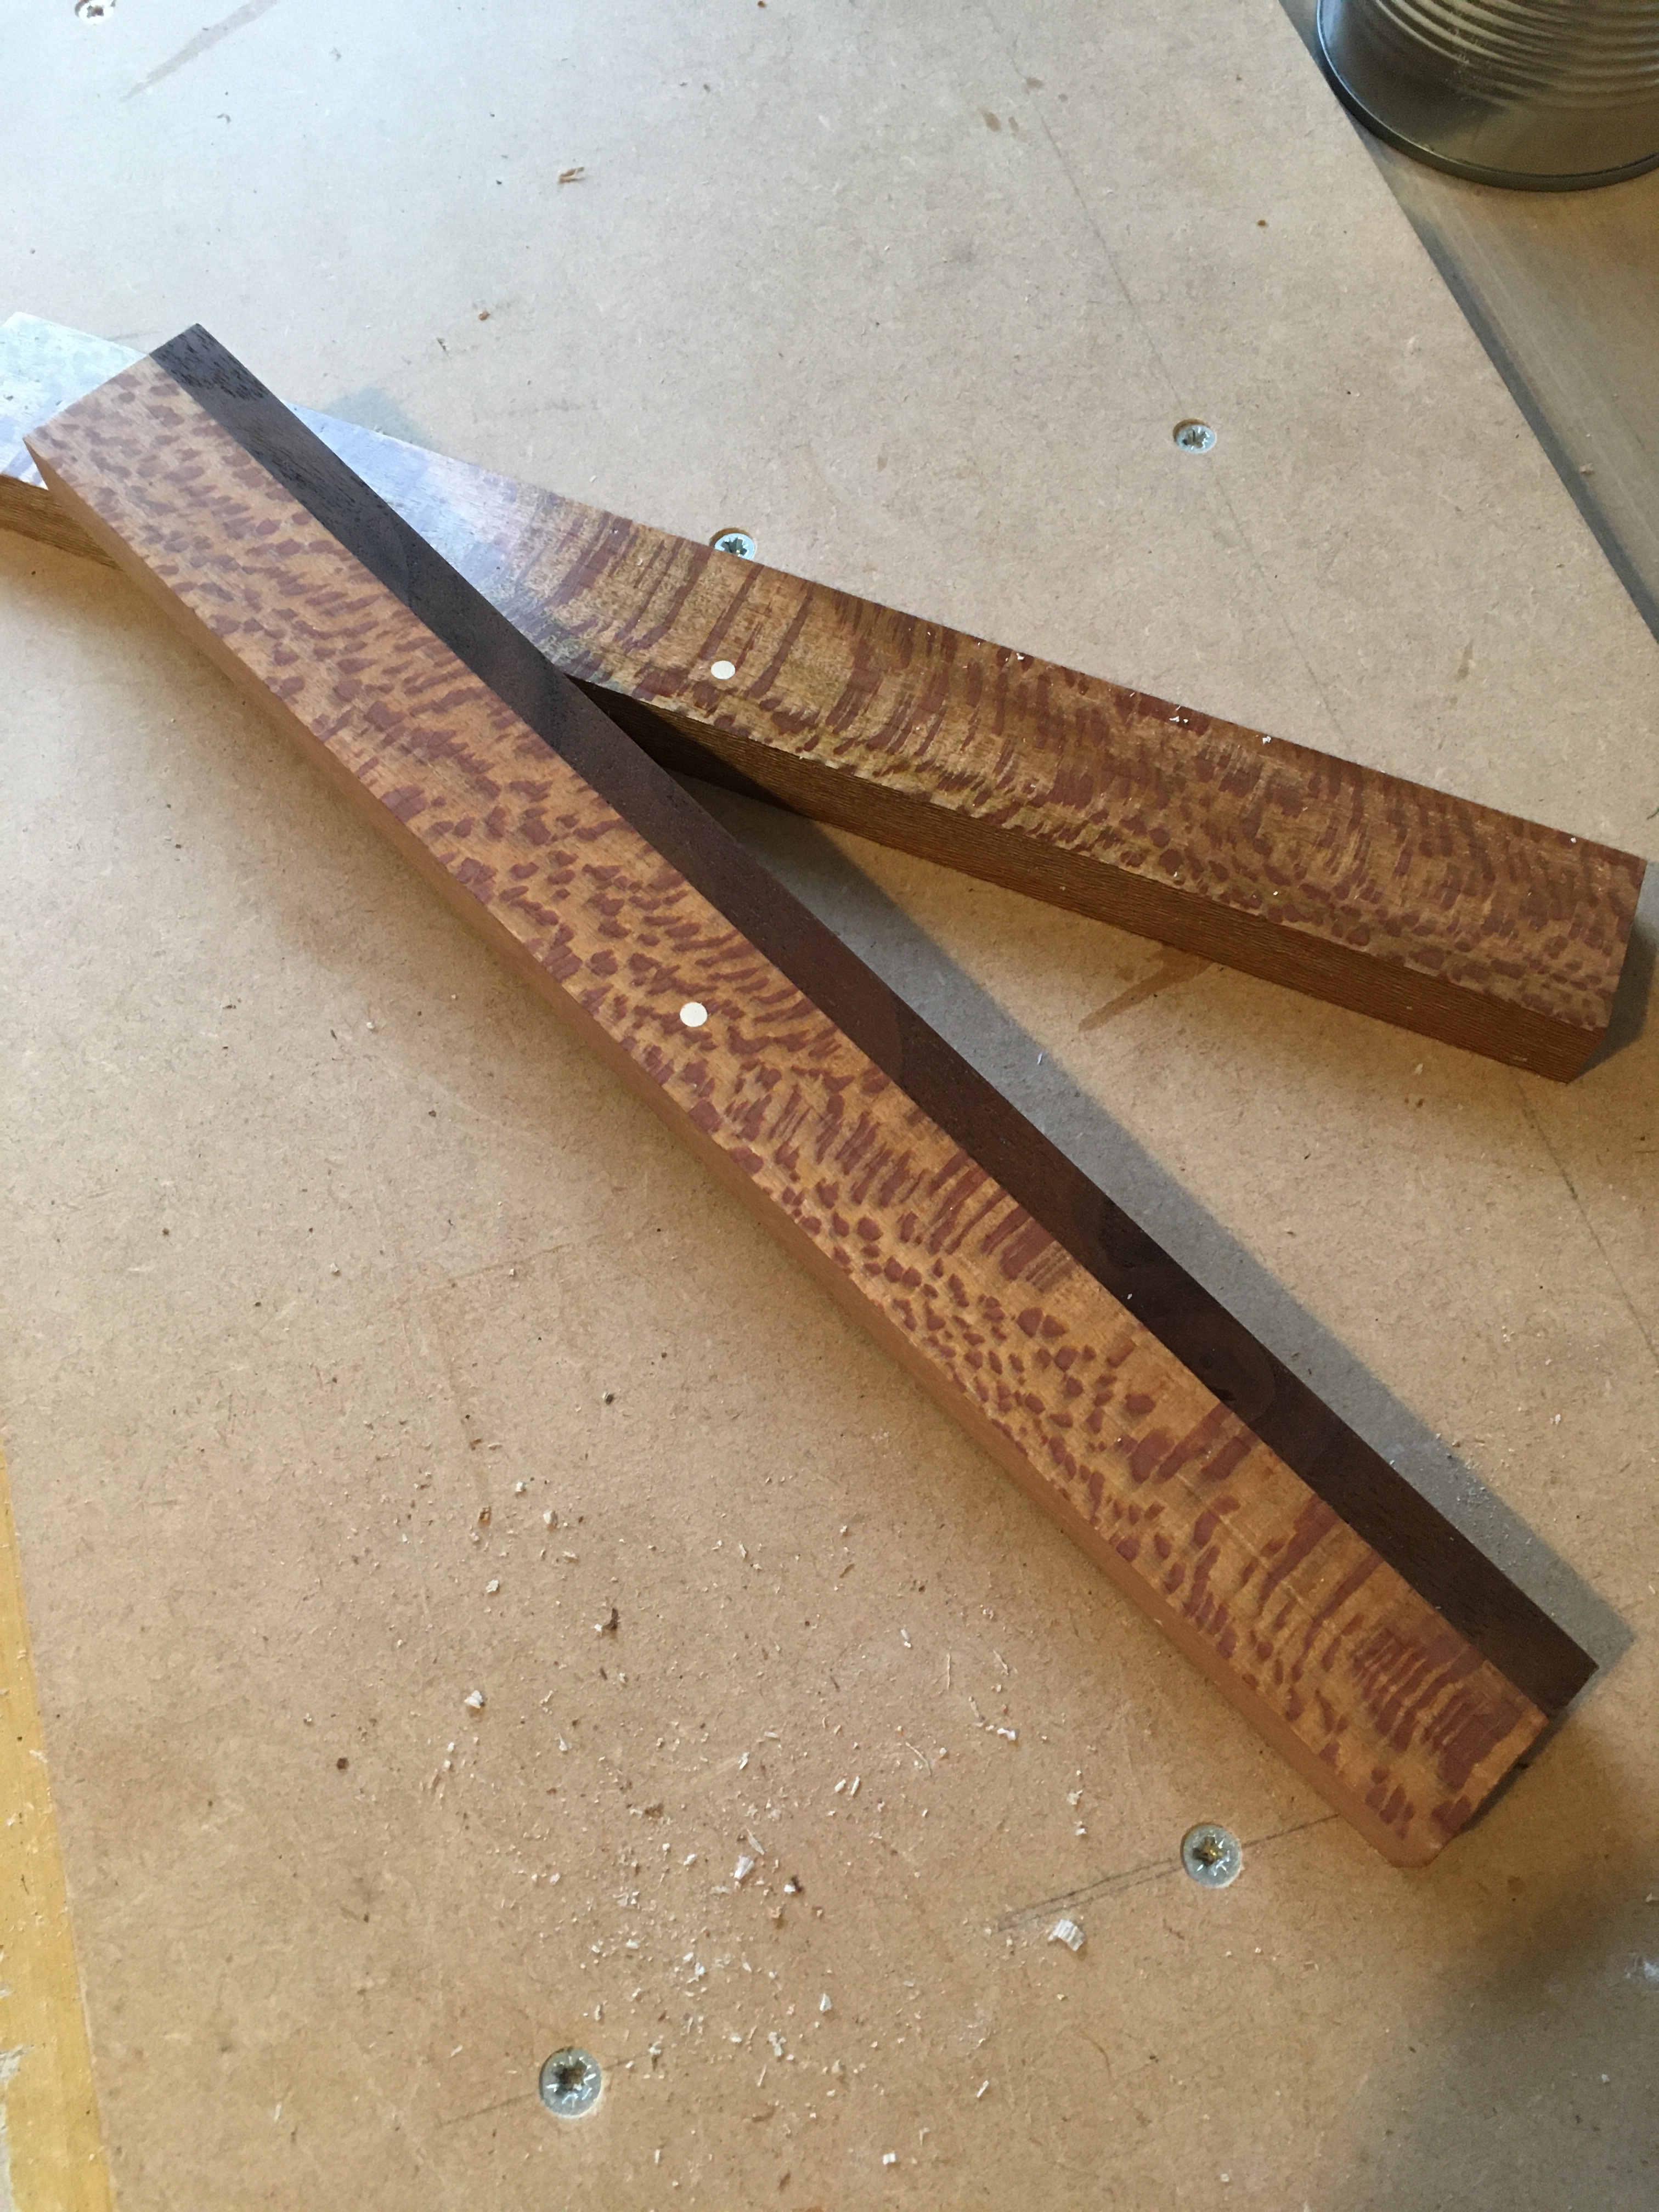
I have spotted a few issues with my finishing, so I will make a similar investigation into my finishing. I know that I will find areas where I can effect improvements. The bottom for one of my boxes has turned out okay. I will be mounting the teak strip facing out, on the bottom. It’s a nice little surprise if someone picks the box up and takes a look. Oriented inside it never gets seen because the box has pens inside.


Veneering a lid was worth the effort. I found several weaknesses in veneering the lid though. I found this
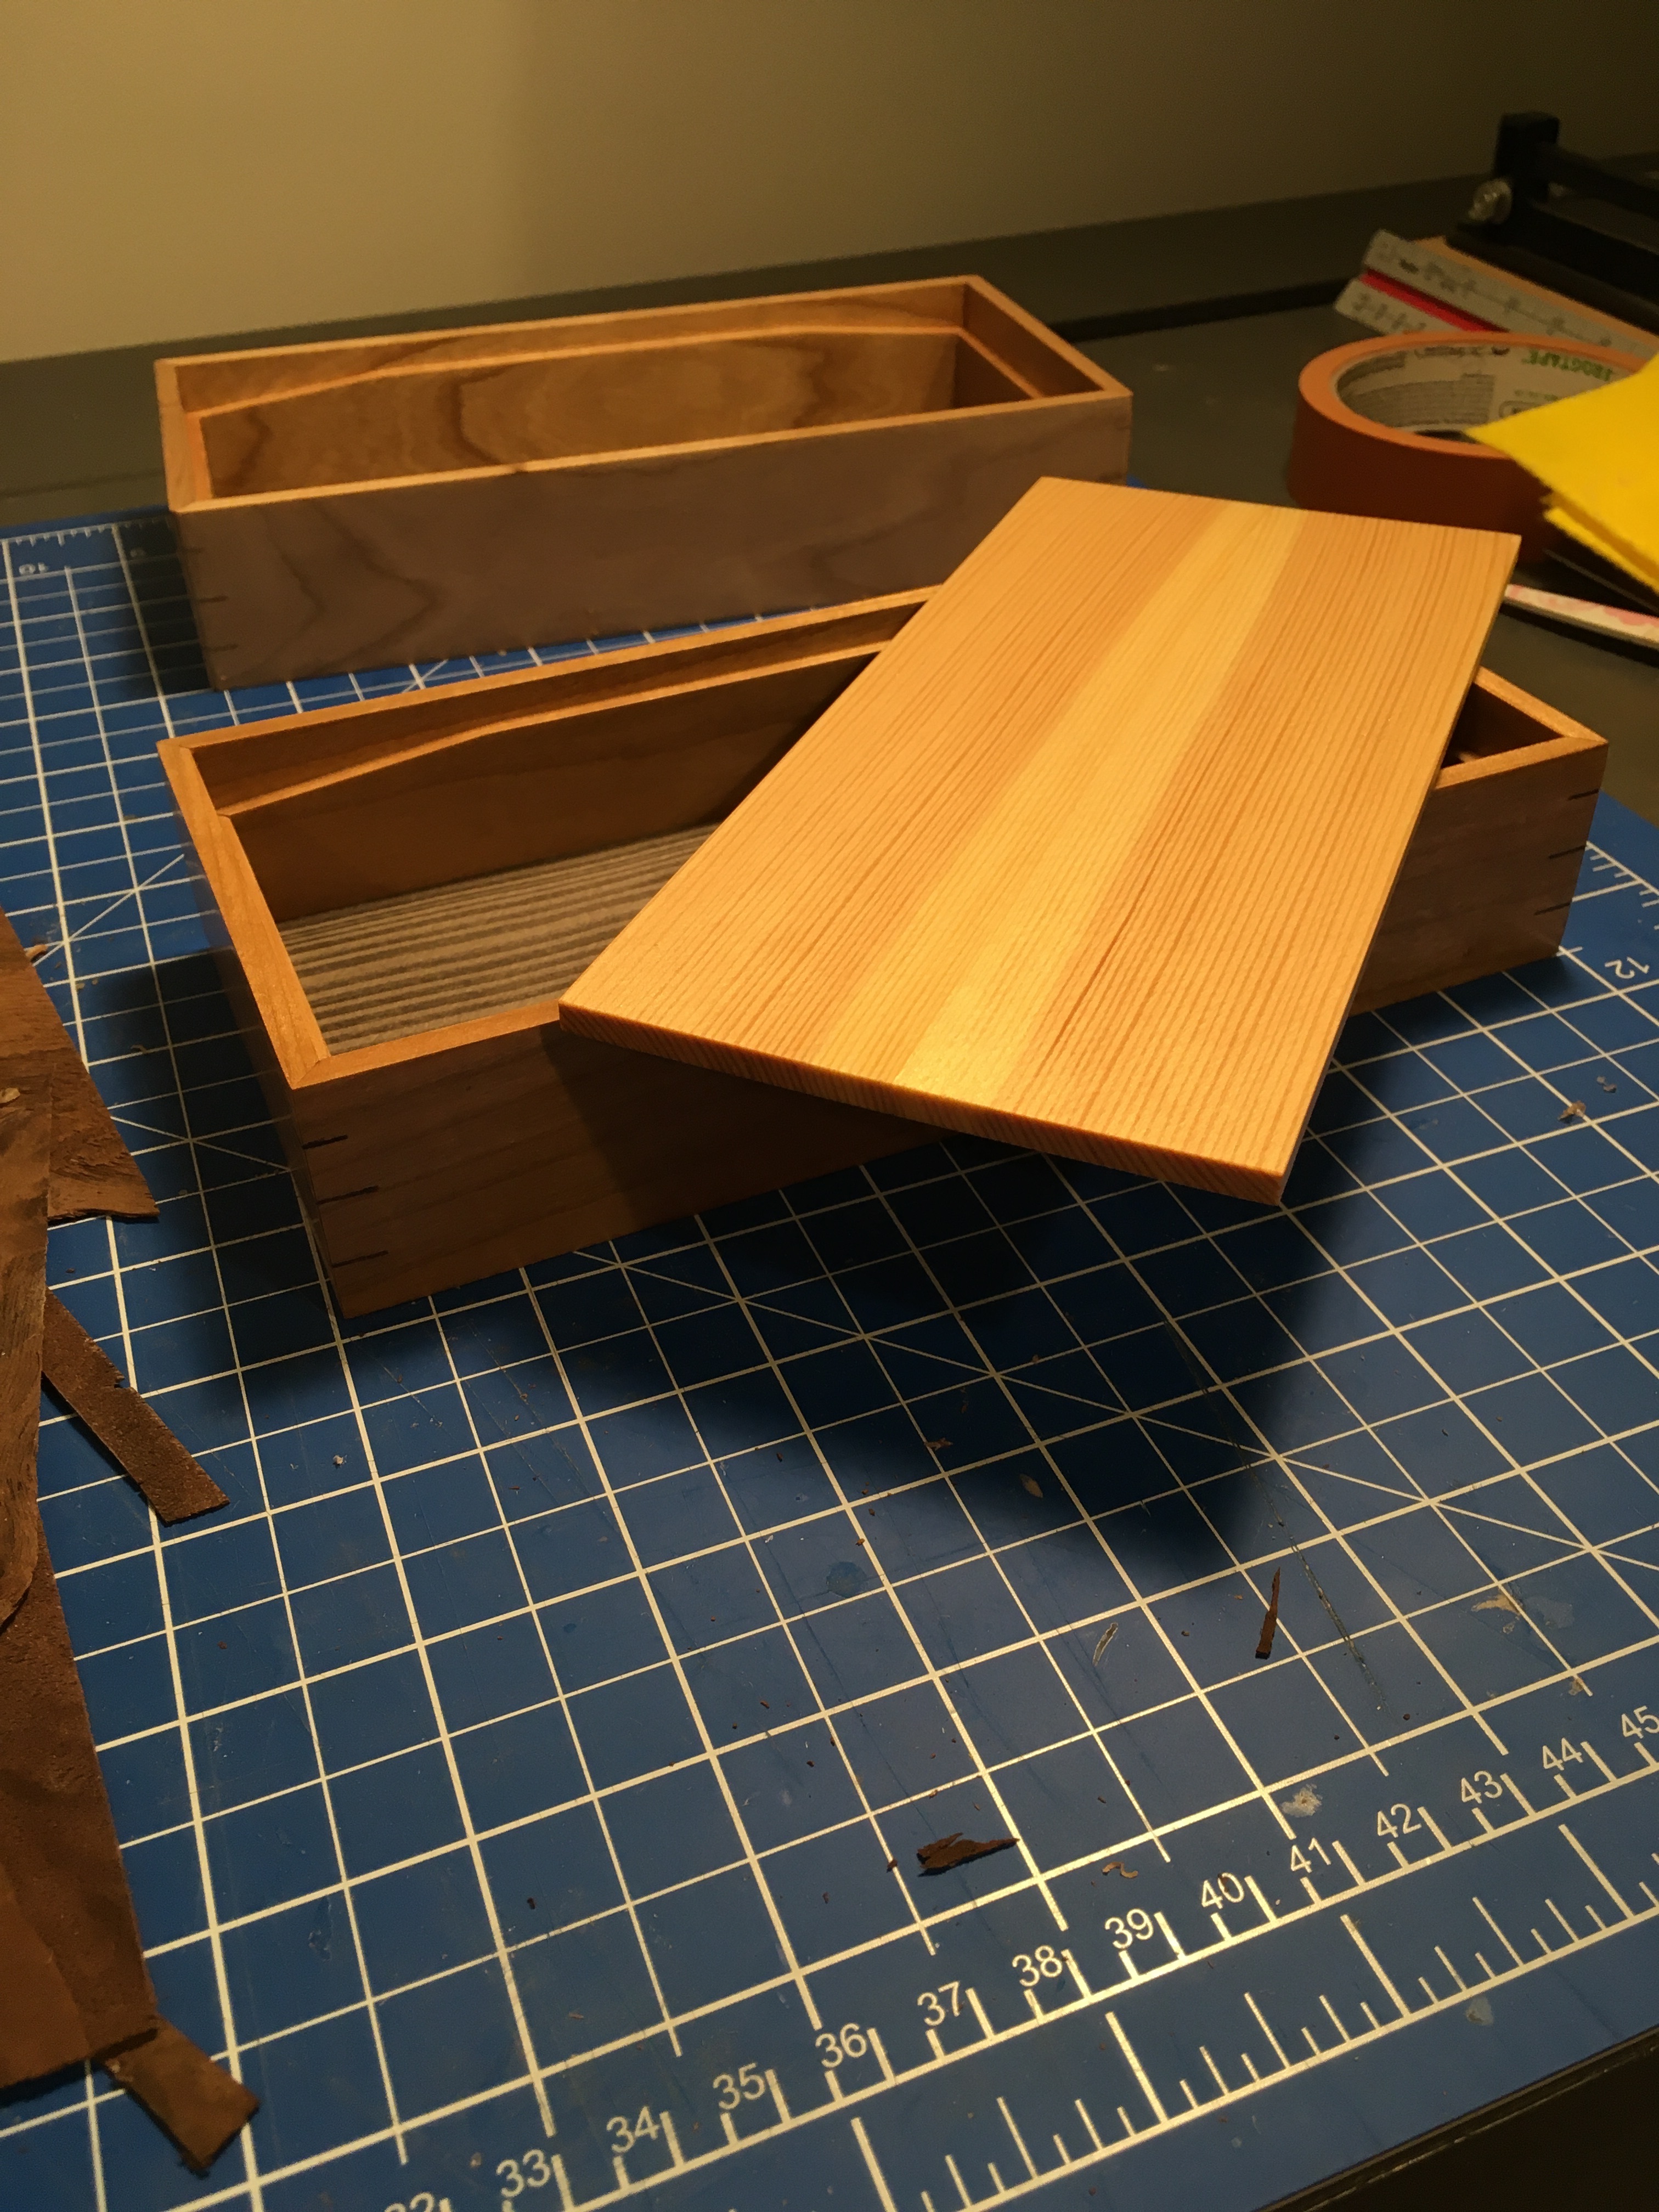
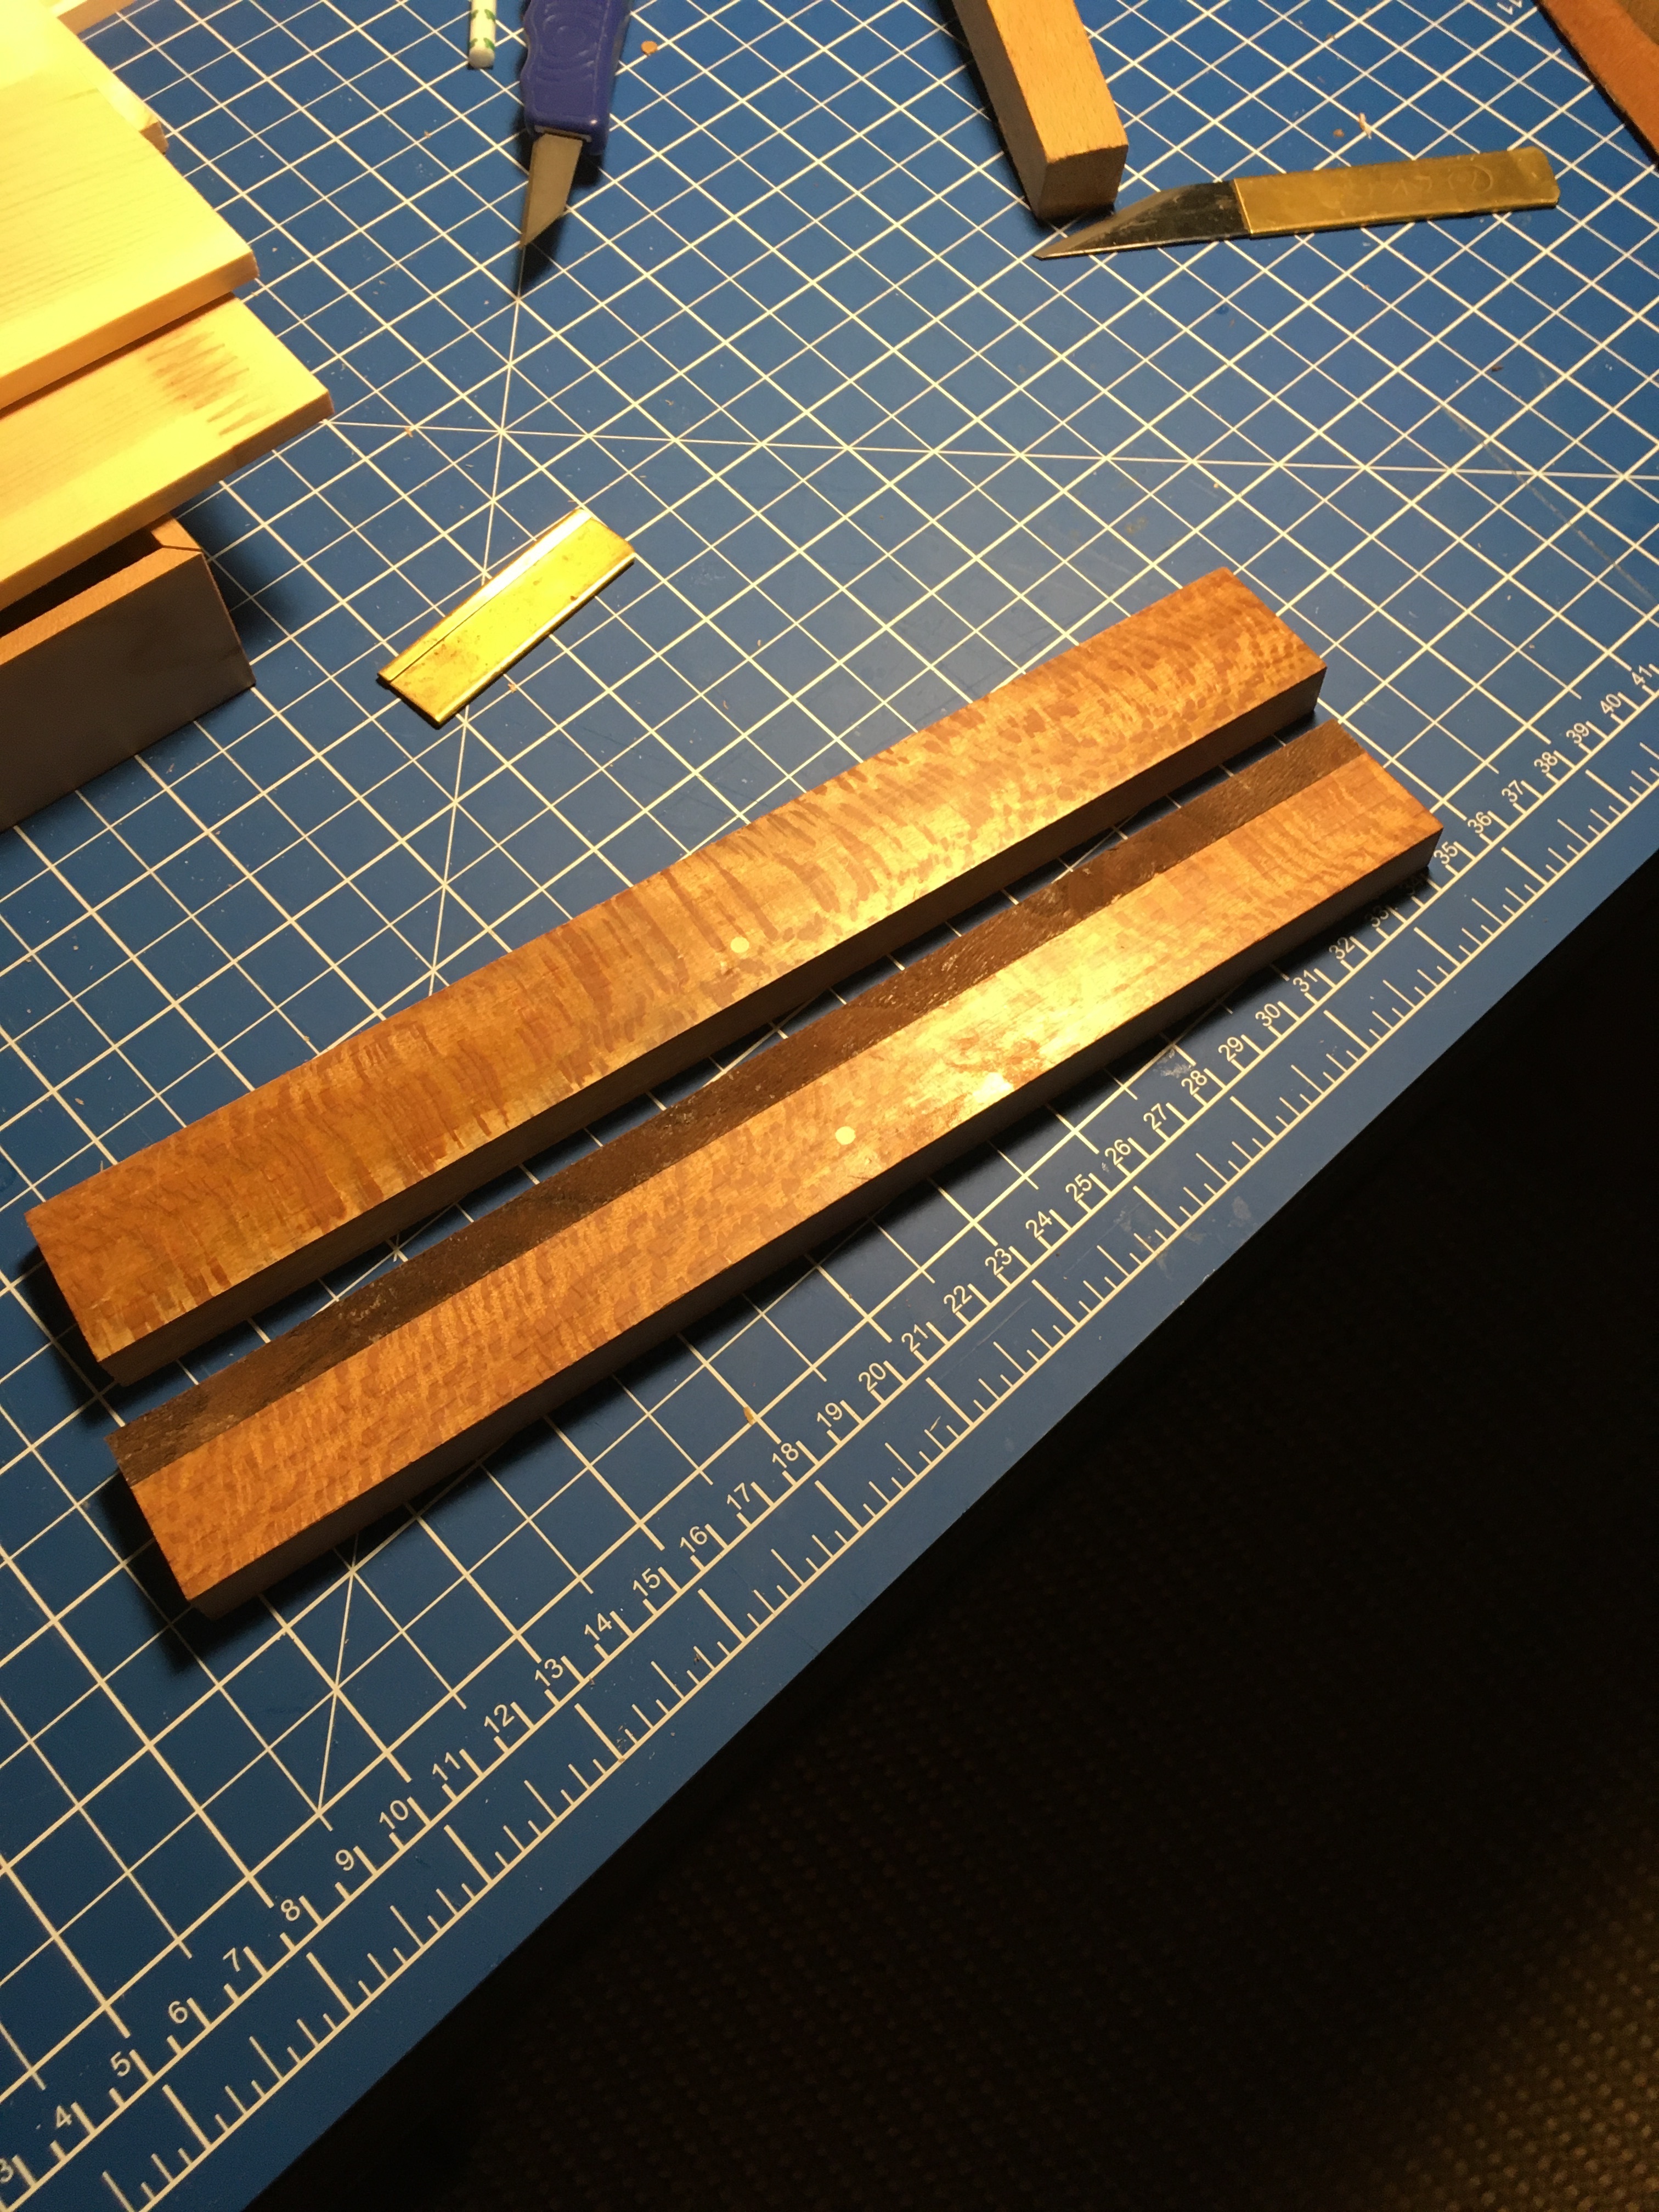
piece of pine in the bin situated just off the street at the entrance to the alleyway. It’s close enough to quarter sawn to be perfect for a book match edge joint. I am taking it down to 5mm thickness. This pine is lovely to hand plane, I am finding it nice and stable too, I am taking it down to the 5mm final thickness slowly, allowing plenty of time for the wood to reach a state of harmony. You can bet your bottom dollar that I will be using my mini winding sticks for this thin lid.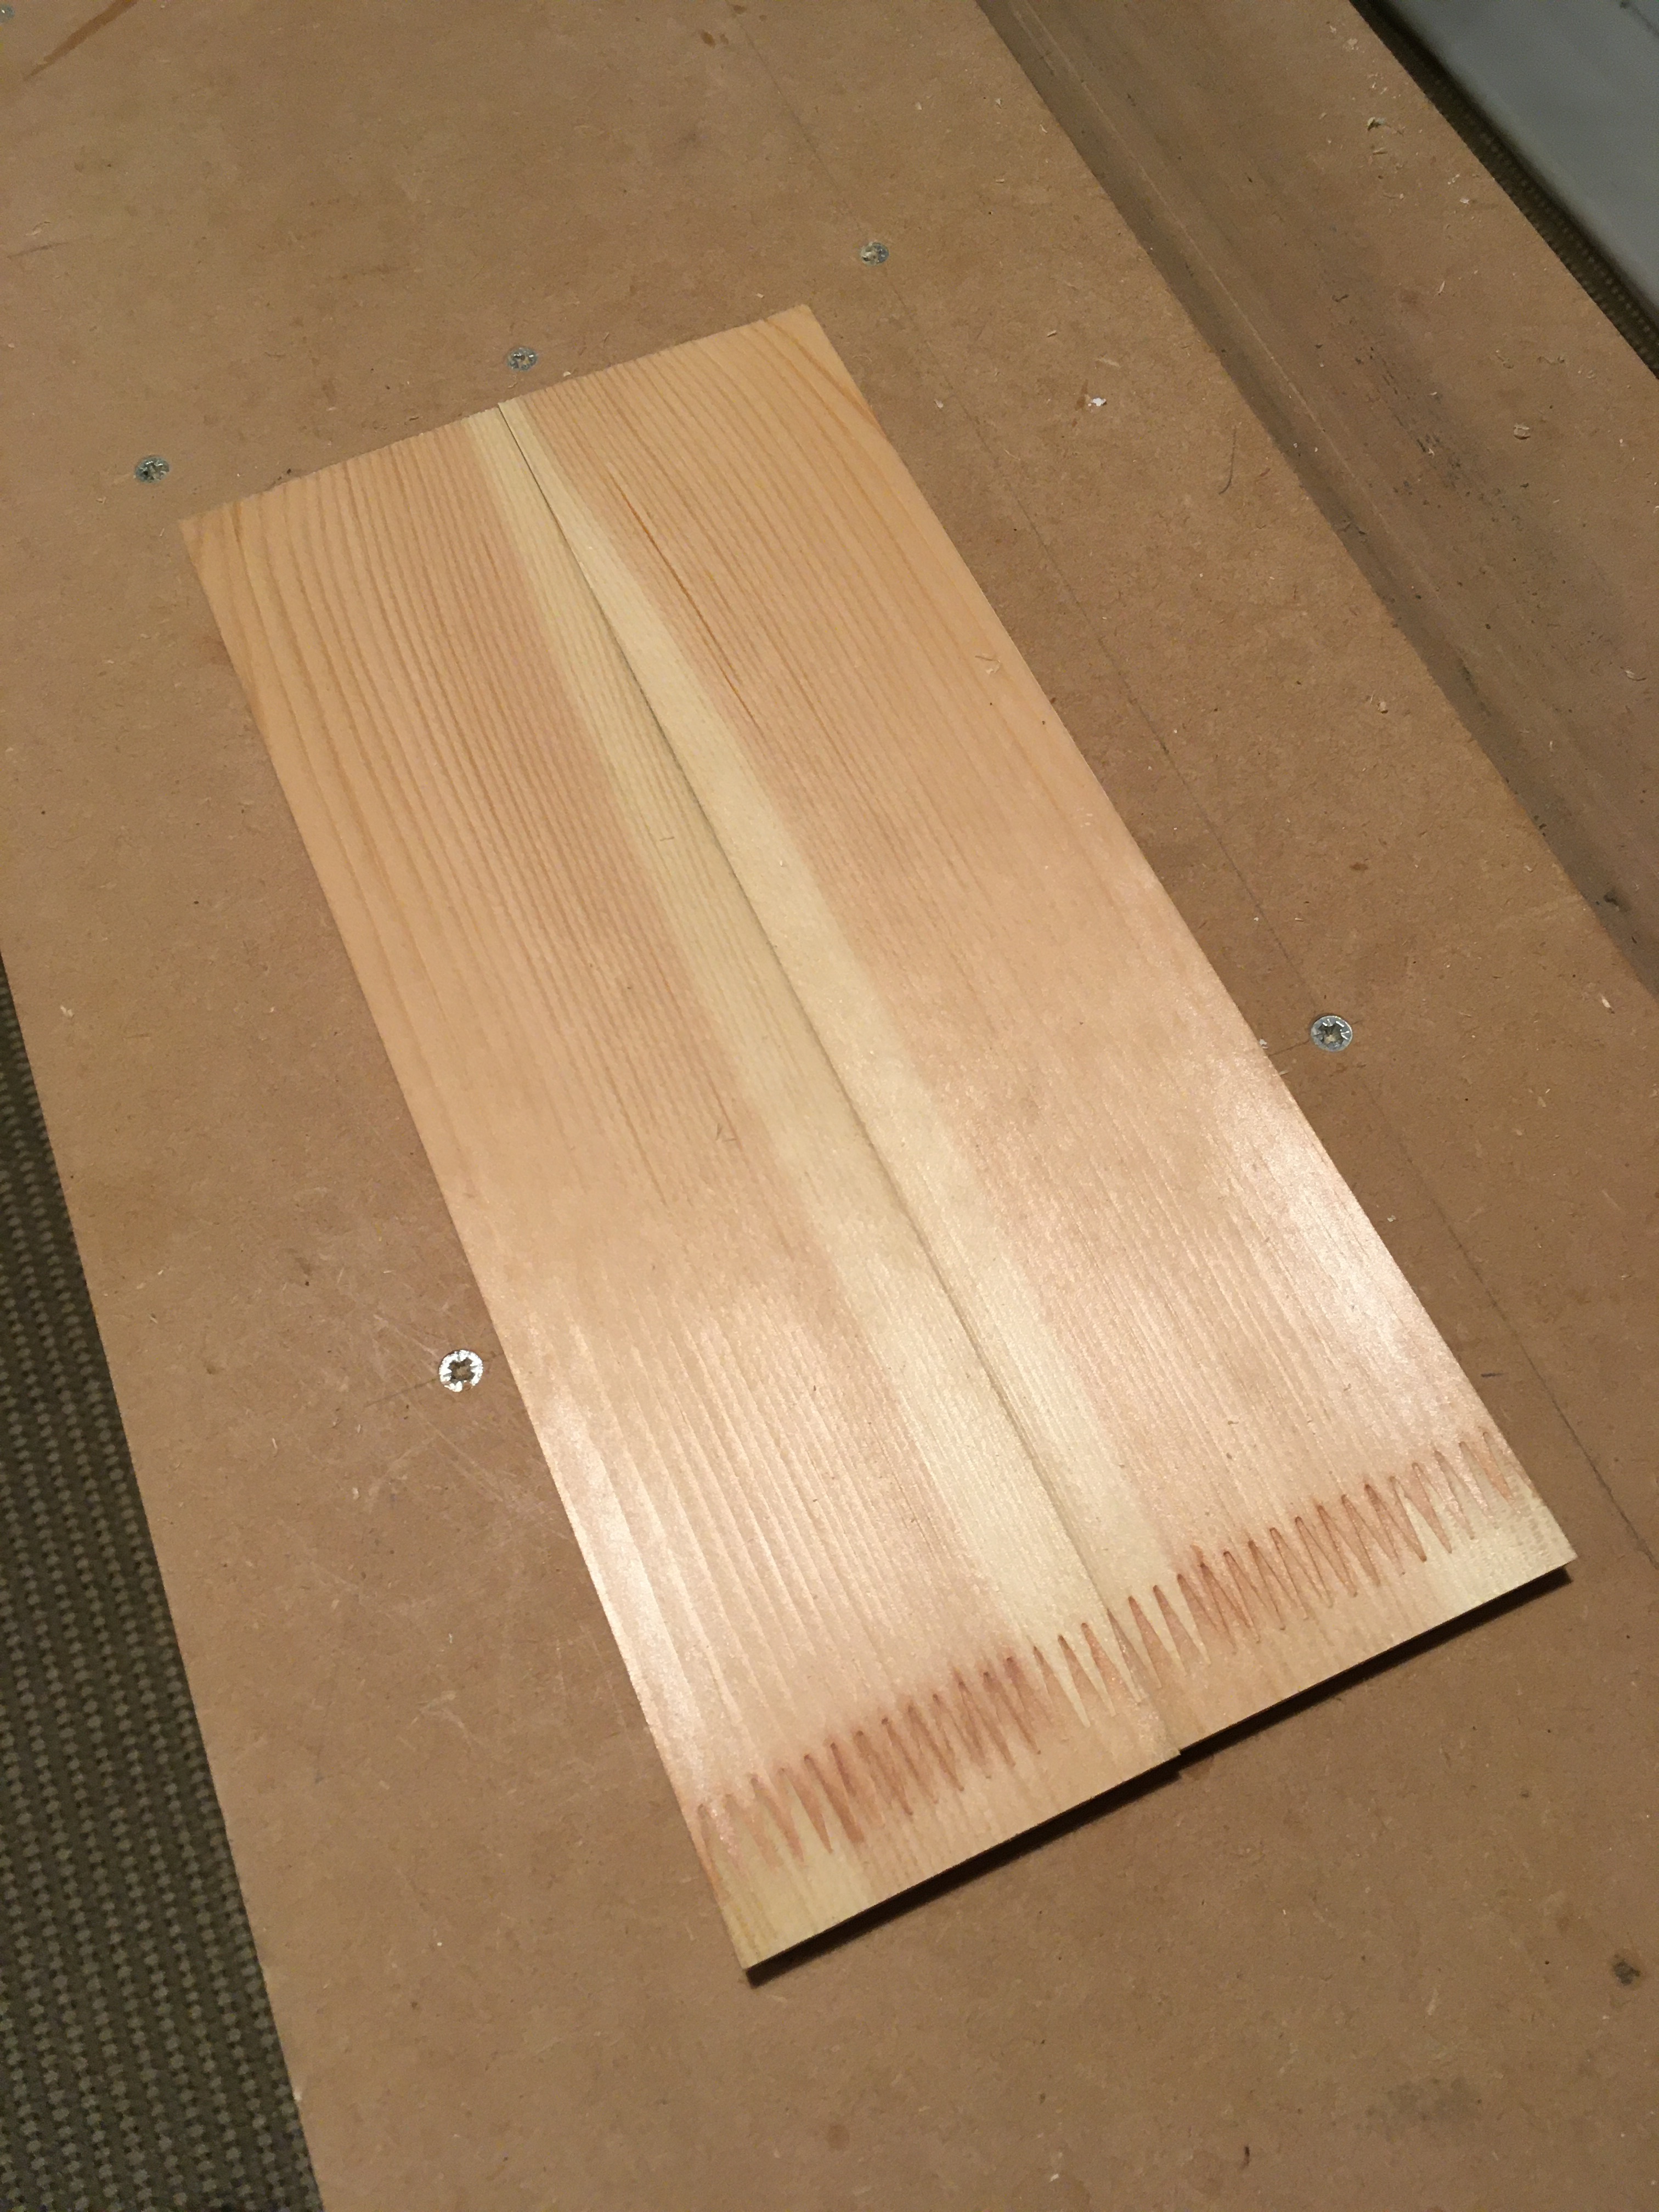
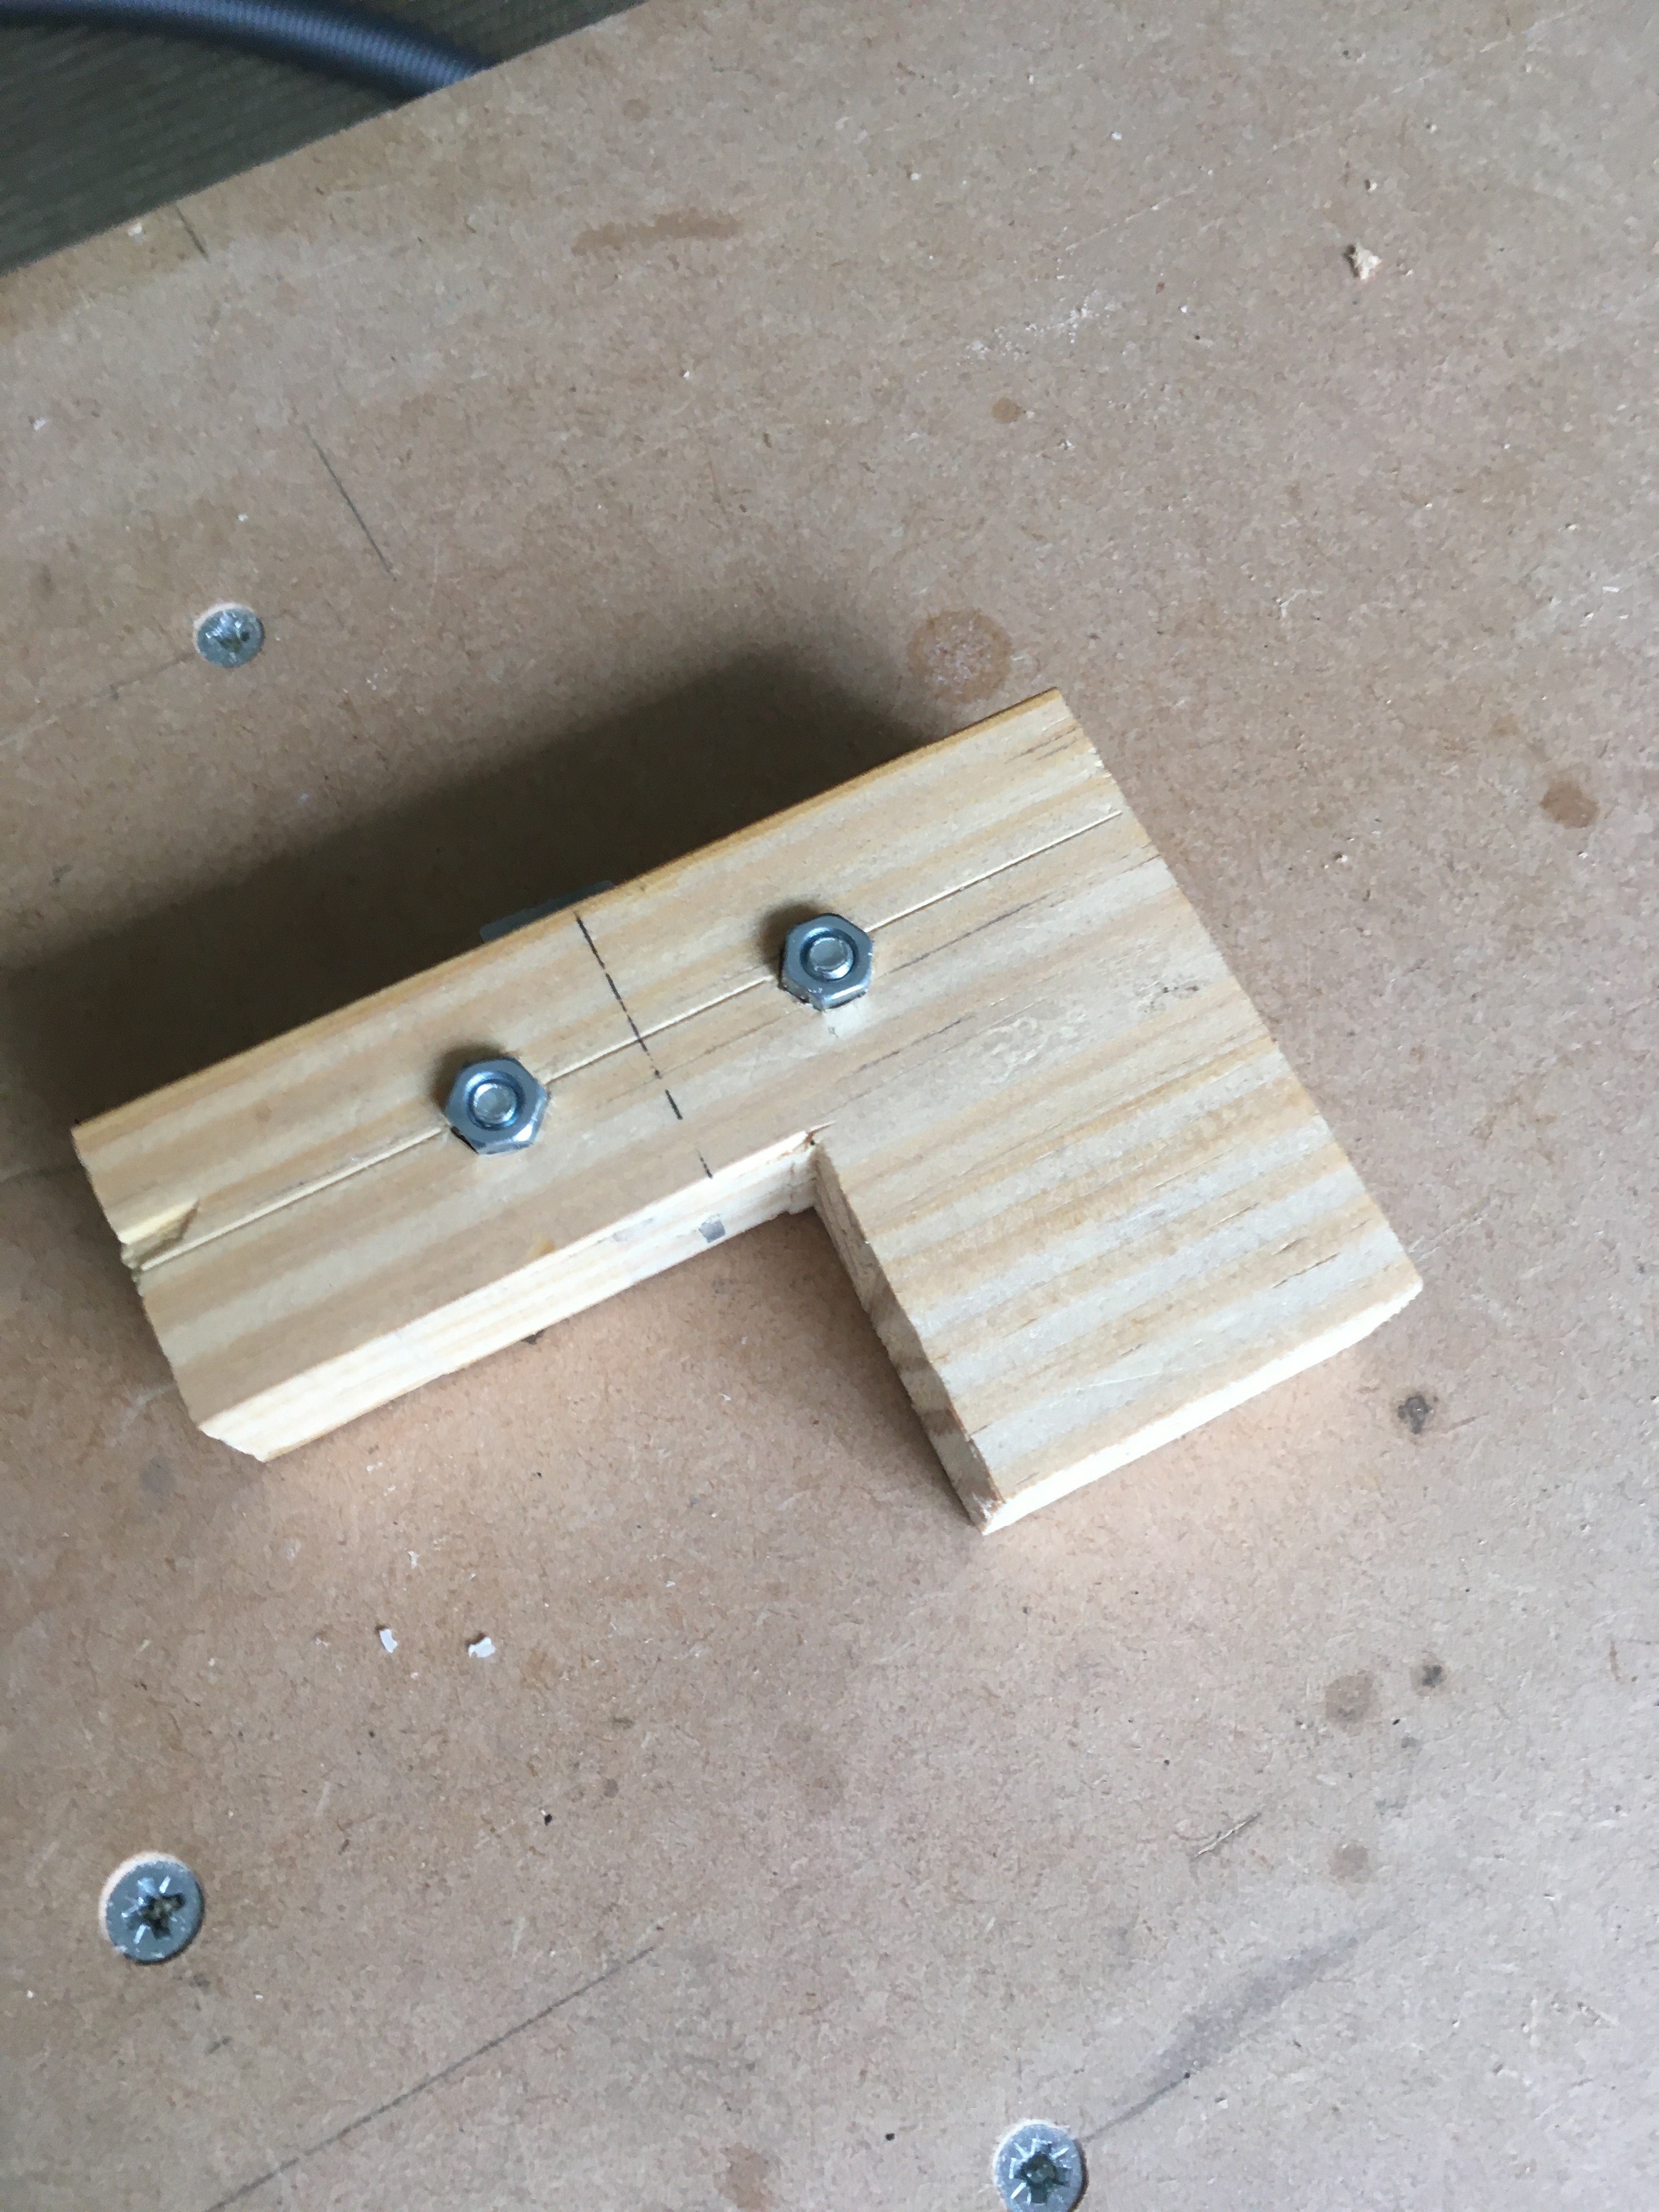
The fine tuning and the changes to the tool line up have paid off. I have completed one of the mitres, I wanted to get an idea of how successful my changes have been. The mitre saw guide is a rough,and ready way of cutting the box sides to an approximate length.
The donkeys ear: My adjustment to the stop( the actual donkeys ear) length has really done the trick. I made an adjustment the thickness of some writing paper and this corrected the blow out I was getting whilst pulling the plane. The donkeys ear is functioning really well now, it is delivering it’s full potential and doing so reliably. The sanding planer I made is capable of delivering fine adjustment . The mitre I cut is of a good standard even if it was cut by machine. I am cutting the mitres for the three boxes tomorrow in daylight. I am happy that I have a solid methodology.
These are the end grain shavings I produced whilst cutting the first mitres for the three boxes. These shavings are telling a story about the blade that cut them.

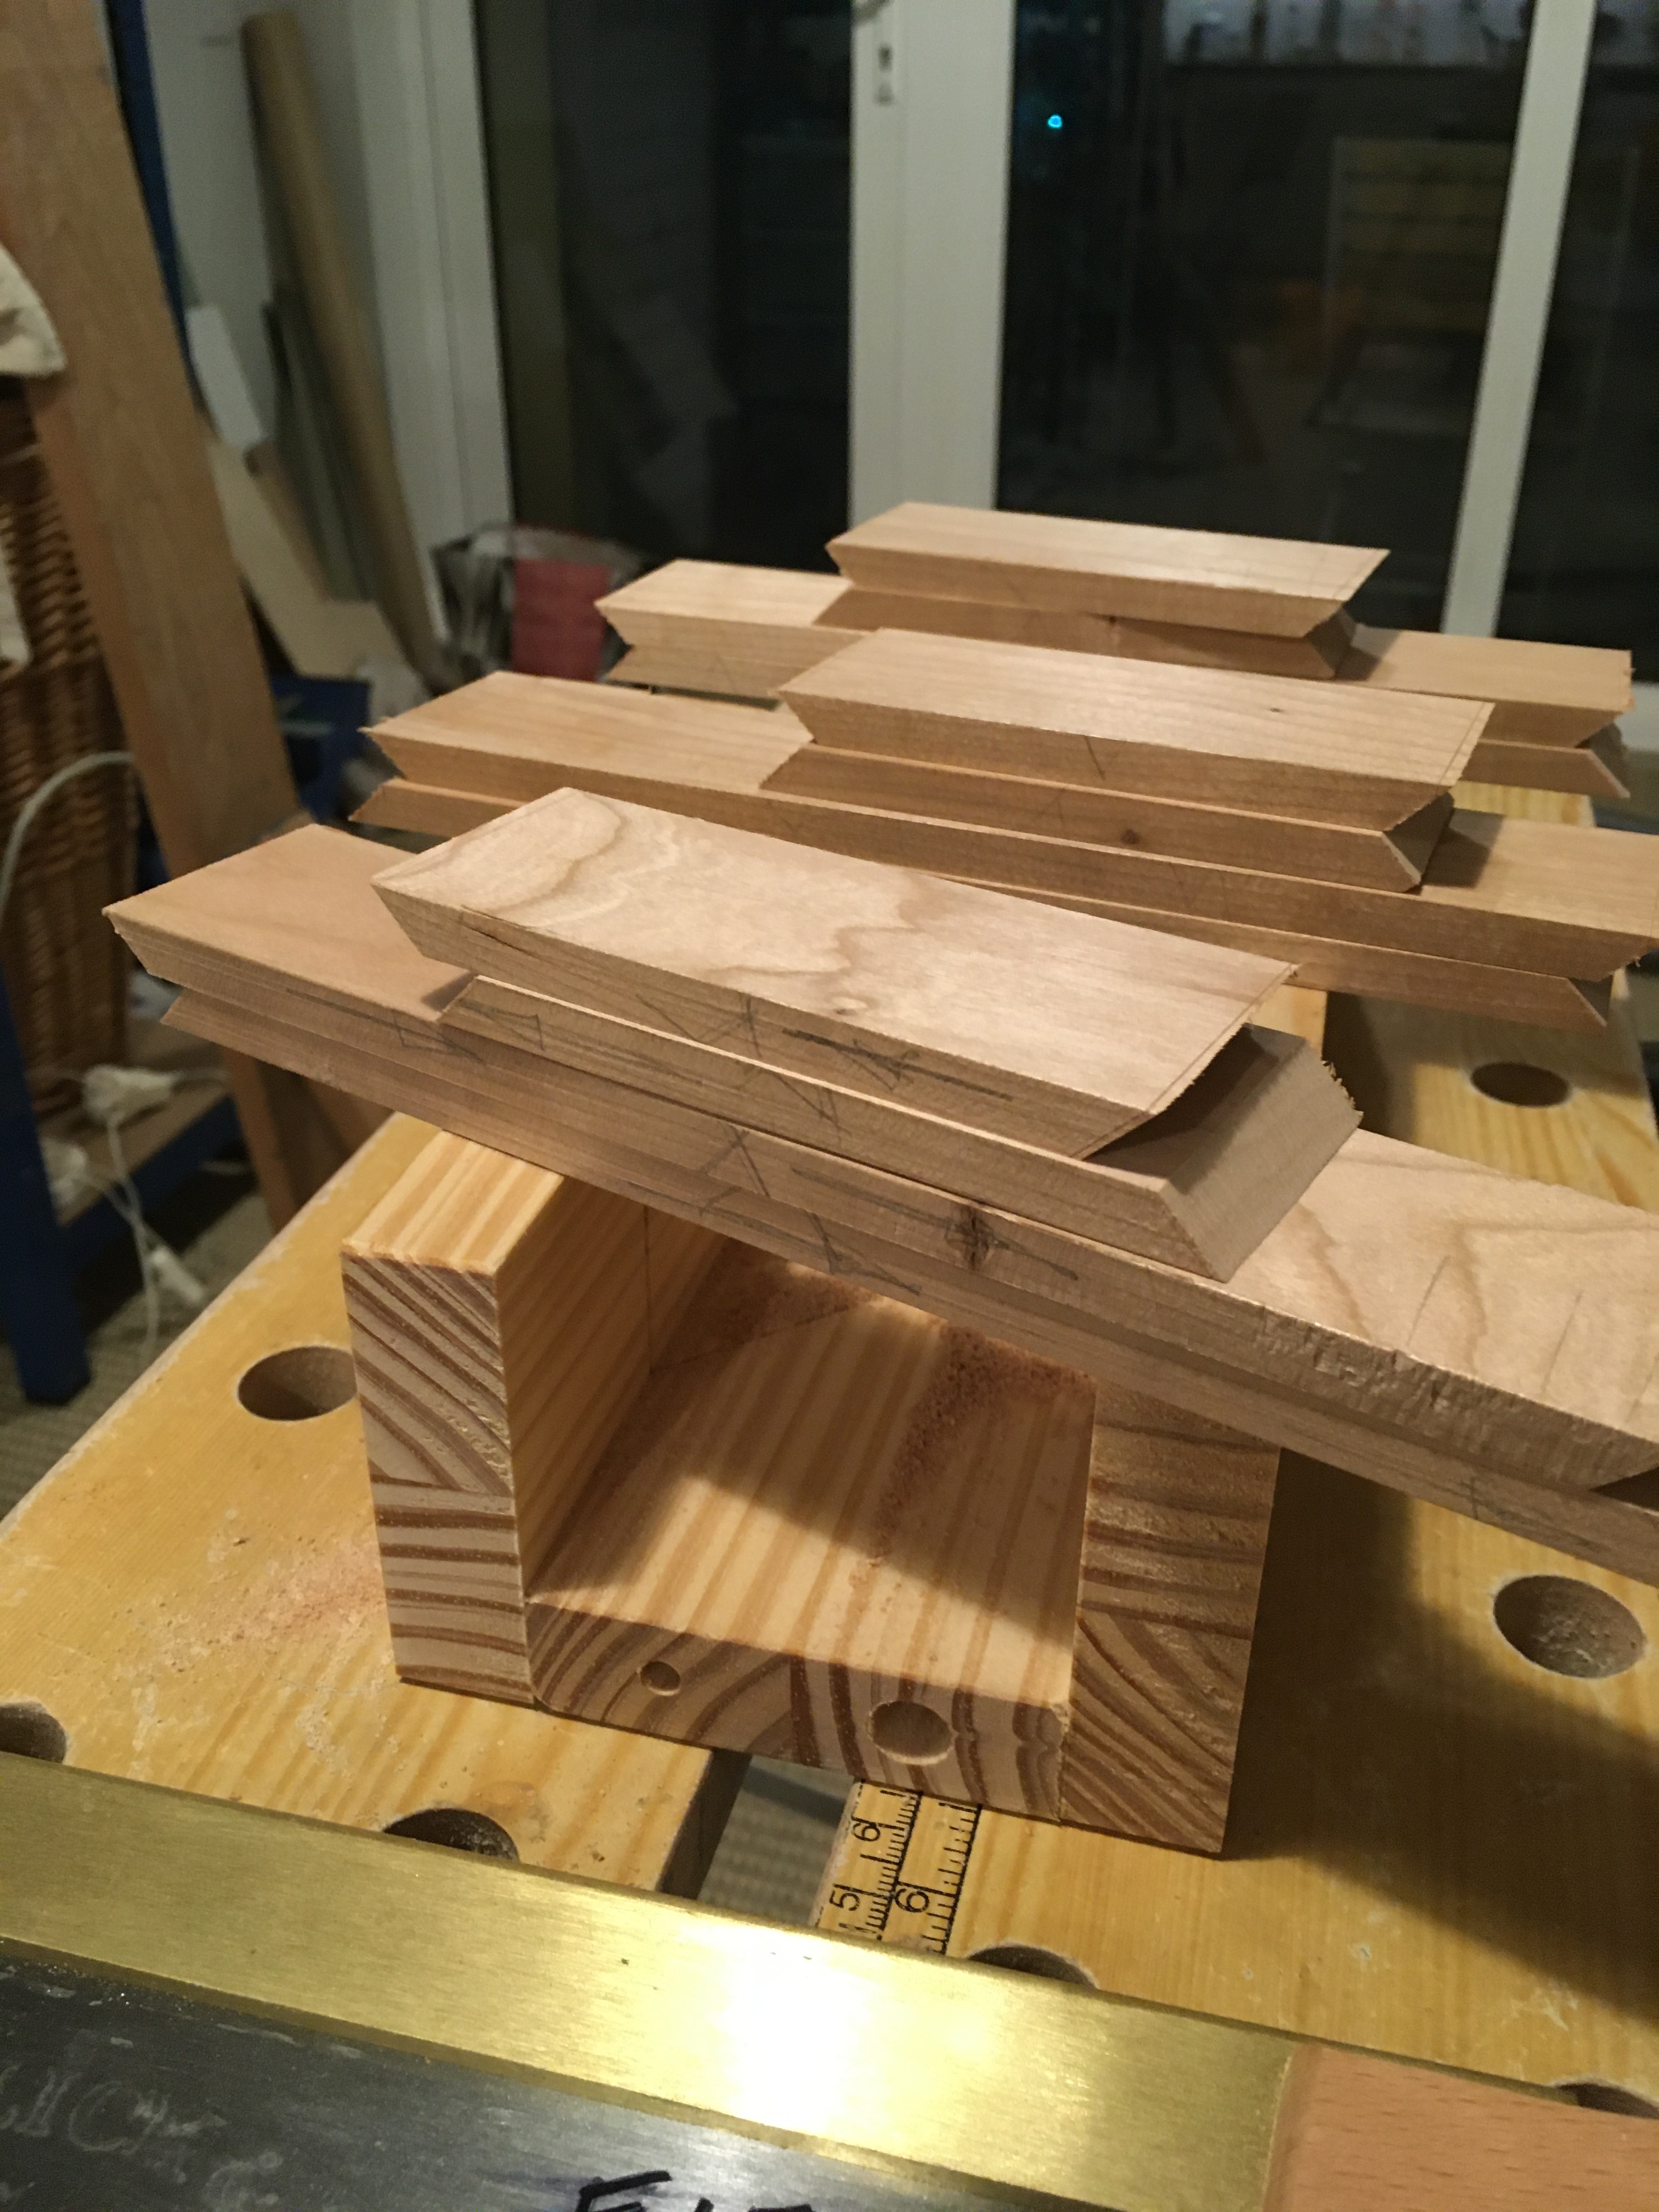
Okay, here is where I am at with my two boxes. Aha, yes I reiterate, my two boxes, I was sloppy enough to significantly stray from the desired path and there are casualties. I will be silent for one minute, at eleven AM on Monday morning, as I remember the happy times, Beryl ( I name all my pieces of timber) would want me to move on and find another tree. I early on realised how these mitres were not often used, amongst hand tool woodworkers of the past, for good reason. The entire process is demanding and largely unnecessary. I have without doubt lost focus because I don’t particularly believe in what I am doing. It’s not wasted effort, absolutely not. I have been forced to assess my woodworking aptitude’s, and as a result of this dead end project, I am very clear upon, where my abilities lie and the projects I passionately feel of value. Also of great value is the way in which the pursuit of tight fitting mitres has forced me to excercise my woodworking brain. To achieve good hand tool, long mitres requires practical learning, development occurs through the physical act of making this joint. As I began to cut the mitres, my head was a jumble of possibilities. I could use this tool, in this way, I could use this different tool in a slightly different way. Should I cut every mitre and fit each individually? Or… and it goes on and on. Truthfully I tried about everything under the sun to achieve my tight fitting mitres. Lots of approaches have their merits. Afterward, it’s as though all the disparate knowledge and the physical experience arranged themselves in a coherent fashion. I now know exactly the way, to use my donkeys ear and achieve great results. I really had to force myself to keep going, I knew my failure to commit to one approach was born of uncertainty. It was after the fact that I just understood, it was crystal clear, a workable solution making best use of MY particular tools. That’s very satisfying, sticking with something even when it’s not going well and getting a revelatory understanding the next day, once my mind and body had assessed the information. Beautiful. The photo shows the first prototype box. I have made the two new boxes shallower, the grey pine veneer looks nice I think and I really like the base having a beautiful surface. I am using solid pine for the lids of the two new boxes. I think it will look lovely with the cherry.


I have finally understood. I am able to execute a controlled and reliable mitre of the kind one might use for a box. I have invested hugely in this attempt to challenge myself. I thought I had failed because I was able to make successful joints but I was not really in control. I can’t imagine putting a great deal of work into the preparation of some wood and then thinking that it would be a good idea to cut a joint with a high possibility of screwing it up.
I have a shooting plane. I have used it every single time I have worked wood since the day I made it. For regular right angled shooting it is my go to tool . For the donkeys ear I thought things would be similar. My focus became fixed upon all the wrong things. The way to get a reliable, accurate mitre from the donkeys ear is by using a regular metal plane. Using the lateral adjustment and an accurately set bevel gauge, the setting can be dialled in perfectly. To avoid tear out of even the smallest amount, the wood must be marked with a knife at 45 degrees, thus severing the fibres. All the mitres which cut with the wood referenced for the plane being pushed, are completed. Then the plane is turned around to be pulled. Dialled in as before, all the mitres which reference for the pull cut are completed. Again, making sure the mitres are marked with a knife cut to ensure accuracy and zero blow out. The wooden plane is not the best choice for the donkeys ear. Understanding, better late than never. I won’t be going anywhere near the donkeys ear for a while. When I do need to use a mitre, I think I will be able to cut it tight and with some confidence using hand tools. This project is like Groundhog Day.
I am actually putting my boxes together. The first attempt was not good. I just replenished my ever build 502 glue. I have always been a fan previously, decent bonds, good grab and cheap. As I glued up the first box, the glue was skinning over in record breaking time. I had to scrape and try again. I am so going to choose my future projects carefully, making sure I choose joinery appropriate for hand tools. That’s what I have learned. The mitre is quite literally the last joint a hand tool woodworker might choose for a box. I can handle plinths and crown moulding now, that’s where the donkeys ear is suited. I can’t wait to make something suited to my tools.
…
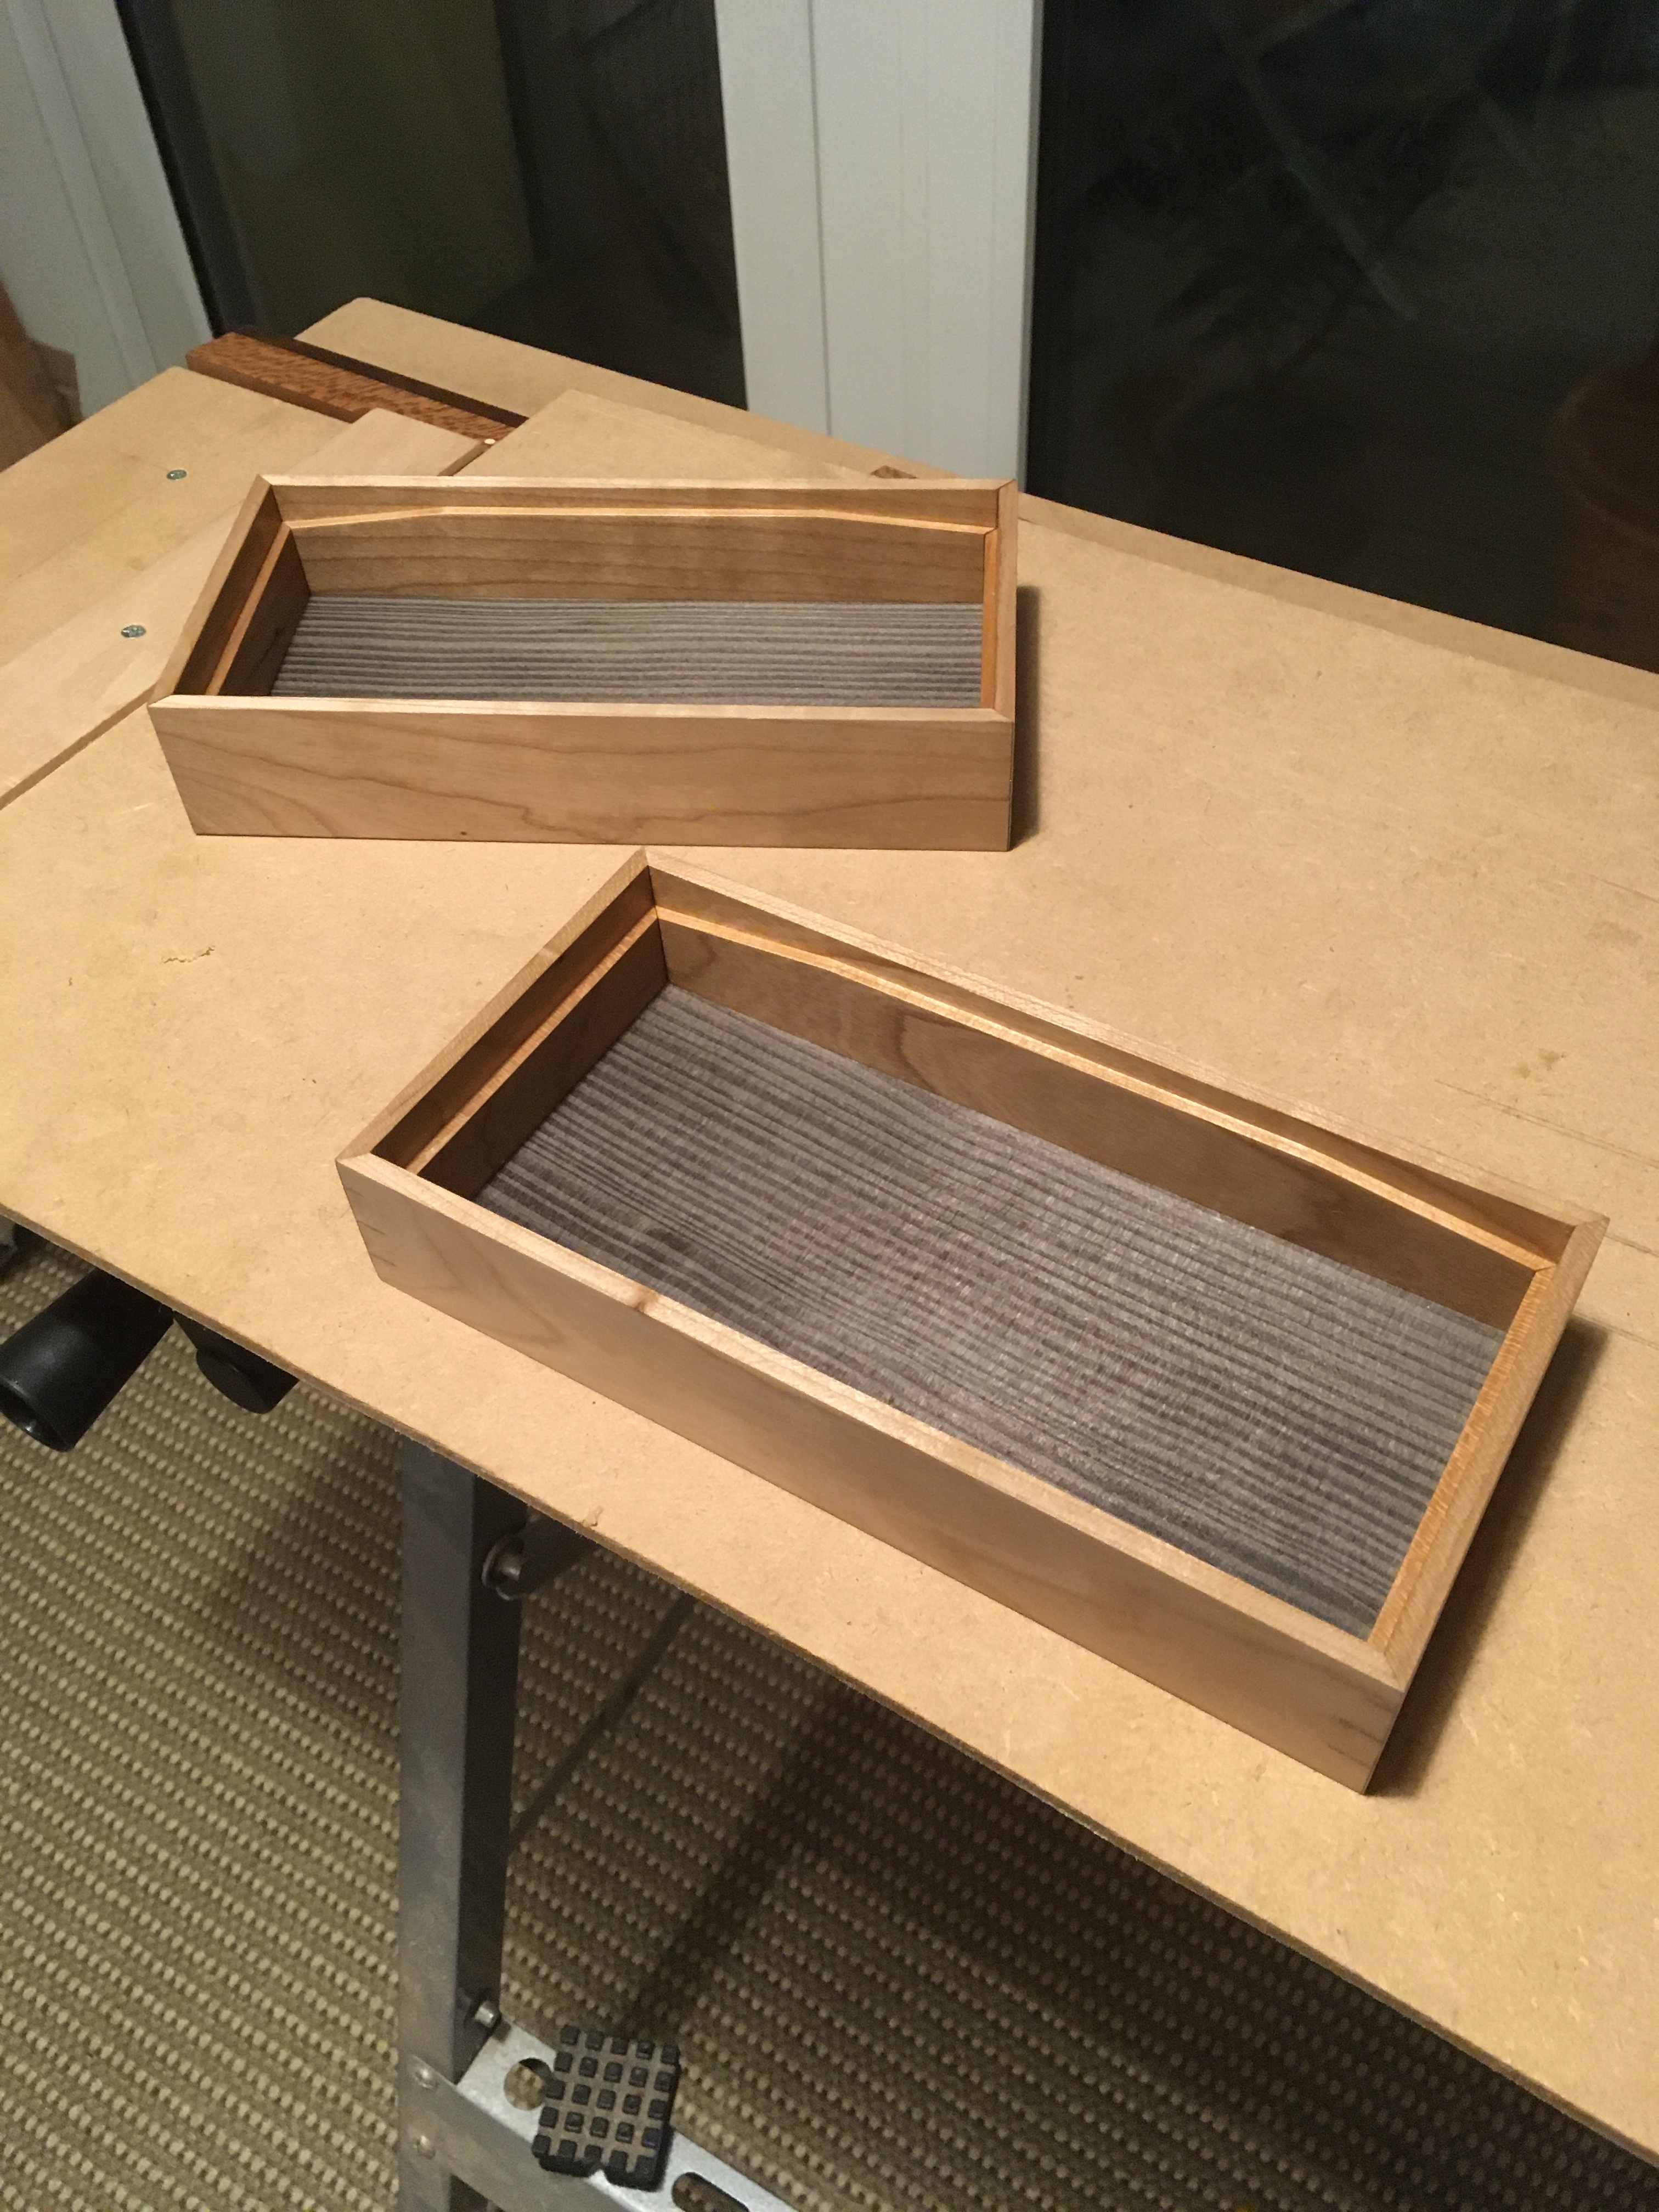
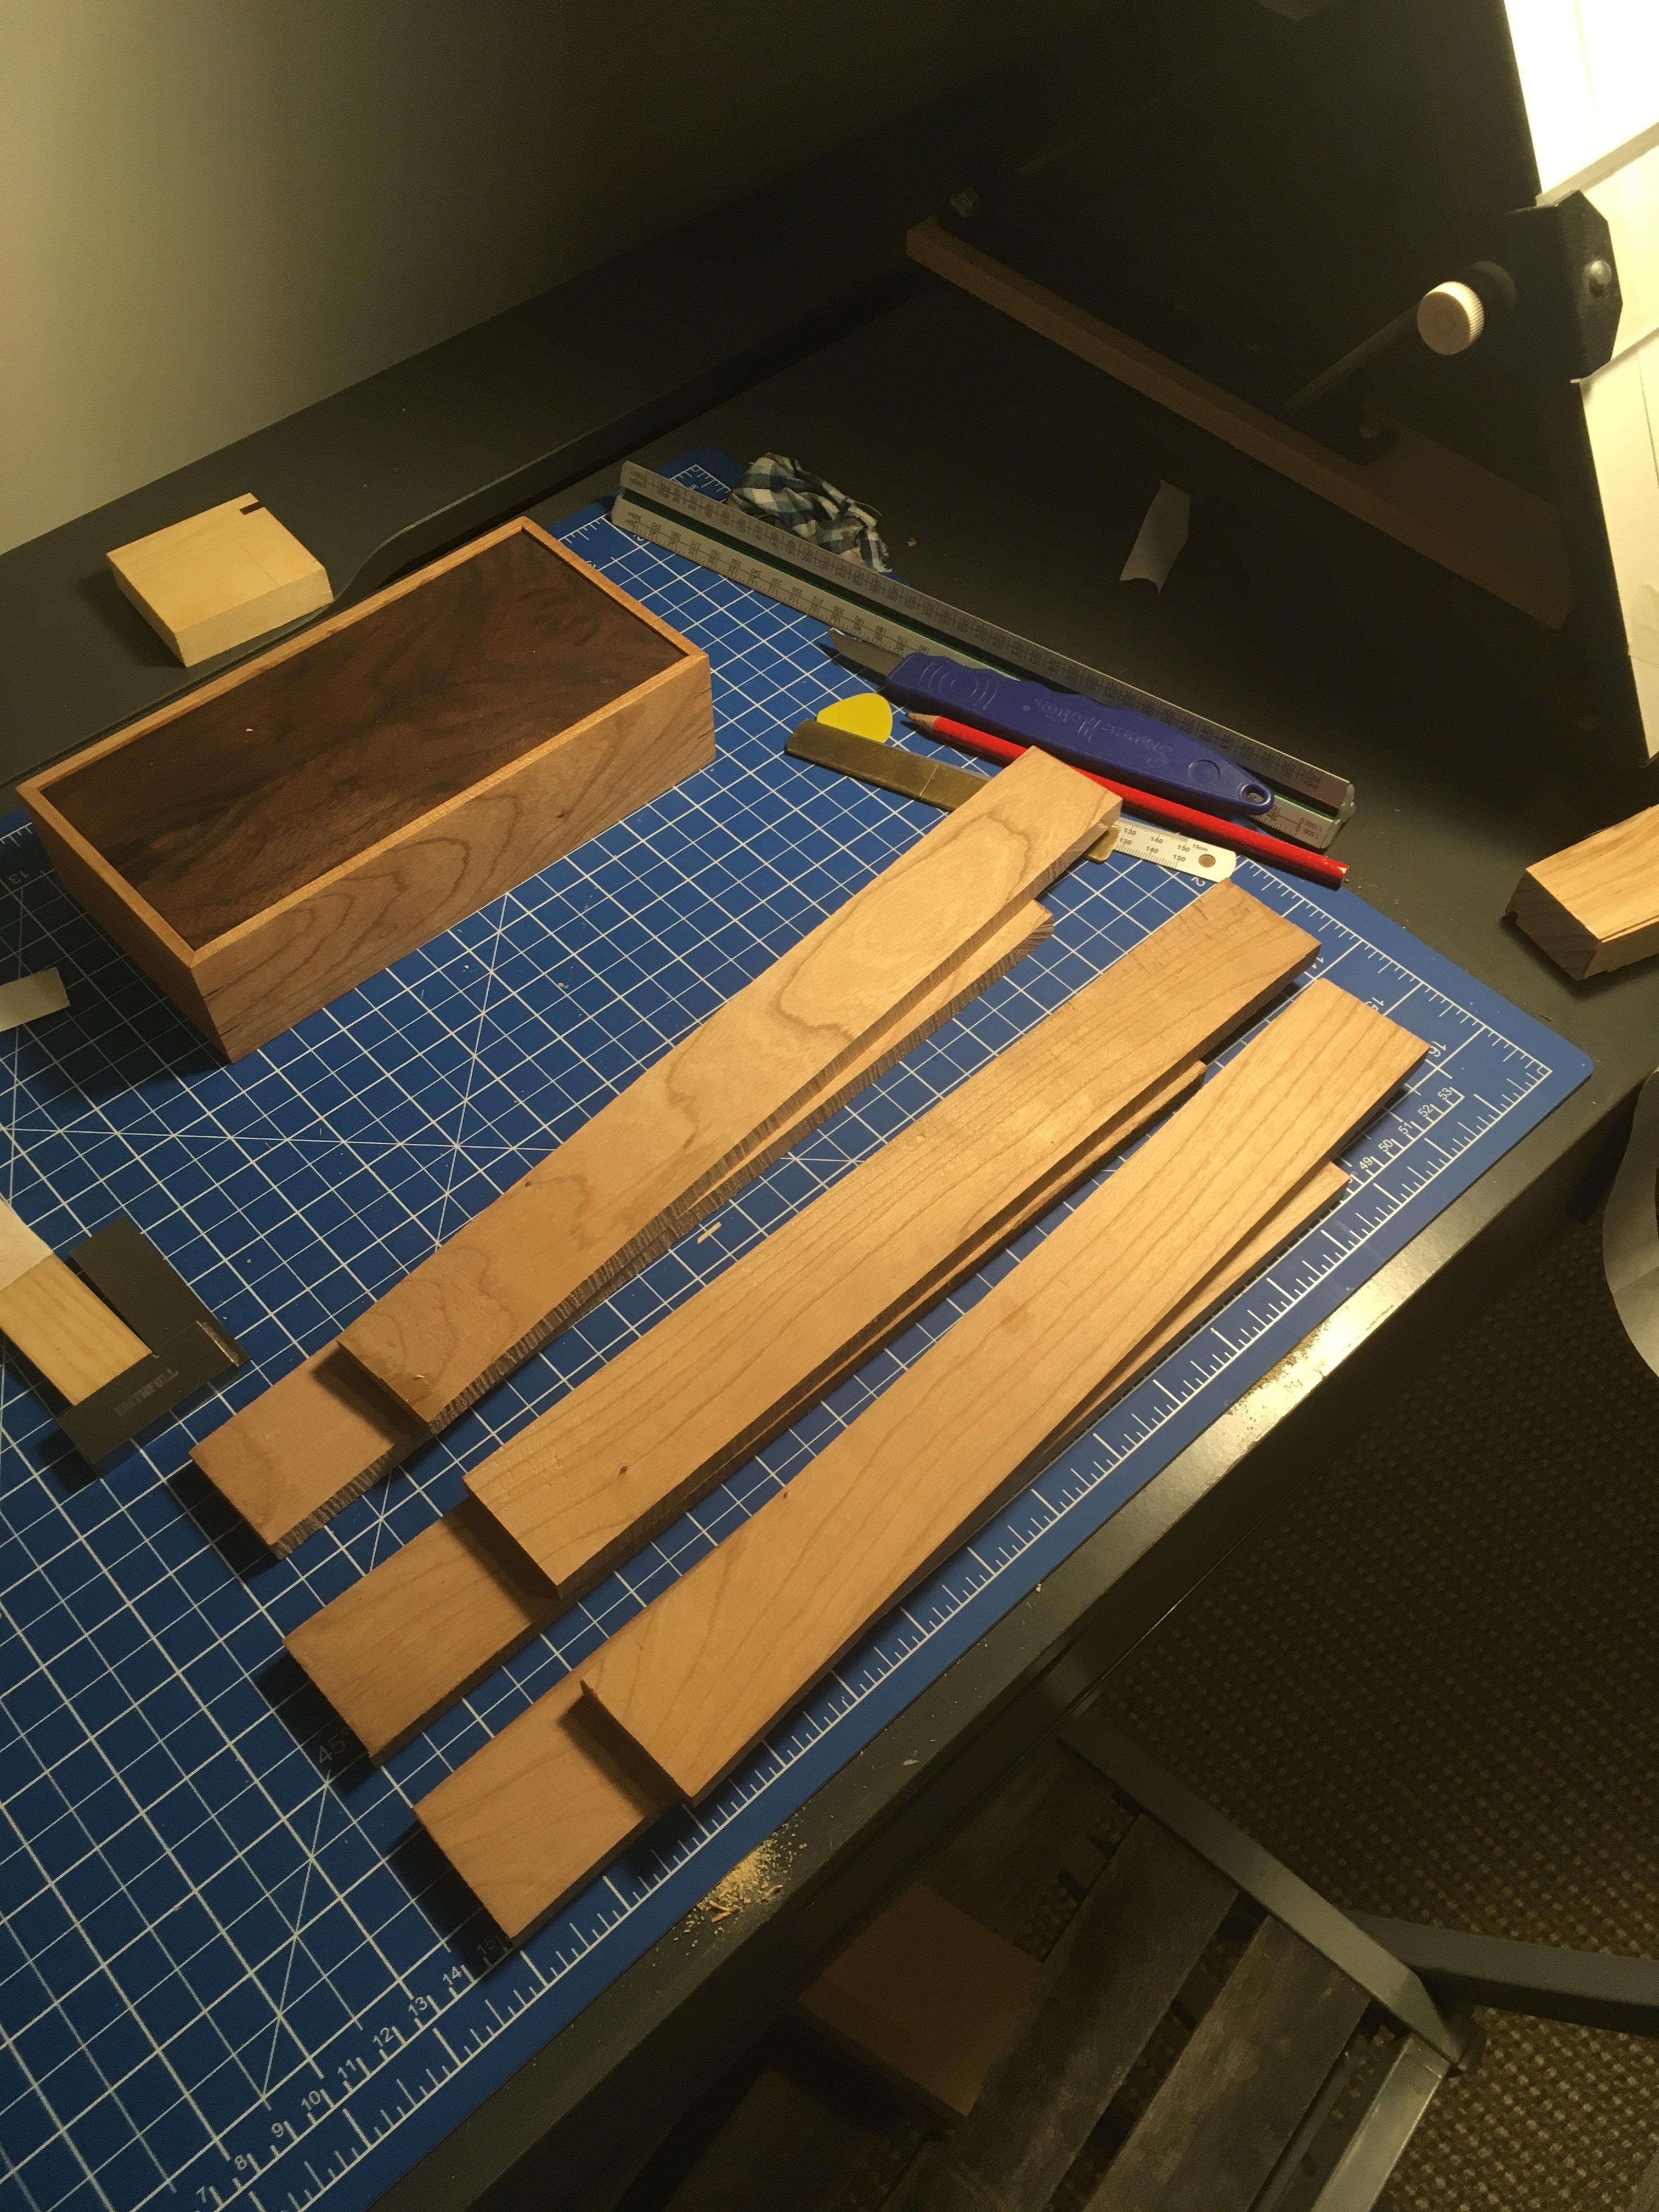
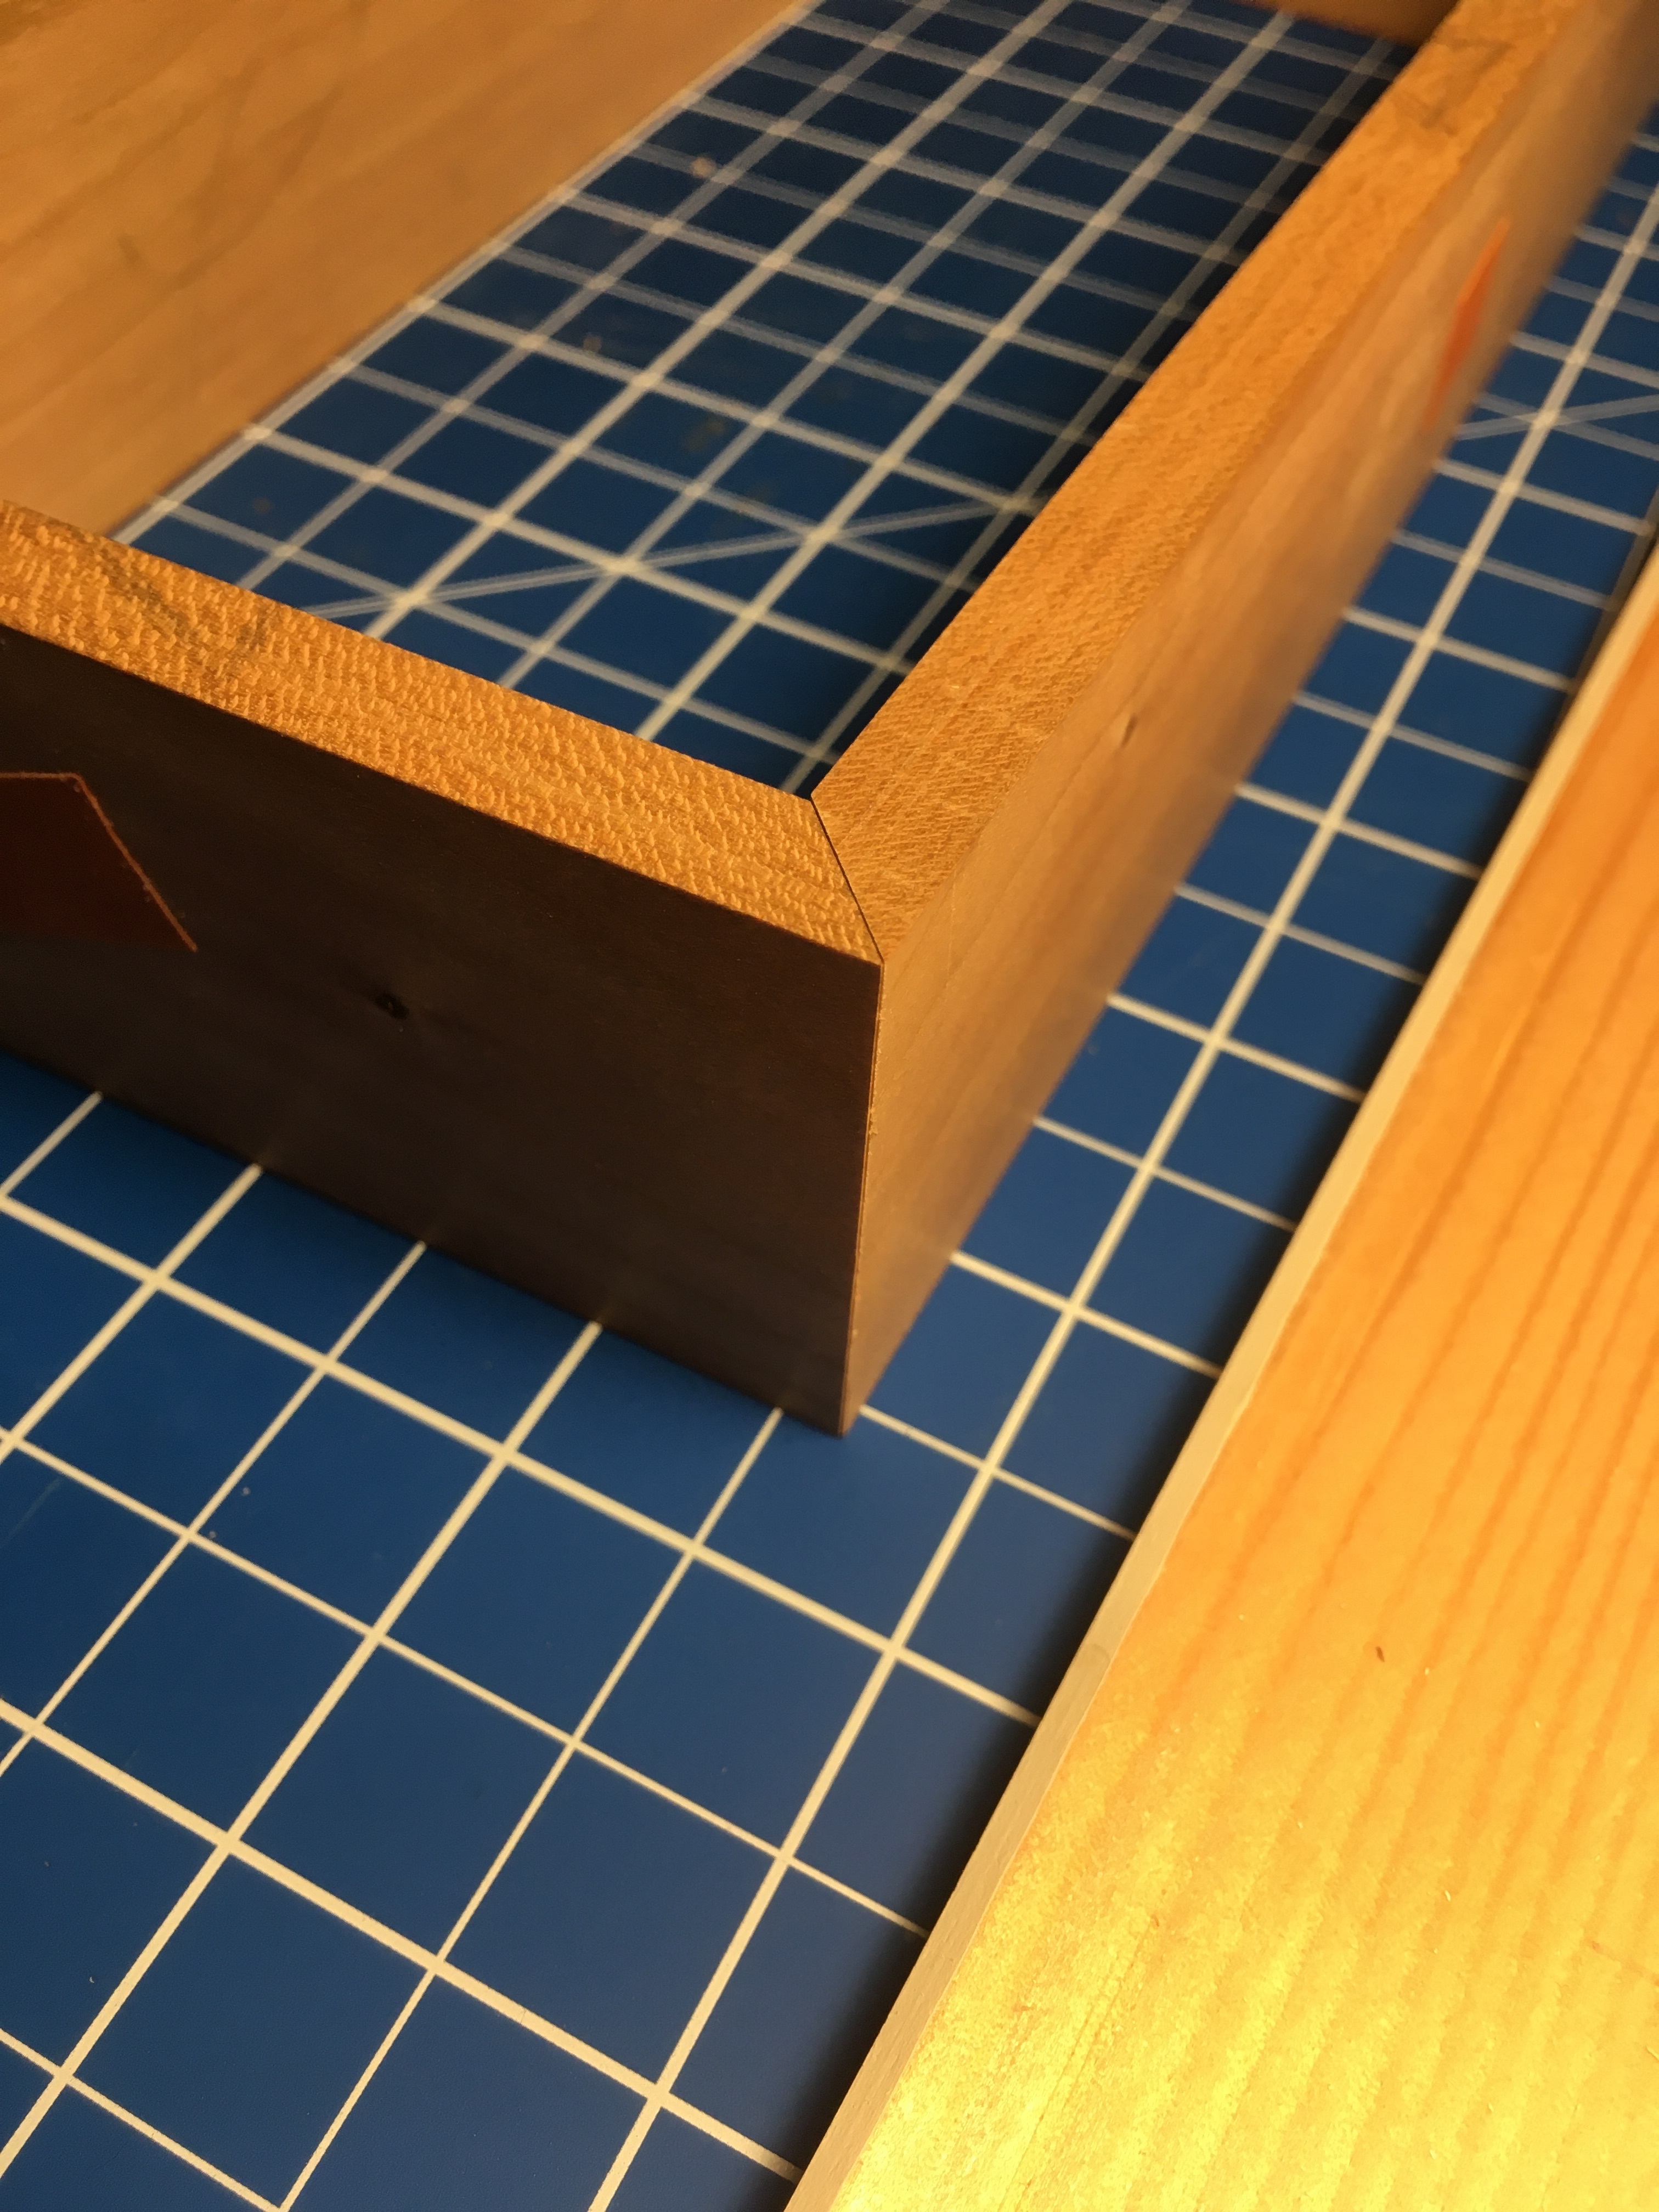
I am just putting the finishing touches to the box in front. It’s the worst bit of woodworking I have done since getting back into woodwork. Sloppy, I have learned really valuable lessons making these boxes. First off, look to the past. What were woodworkers who used hand tools using for their joinery, day in day out? Not mitred boxes. The predominant joinery of the hand tool craftsman was the result of experience and knowing where hand tools excelled. Dovetails, rabbets, mortises, tenons, bridles, halving, etc etc I could go on. Joinery which can be cut effectively with hand tools without having to resort to special measures and more besides. If you added up all the long mitred boxes ever made and expressed it as a percentage of all the joinery ever made ( with hand tools), what would it amount to? A fraction of a percentage point. It’s a dumb joint for hand tools. It was used when nothing else would work, when it was absolutely necessary. I can see that now. I never believed in this project. I always wanted to make a box with a pivot lid and I used joinery used by Andrew Crawford, why ? Andrew Crawford uses accurately set up disc sanding to accomplish this joint. I have made mitred boxes successfully using a ten inch disc sander accurately set up. With the tools I currently have access to, this project was a wrong turn.I do have one amendment to make. The box at the rear of the lidded box has only got splines on two corners. On three separate occasions I have tried to pull the box apart ( I am not into error ridden objects) and I expected the corners to fail, I am pretty strong; the box is still in one piece. So with modern glue it’s strong. Right, does anyone have a chainsaw ? I need to be a little more balanced in my assessment, I am very happy with the solid lid, ripped, planed and jointed very accurately by hand. the veneer work which you cant see in the picture because its on the base, is very nice.